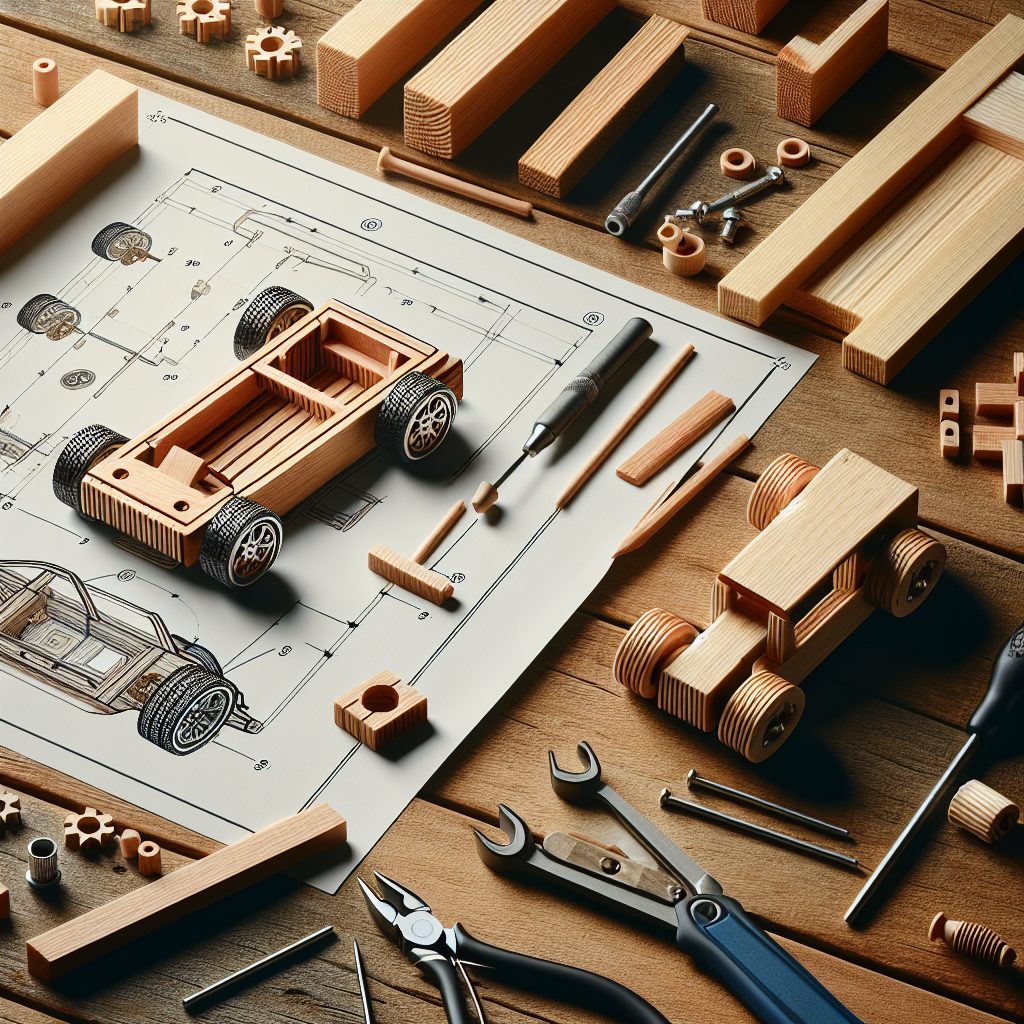
Building DIY wooden toy cars is a popular and engaging pastime for both children and adults alike. The process of creating these small, wooden vehicles not only allows for creativity and self-expression but also promotes cognitive and motor skill development in children. By engaging in this hands-on activity, children can enhance their problem-solving abilities and learn about basic principles of engineering and design. Additionally, building wooden toy cars provides a great opportunity to bond with family members or friends, as it encourages collaboration and fosters a sense of accomplishment.
In this article, we will provide a step-by-step guide on how to build your own DIY wooden toy cars. From choosing the right materials and tools to designing and assembling the parts, we will walk you through each stage of the process. Along the way, we will share valuable tips and tricks to ensure your wooden toy cars turn out beautifully and function smoothly. So, whether you are a beginner or an experienced woodworker, this guide will provide you with the necessary skills and inspiration to create your own fleet of wooden toy cars. Let’s dive in and explore the fascinating world of DIY wooden toy cars together.
Key Takeaways
1. Selecting the right wood and tools: Choose a sturdy and safe type of wood such as pine or maple, and gather essential tools like a table saw, hand saw, drill, sandpaper, and paint.
2. Measuring and cutting the pieces: Use accurate measurements and saw carefully to create the main body, wheels, and axles of the toy car. Remember to smooth the edges and round the corners for safety.
3. Assembling the pieces: Start by attaching the axles to the body, and then drill holes for the wheels. Screw or glue the wheels onto the axles, making sure they spin freely. Afterward, attach additional details such as headlights or a spoiler.
4. Sanding and finishing touches: Carefully sand all the surfaces to remove roughness, splinters, or sharp corners that could harm a child. Apply child-safe paint or finish to enhance the appearance and protect the wood.
5. Safety precautions and testing: Ensure all parts are securely attached and there are no loose or sharp edges. Finally, test the toy car for functionality, durability, and safety by giving it to a child for play.
No concluding remarks.
How can you build DIY wooden toy cars? A step-by-step guide
Choosing the right wood for your toy cars
When it comes to building DIY wooden toy cars, selecting the right type of wood is crucial. You want to choose a wood that is sturdy, durable, and easy to work with. Some popular options include pine, birch, and hardwood. Consider the size and shape of the toy car you want to build, as well as any specific design requirements.
Gathering the necessary tools and materials
Before you begin building your DIY wooden toy cars, it’s essential to make sure you have all the necessary tools and materials. Here’s a list of common items you may need:
- Saw or jigsaw
- Sandpaper or sanding blocks
- Drill and drill bits
- Screws or nails
- Wood glue
- Paints or wood stains
- Paintbrushes
Make sure to gather everything you need before starting the construction process. This will save you time and ensure a smoother building experience.
Designing your toy cars
Next, it’s time to unleash your creativity and design the wooden toy cars. Think about the size, shape, and style of the cars you want to build. You can find inspiration from existing toy cars or come up with your own unique designs. Consider factors such as aerodynamics, functionality, and age appropriateness if you are building for children.
Using a pencil, sketch out the design on a piece of paper or directly on the wood. This will help provide a visual guide during the construction process.
Cutting and shaping the wood
Once you have your design ready, it’s time to start cutting and shaping the wood. Using a saw or jigsaw, carefully cut the wooden pieces according to your design. Pay attention to details such as curves, angles, and smooth edges. Remember to follow safety precautions when using sharp tools.
After cutting the wood, use sandpaper or sanding blocks to smooth out any rough edges or surfaces. This will give your toy cars a polished and professional look.
Assembling the toy cars
With the individual pieces ready, it’s time to assemble your DIY wooden toy cars. Start by dry-fitting the pieces together to ensure they fit properly. Use wood glue, screws, or nails to secure the components in place. Consider using clamps or weights to hold the pieces together while the glue dries.
Take your time during this step to ensure that each part is attached securely. Test the joints and connections to make sure they are sturdy and stable. If desired, you can add additional elements such as wheels, axles, or decorative accents.
Finishing touches
Once your toy cars are fully assembled, it’s time to add the finishing touches. This includes sanding any remaining rough spots, applying wood stains or paints, and adding any desired details. Let your creativity shine as you bring your wooden toy cars to life.
How to maintain and care for your DIY wooden toy cars?
To ensure the longevity of your DIY wooden toy cars, proper maintenance and care are essential. Here are some tips:
- Regularly clean the toy cars using a damp cloth to remove any dirt or debris.
- Avoid exposing the wooden cars to excessive humidity or direct sunlight, as this can cause warping or discoloration.
- If the toy cars have movable parts, periodically check and tighten any screws or joints to prevent loosening.
- Consider applying a protective finish, such as varnish or sealant, to enhance durability and protect the wood from wear and tear.
- Store the wooden toy cars in a cool, dry place when not in use to prevent damage.
By following these maintenance tips, you can ensure that your DIY wooden toy cars remain in excellent condition for years to come.
Frequently Asked Questions
1. Can I use any type of wood for building DIY wooden toy cars?
Yes, you can use various types of wood for building toy cars. However, softer woods like pine or poplar are recommended for beginners as they are easier to work with.
2. What tools do I need to build my own wooden toy cars?
Some essential tools include a saw, sandpaper, drill, wood glue, clamps, and a ruler. You may also need a carving knife or chisel for more intricate designs.
3. How do I ensure the toy car is safe for children?
Make sure to sand all edges and surfaces of the wooden car to avoid splinters. Avoid using toxic paints or finishes, and ensure all parts are securely attached to prevent choking hazards.
4. Can I customize the design of my wooden toy car?
Absolutely! Building DIY wooden toy cars allows for endless customization possibilities. You can experiment with different shapes, sizes, colors, and even add unique features like wheels that turn or removable tops.
5. Are there templates or plans available for building wooden toy cars?
Yes, you can find numerous templates and plans online for building wooden toy cars. These templates provide step-by-step instructions and measurements to help you create your perfect toy car.
6. How long does it typically take to build a wooden toy car?
The time it takes to build a wooden toy car can vary depending on the complexity of the design and your skill level. On average, it can take a few hours to a couple of days to complete a toy car.
7. Can I involve my child in the building process?
Absolutely! Building wooden toy cars is a fantastic bonding activity for parents and children. However, ensure proper supervision and provide age-appropriate tasks to maintain safety.
8. Can I use recycled wood for building toy cars?
Using recycled wood for building toy cars is a wonderful eco-friendly option. Just make sure the wood is clean, free from rot or pests, and suitable in terms of strength and durability.
9. What type of finish should I apply to my wooden toy car?
You can use non-toxic, child-safe finishes such as beeswax, mineral oil, or water-based paints. These finishes enhance the appearance of the toy car while keeping it safe for children.
10. Can I sell the wooden toy cars I build?
Certainly! Selling wooden toy cars can be a great way to showcase your skills and creativity. Just ensure you comply with any legal requirements or safety regulations in your area.
Final Thoughts
Building DIY wooden toy cars is not only a rewarding craft but also a wonderful way to engage children in imaginative play. By following a step-by-step guide, you can bring to life unique and personalized toy cars, tailor-made for the joy of young ones.
Not only does building toy cars provide a sense of accomplishment, but it also promotes creativity, problem-solving skills, and patience. Whether you are a beginner or experienced woodworker, the process of building these toys offers a fulfilling experience that is sure to leave both children and adults with lasting memories.

