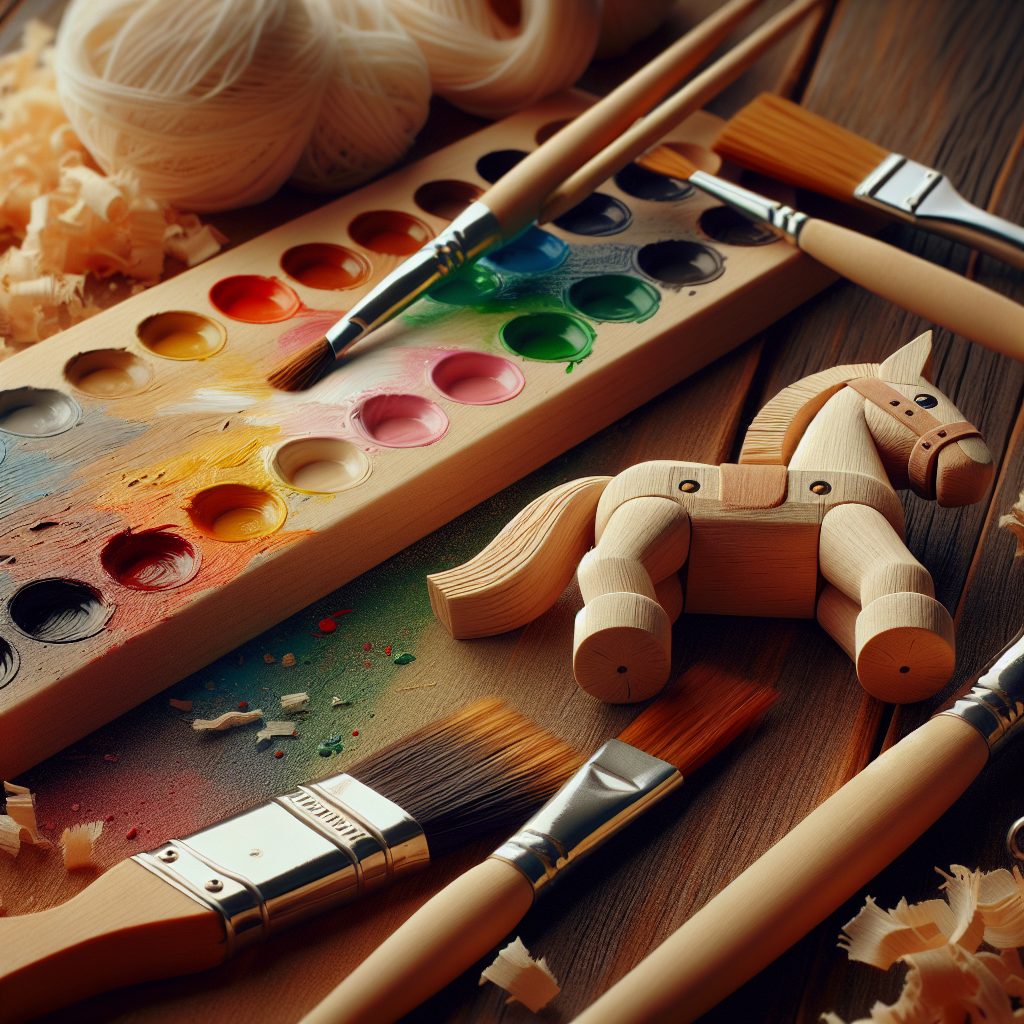
DIY Wooden Toy Painting: A Creative How-To is a topic that resonates with both parents and children alike. There is something magical about bringing plain wooden toys to life with vibrant colors and unique designs. It allows children to exercise their creativity and imagination, while also fostering a sense of accomplishment and pride in their artistic abilities. Not only does DIY wooden toy painting offer a fun and engaging activity for kids, but it also has numerous other impacts. Research has shown that engaging in artistic activities at a young age can enhance cognitive development, improve fine motor skills, and promote self-expression. Furthermore, it provides an opportunity for parents and children to bond and spend quality time together.
As we delve deeper into this article, we will explore the key takeaways of DIY wooden toy painting. We will discuss the tools and materials needed, as well as provide step-by-step instructions on how to prepare the wooden surface, choose colors, and apply paint. Additionally, we will share tips and tricks on how to achieve different effects and finishes, such as blending colors, creating texture, and adding intricate details. Whether you are a parent looking for a creative activity to do with your child or an educator seeking new ways to stimulate young minds, this article will provide you with the knowledge and inspiration needed to embark on your own DIY wooden toy painting adventure.
Key Takeaways
1. Preparation is key: Before starting your DIY wooden toy painting project, make sure to gather all the necessary materials such as wooden toys, sandpaper, primer, paint, brushes, and a clear sealant. Also, don’t forget to prep the wooden surfaces by sanding them down for a smooth finish.
2. Choose the right paint: Opt for non-toxic, water-based paints that are safe for children, especially if you’re painting toys for them. These paints are easy to clean and provide vibrant colors that will make your wooden toys look fabulous.
3. Get creative with patterns and designs: Explore different painting techniques like marbling, stenciling, and color blocking to add visual interest to your wooden toys. Use masking tape or stencils to create precise designs, or simply let your imagination run wild with freehand painting.
4. Don’t forget the details: Pay attention to the smaller details of your wooden toys, such as eyes, stripes, or patterns. Adding these details can bring your toys to life and make them even more appealing.
5. Seal and protect your masterpiece: Once you’re satisfied with your painted wooden toys, make sure to apply a clear sealant to protect the paint and maintain its durability. This will ensure that your creations can be enjoyed for a long time without any damage or peeling.
What are the best techniques for DIY Wooden Toy Painting?
Materials Needed for DIY Wooden Toy Painting
Before you dive into painting your wooden toys, it’s essential to gather the necessary materials. You will need:
- Wooden toys
- Acrylic or water-based paint
- Paintbrushes of various sizes
- Sandpaper
- Painter’s tape
- Palette or a disposable plate for mixing colors
- Water container for cleaning brushes
- Old cloth or paper towels for wiping brushes
Preparing the Wooden Toys
Properly preparing the wooden toys is crucial for a successful painting project. Follow these steps:
- Inspect the toys for any rough edges or imperfections. Using sandpaper, gently smooth out any rough spots.
- Clean the toys with a damp cloth to remove any dust or dirt.
- If desired, apply a primer to promote paint adhesion and create an even base for the colors.
- Use painter’s tape to mask off any areas you want to keep unpainted, such as wheels or specific design elements.
Choosing the Right Paint
When it comes to painting wooden toys, using the right type of paint is crucial for durability and safety. Consider these factors:
- Opt for non-toxic, water-based acrylic paints, specifically designed for crafts and toys.
- Ensure the paint is labeled as safe for children and conforms to safety standards.
- Choose a wide range of colors to add vibrancy and appeal to your toys.
Painting Techniques
Now it’s time to get creative! Follow these techniques for a stunning result:
- Brush painting: Dip your paintbrush in water and then in the paint. Apply thin and even coats, allowing each layer to dry before adding additional paint.
- Sponge painting: Dip a sponge into your desired paint color and gently press it onto the surface of the wooden toy. This technique creates a textured effect.
- Stenciling: Secure the stencil onto the toy and use a brush or sponge to apply paint over the stencil, carefully creating intricate designs.
Adding Details and Finishing Touches
To take your DIY wooden toys to the next level, consider these additional steps:
- Use smaller paintbrushes to add fine details, such as facial features or patterns.
- Experiment with different color combinations and layering techniques to create depth and dimension.
- Let the paint dry completely before handling or displaying the toys.
- Apply a layer of non-toxic sealant or varnish to protect the paint and extend the life of your creations.
What are some tips for a successful DIY Wooden Toy Painting project?
Follow these tips to ensure a successful and enjoyable painting experience:
- Choose high-quality wooden toys for better paint adherence and longevity.
- Work in a well-ventilated area to avoid inhaling fumes from the paint.
- Take breaks as needed to prevent fatigue or eye strain.
- Experiment with different techniques and color combinations to unleash your creativity.
- Clean your brushes thoroughly after each use to maintain their quality and prevent cross-contamination of colors.
Frequently Asked Questions
1. What materials do I need for DIY wooden toy painting?
To start painting wooden toys, you will need wooden toys, sandpaper, primer, paintbrushes, acrylic paint, and a clear sealant if desired.
2. How do I prepare wooden toys for painting?
First, remove any existing paint or stain by sanding the surface. Next, clean the toys thoroughly to remove any dust or debris. Finally, apply a primer to create a smooth base for the paint.
3. Can I use any type of paint for wooden toy painting?
It is best to use acrylic paint for wooden toy painting. Acrylic paints are safe, durable, and offer vibrant colors. They also dry quickly and are easy to clean up.
4. Do I need to seal the painted wooden toys?
While it is not necessary, applying a clear sealant will provide additional protection and longevity to the painted toys. It can prevent the paint from chipping or fading over time.
5. How can I create different designs on my wooden toys?
You can use various painting techniques like stenciling, sponge painting, or freehand painting to create unique designs on your wooden toys. Experiment with different patterns, colors, and textures to make them more appealing.
6. How do I ensure the safety of painted wooden toys?
When painting wooden toys, make sure to use non-toxic, child-safe paints. Avoid using tiny parts or accessories that can pose a choking hazard. Inspect the toys regularly for any signs of wear or peeling paint.
7. Can I repaint wooden toys that have already been painted?
Absolutely! If you want to change the look of your wooden toys or refresh their appearance, you can easily repaint them. Just make sure to follow the necessary preparation steps and thoroughly clean the toys before applying new paint.
8. How can I fix mistakes or smudges while painting wooden toys?
If you make any mistakes or smudges while painting, don’t panic! Wait for the paint to dry, lightly sand the affected area, and then touch up the paint. Take your time and be patient; mistakes can be corrected easily.
9. How long does it take for the paint to dry on wooden toys?
The drying time of the paint depends on various factors like paint thickness, humidity, and temperature. Generally, acrylic paint dries within 20-30 minutes to the touch and fully cures within 24 hours.
10. Can I use spray paint for wooden toy painting?
Spray paint can be used for wooden toy painting, but it requires extra precautions. Ensure proper ventilation, protect surrounding surfaces, and apply multiple thin coats evenly for the best results.
Final Thoughts
DIY wooden toy painting is a fantastic way to unleash your creativity and add a personal touch to your toys. Not only does it provide a fun and engaging activity, but it also allows you to create unique and customized toys for yourself or your loved ones. Whether you are a beginner or an experienced painter, the possibilities are endless when it comes to transforming plain wooden toys into stunning works of art.
Remember, safety should always be a top priority. Ensure you use safe materials and observe proper procedures when painting wooden toys. Take your time, enjoy the process, and let your imagination guide you. The joy that comes from seeing your finished masterpieces and the smiles they bring is truly priceless!

