DIY Projects: Building and Designing Wooden Toy Cars
Wooden toy cars, with their rustic charm and timeless appeal, have long been a favorite among children and collectors alike. Constructing and customizing your very own wooden toy car can be a gratifying experience, allowing you to exercise your creativity and craftsmanship. With a wide range of designs and styles to choose from, these DIY projects offer endless possibilities for personalization and innovation.
One unique feature of building and designing wooden toy cars is the opportunity to work with natural materials that are both safe for children and environmentally friendly. Unlike their plastic counterparts, wooden toy cars are free from harmful toxins and can be easily recycled or repurposed. Additionally, the tactile nature of wood adds a sensory element to the playtime experience, promoting a hands-on approach and stimulating a child’s imagination.
In the following sections, we will explore some key takeaways on DIY projects for building and designing wooden toy cars. From selecting the right materials to mastering the art of wheel assembly, we will provide expert tips and practical advice to arm you with the skills and knowledge needed to create your own wooden toy car masterpiece. So roll up your sleeves and get ready to embark on a journey of creativity and craftsmanship as we delve into the world of wooden toy cars.
Key Takeaways
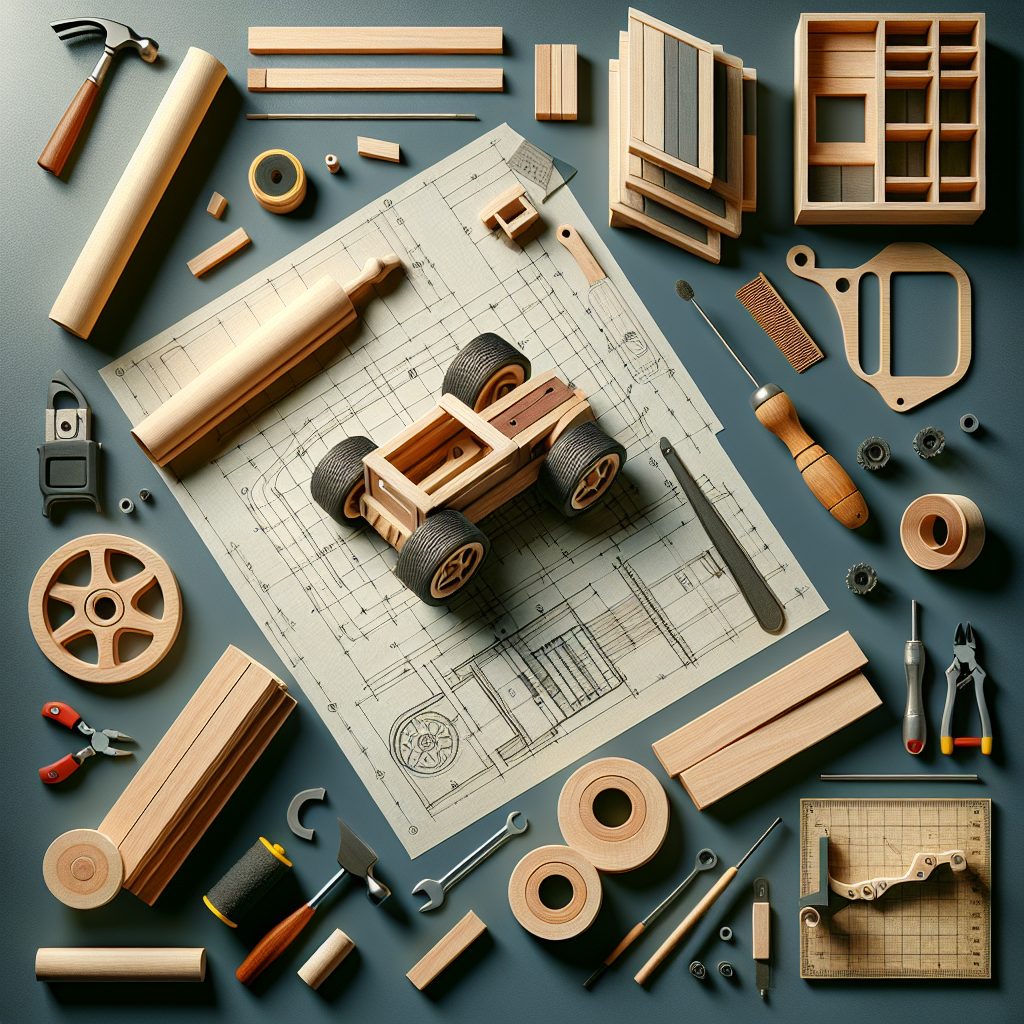
1. Start by gathering the necessary materials, which typically include wood, saws, sandpaper, paint, and wheels. Ensure that the wood is safe for use and cut out the desired shape for the toy car using a saw.
2. Take time to sand down the wood to achieve smooth edges and surfaces. This step is crucial for both safety and aesthetics, as it helps eliminate any rough spots that could potentially harm little hands and provides a clean canvas for painting or varnishing.
3. Personalize the toy car by adding vibrant colors and designs using non-toxic paint. Let your creativity shine through as you bring the wooden car to life and make it appealing to children. Consider using stencils or masking tape to create patterns or stripes for added visual interest.
4. Attach wheels to the toy car securely, ensuring they rotate smoothly for optimal playtime enjoyment. Depending on your preference and the materials at hand, you can choose between pre-made toy wheels or craft your own using wooden discs and dowels.
5. Finally, pay attention to the finishing touches. Apply a child-safe varnish or sealant to protect the wood and paint from wear and tear. Additionally, consider adding extra details like windows, headlights, or even decorative decals to enhance the toy car’s overall appearance and play value.
How to Build and Design Wooden Toy Cars: A DIY Project Guide
Choosing the Right Materials for Wooden Toy Cars
When it comes to building and designing wooden toy cars, selecting the right materials is essential. Opting for durable types of wood, such as pine or beech, will ensure the longevity of your creations. Additionally, consider using non-toxic paints and finishes to keep the toys safe for young children.
Gathering the Necessary Tools
Before diving into your DIY project, make sure you have the necessary tools at hand. Some basic tools you may need include a saw, sandpaper, drill, and countersink. These tools will help you shape the wooden pieces and assemble them accurately.
Designing Your Wooden Toy Cars
Let your creativity soar when it comes to designing your wooden toy cars. You can choose from various car styles, such as classic race cars or vintage trucks. Sketching your designs on paper beforehand can help you visualize the final product and make necessary adjustments.
Measuring and Cutting the Wooden Pieces
Precision is key when it comes to measuring and cutting the wooden pieces for your toy cars. Use a measuring tape to ensure accurate dimensions and mark the cuts before using a saw. Sanding the rough edges afterward will provide a smooth finish.
Assembling the Wooden Toy Cars
Once you have all the individual wooden pieces ready, it’s time to assemble your toy cars. Use a drill and countersink to create holes for screws or dowels that will hold the parts together. Applying glue before joining the pieces will provide further stability.
Painting and Decorating Your Toy Cars
Now comes the fun part – painting and decorating your wooden toy cars! Use non-toxic paints to add vibrant colors to your creations. Consider adding details like racing stripes, logos, or even personalized license plates. Let your imagination guide you!
Adding Wheels and Finishing Touches
No toy car is complete without wheels! Attach wheels to your wooden toy cars using axle pegs or dowels. Make sure they rotate smoothly for optimal playtime fun. Finally, apply a clear finish to protect the paint and give your toy cars a polished look.
Guides and Tips for Building Wooden Toy Cars
- Always wear safety goggles when working with tools to protect your eyes.
- Ensure the edges and corners of your wooden toy cars are smooth to prevent any potential injuries.
- If you’re new to woodworking, start with simpler designs before attempting more complex models.
- Consider involving your children in the process, allowing them to paint and decorate their own toy cars.
- Experiment with different paint techniques, such as distressing or stenciling, to add unique touches to your creations.
- Explore online resources or join woodworking communities to gather inspiration and learn from experienced crafters.
- Don’t rush the process – take your time and enjoy the journey of building and designing wooden toy cars.
Frequently Asked Questions
1. Can I successfully build a wooden toy car as a beginner?
Yes, absolutely! Building wooden toy cars can be a fun and rewarding project for beginners. Start with simple designs and gradually progress to more complex ones as you gain experience and confidence.
2. What tools and materials will I need for building wooden toy cars?
To build wooden toy cars, you will need basic woodworking tools such as a saw, sandpaper, drill, and clamps. Additionally, gather materials like wooden blocks, axles, wheels, and non-toxic paint for decoration.
3. How can I ensure the safety of the toy cars I build?
When building wooden toy cars, safety should always be a priority. Ensure that all edges are smooth and free from splinters, paint with non-toxic materials, and avoid small parts that could be choking hazards for young children.
4. Where can I find inspiration for designing wooden toy cars?
You can find inspiration for designing wooden toy cars from various sources, such as toy catalogs, online woodworking forums, or even by observing real-life vehicles. Get creative and let your imagination run wild!
5. Are there any specific design plans or blueprints available for wooden toy cars?
Yes, there are numerous design plans and blueprints available online, in books, and even in woodworking magazines. These resources can provide you with detailed instructions and templates to follow for building wooden toy cars.
6. How long does it typically take to build a wooden toy car?
The time it takes to build a wooden toy car depends on the complexity of the design and your skill level. Simple designs can be completed in a few hours, while more intricate models may require several days or even weeks.
7. Can I personalize and customize the wooden toy cars?
Absolutely! Personalizing and customizing wooden toy cars is a great way to make them unique and special. You can paint them with different colors, add decals or stickers, and even carve initials or designs into the wood.
8. How do I ensure the durability of the wooden toy cars?
To ensure the durability of wooden toy cars, it’s important to use high-quality materials, such as sturdy hardwood or plywood. Applying a clear coat of varnish or sealant can also protect the wood from wear and tear.
9. Can I sell the wooden toy cars that I build?
Yes, if you enjoy building wooden toy cars and have a knack for it, you can consider selling them. However, make sure to comply with any legal requirements and safety regulations applicable to selling toys.
10. How can I involve my children in building wooden toy cars?
Building wooden toy cars can be a great bonding activity with your children. Depending on their age and skill level, involve them in tasks like sanding, painting, or assembling the toy cars under your guidance.
Final Thoughts
DIY projects involving building and designing wooden toy cars can be a fantastic way to unleash your creativity and indulge in a satisfying hobby. Not only do you get the joy of creating something unique, but it also serves as a great educational tool for children to learn about woodworking and engineering concepts. Remember, safety should always be a priority, and with practice and perseverance, you’ll be amazed at the beautiful wooden toy cars you can create!