DIY Techniques for Safe Toy Finishing involve various methods and practices to ensure the safety of children while they play with their toys. Interestingly, there’s a unique fact to consider when it comes to toy finishing: many conventional finishes, such as paints and varnishes, may contain harmful chemicals that can pose health risks to young children. Knowing this, it becomes crucial for parents and caregivers to explore alternative ways to finish toys that are both safe and effective.
One key impact of using DIY techniques for safe toy finishing is the reduction of potential health hazards. Traditional finishes often contain volatile organic compounds (VOCs) or toxic substances like lead, which can be harmful if ingested or inhaled. By transitioning to safer alternatives, such as natural oils, waxes, or water-based finishes, parents can significantly minimize the risk of their children being exposed to potentially dangerous substances. Additionally, DIY techniques often allow for customization and personalization, making each toy unique and special for the child.
Now that we have a better understanding of the importance and impacts of safe toy finishing, let’s delve into the key takeaways. In the next sections, we will explore different DIY techniques that prioritize the safety of children, as well as provide step-by-step instructions to help you achieve a professional and child-friendly finish. So, if you’re eager to learn how to protect your child while enhancing their playtime experience, keep reading to discover these valuable techniques.
Key Takeaways
1. Understand the importance of safe toy finishing: Safe toy finishing is crucial for protecting children from harmful substances and ensuring the longevity of toys. Parents should familiarize themselves with the potential risks associated with certain materials and educate themselves on safe finishing techniques.
2. Choose non-toxic and child-safe finishes: Avoid finishes that contain toxic chemicals, such as lead or volatile organic compounds (VOCs), as they can be harmful to children if ingested or inhaled. Opt for water-based or natural finishes that have been tested and certified as safe for toys.
3. Properly prepare the toy surface: Before applying any finish, it is vital to properly prepare the toy surface. Sanding and smoothing out rough edges not only creates a more aesthetically pleasing finish but also reduces the risk of splinters or injuries. Remember to remove any dust or debris before proceeding with the finish.
4. Apply finishes correctly and with caution: Always follow the manufacturer’s instructions when applying finishes. Apply thin and even coats, allowing proper drying time between each layer. Take necessary safety precautions, such as wearing gloves and ensuring proper ventilation, to minimize exposure to fumes or chemicals.
5. Regularly inspect and maintain finished toys: Even with safe finishing techniques, it is essential to regularly inspect toys for wear and tear. Check for any peeling or chipping finishes, as they may pose a risk of ingestion or inhalation. Touch up or reapply finishes as needed to maintain both safety and appearance.
How to Safely Finish Toy DIY Projects?
Choosing the Right Materials for Safe Toy Finishing
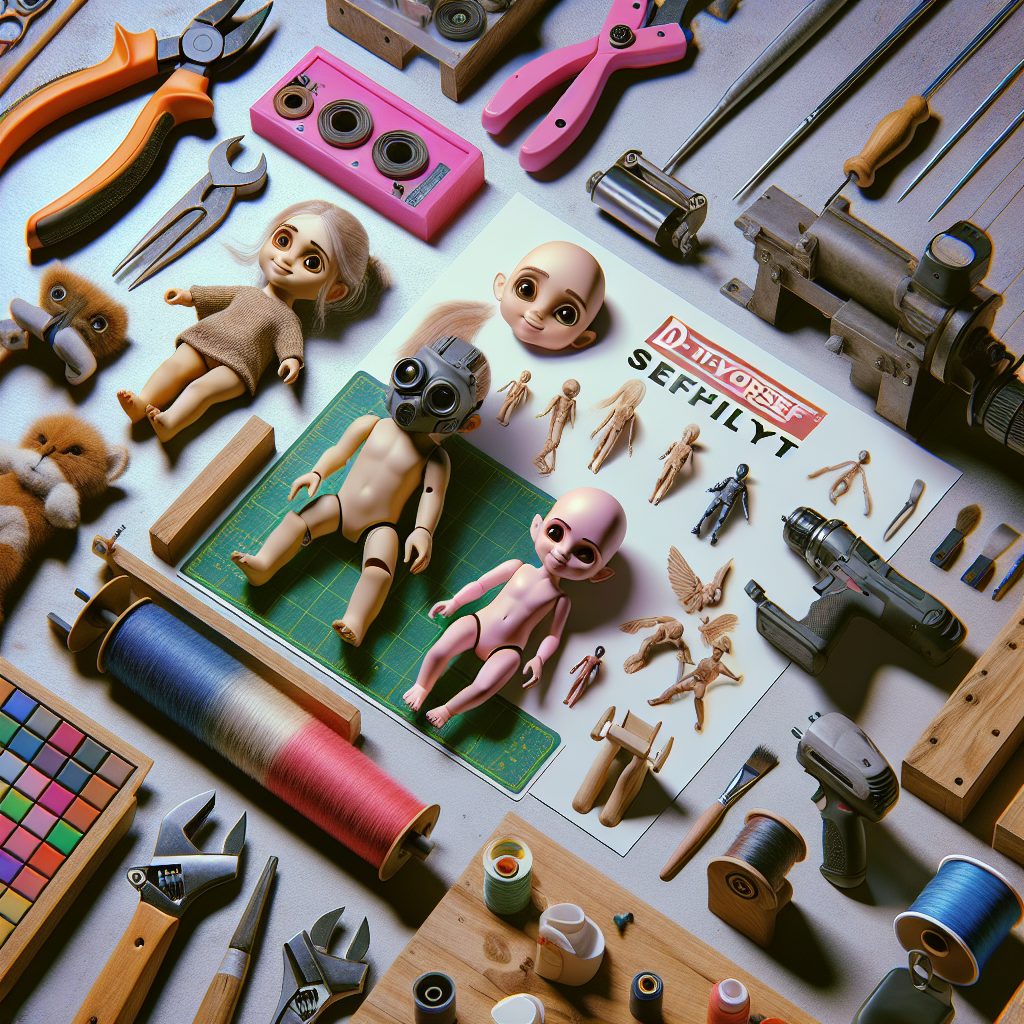
When it comes to finishing toy DIY projects, safety should always be a top priority. One of the first steps in ensuring safe toy finishing is selecting the right materials. Opt for non-toxic and child-friendly finishes that are specifically designed for use on toys. Look for finishes that meet safety standards and have certifications such as EN71, ASTM F963, or CPSIA. Avoid finishes that contain harmful chemicals or volatile organic compounds (VOCs).
Preparing the Toy Surface for Finishing
Before applying any finish to your toy project, it’s crucial to properly prepare the surface. Start by sanding the toy to ensure a smooth and even surface. This not only enhances the final result but also eliminates any potential hazards such as splinters. Use sandpaper with a fine grit to achieve best results. After sanding, thoroughly clean the toy to remove any dust or debris, as they can interfere with the finish and affect its appearance.
Applying the Finish to the Toy
There are various techniques you can use to apply the finish to your toy DIY project. One popular method is brushing, which allows for precise control and even coverage. Ensure that you use a high-quality brush suitable for the type of finish you are applying. Another technique is spraying, which can provide a smooth and consistent finish. If you opt for this method, make sure to use an appropriate spray gun and follow the manufacturer’s instructions carefully. No matter which technique you choose, apply thin and even coats, allowing adequate drying time between each layer.
Letting the Finish Cure and Ensure Safety
After applying the finish, it’s important to give it ample time to cure before allowing children to play with the finished toy. Curing times can vary depending on the type of finish used, so always refer to the manufacturer’s recommendations. During the curing process, keep the toy in a well-ventilated area to allow any residual fumes to dissipate. Once the finish has fully cured, inspect the toy for any rough edges or loose parts that could pose a safety risk. Sand or fix any issues before giving the toy to a child to ensure their safety.
Tips for Safe Toy Finishing
- Always read and follow the instructions provided by the finish manufacturer.
- Wear appropriate personal protective equipment (PPE) like gloves and a mask when handling finishes.
- Store finishing materials out of reach of children and pets.
- Dispose of leftover finish and related waste properly, following local regulations.
- Regularly inspect finished toys for any signs of wear or damage, and make sure to repair or replace them if needed.
- Inform parents or guardians about the type of finish used on the toy for transparency and safety awareness.
Frequently Asked Questions
1. How can I ensure the safety of the toy finish?
To ensure the safety of the toy finish, it is essential to use non-toxic and child-safe materials. Opt for paints, dyes, and coatings that meet safety standards and are specifically designed for use on toys.
2. Can I use any type of paint for toy finishing?
No, not all paints are suitable for toy finishing. It is recommended to use water-based paints or natural dyes that are free from harmful chemicals like lead or solvents.
3. Are there any DIY techniques to make the toy finish more durable?
Absolutely! Applying multiple coats of non-toxic varnish or sealer can enhance the durability of the toy finish. Sanding the surface before applying the finish can also help create a smoother and longer-lasting result.
4. How long does it take for the toy finish to dry completely?
The drying time of the toy finish depends on various factors such as the type of finish used, humidity levels, and temperature. Generally, it may take anywhere from a few hours to a couple of days for the finish to dry completely. Follow the instructions provided by the manufacturer for the specific product you are using.
5. Is it necessary to apply a primer before finishing the toy?
Using a primer before applying the finish can help improve adhesion, especially on surfaces like bare wood. It is recommended to prime the toy for better results, but make sure to choose a primer that is safe for children.
6. Can I use natural oils for toy finishing?
Yes, natural oils like linseed oil or coconut oil can be used for toy finishing. They are safe, non-toxic options that also enhance the natural beauty of the wood. However, they may require more maintenance than other finishes.
7. Are there any specific safety precautions to follow while finishing toys?
Absolutely! Always work in a well-ventilated area to avoid inhaling fumes. Wear protective gloves and a mask, if required. Keep the work area clean and away from children or pets. Follow the manufacturer’s instructions for safe usage of the finishing products.
8. Can I use spray paint for toy finishing?
Spray paints can be used for toy finishing, but it is important to choose ones that are specifically labeled as safe for children’s toys. Follow the instructions carefully, and ensure proper ventilation during application.
9. How can I remove old finishes from a toy?
To remove old finishes from a toy, you can use sandpaper or a paint stripper specifically designed for safe use on toys. Make sure to follow the instructions provided and work in a well-ventilated area.
10. Should I consider any specific age recommendations when selecting finishes for toys?
Yes, it’s crucial to consider age recommendations when selecting finishes for toys. Some finishes may not be suitable for younger children who tend to put things in their mouths. Always choose finishes that are safe for the specific age group the toy is intended for.
Final Thoughts on DIY Techniques for Safe Toy Finishing
When it comes to DIY techniques for safe toy finishing, prioritizing the well-being of children is paramount. Using non-toxic and child-safe materials is crucial in ensuring the safety of the toy finish. By following proper finishing techniques, such as applying multiple coats of non-toxic varnish and using natural oils, you can not only enhance the durability of the toy but also maintain its beauty.
However, it is important to remember that safety precautions should be followed at all times. Work in a well-ventilated area and wear protective gear if necessary. Adhering to age recommendations for finishes is also essential to guarantee the safety of young children. By implementing these DIY techniques and precautions, you can create beautiful and safe toy finishes that both children and parents will appreciate.