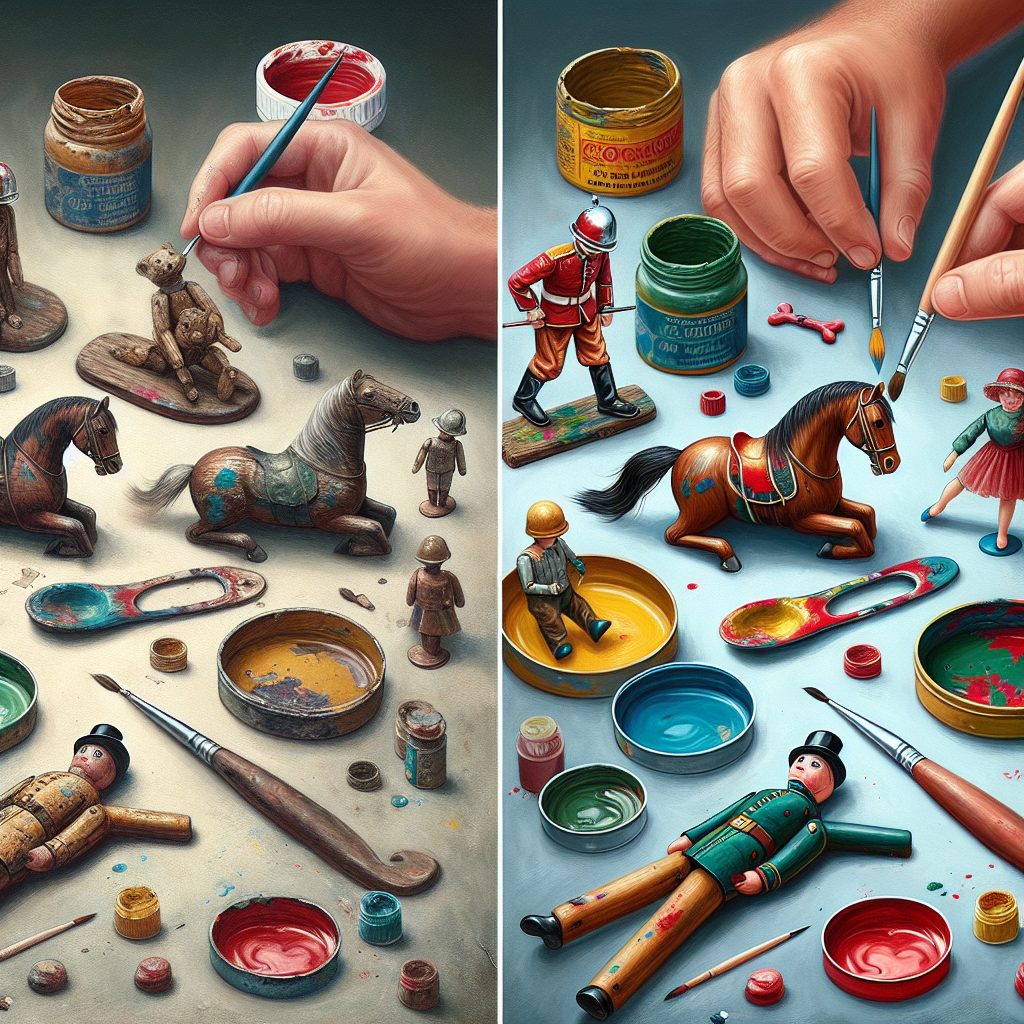
Restoring old toys with effective painting techniques is a fascinating process that allows you to breathe new life into cherished childhood possessions. Many of us have fond memories attached to our favorite toys, and seeing them worn out or faded can be disheartening. However, with the right techniques and a creative touch, these toys can be transformed into vibrant and engaging playthings once again. One unique fact about restoring old toys is that it not only revives the physical appearance but also reignites the emotional connection we have with them. The process of restoring old toys goes beyond simply repainting; it involves careful consideration of the toy’s original design, color palette, and creating a seamless finish that honors its history.
Effective painting techniques have a significant impact on the outcome of the restoration process. The choice of paint, application method, and attention to detail can make all the difference in bringing an old toy back to its former glory. Restoring a toy’s paintwork can enhance its aesthetic appeal, making it visually appealing and captivating for both children and adults alike. Moreover, by utilizing effective painting techniques, you can ensure that the restored toy remains durable and long-lasting, withstanding the wear and tear of playtime.
Now that we’ve discovered the importance of effective painting techniques in restoring old toys, let’s delve into the key takeaways to be discussed further in this article. We will explore different types of paints suitable for toy restoration, various application methods, and expert tips to achieve a professional finish. By the end, you will have gained valuable insights and knowledge to embark on your own toy restoration journey, rescuing beloved toys from the depths of neglect and transforming them into cherished keepsakes for generations to come.
Key Takeaways
1. Effective painting techniques can greatly enhance the appearance of old toys, restoring them to their former glory.
2. To ensure a successful restoration, it is crucial to properly clean and prepare the toy surface before applying paint. This includes removing dirt, rust, and old paint using appropriate methods and tools.
3. Choosing the right type of paint is essential for achieving a professional-looking finish. Depending on the material of the toy, options such as acrylic or enamel paints may be suitable.
4. Techniques like sanding and priming can help to create a smooth and even surface for paint application. Sanding removes imperfections, while priming provides a base layer that improves the paint’s adhesion and durability.
5. Paying attention to details such as color selection, shading, and highlighting can bring out the toy’s features and add depth to the overall appearance. Using fine brushes and practicing patience is key to achieving accurate and impressive results.
Restoring Old Toys with Effective Painting Techniques: How can you Bring New Life to Your Vintage Playthings?
Choosing the Right Paint
When it comes to restoring old toys, selecting the appropriate type of paint is crucial. Depending on the material of the toy, you’ll need to opt for either acrylic, enamel, or oil-based paint. Acrylic paint works well for most surfaces, while enamel provides a shiny and durable finish. On the other hand, oil-based paint is more suitable for metal toys.
Preparing the Toy for Painting
Before you begin repainting, it’s essential to properly prepare the toy’s surface. Start by cleaning it thoroughly to remove any dust, dirt, or old paint remnants. If the toy has any damaged areas, such as cracks or dents, make sure to repair them before proceeding. Sanding the surface gently will provide a smooth base for the new paint.
Priming for Long-Lasting Results
Priming the toy is a vital step that shouldn’t be skipped. By applying a primer, you create a suitable surface for the paint to adhere to, ensuring better adhesion and longevity of the final result. Choose a primer that is compatible with both the type of paint you’re using and the material of the toy.
Applying the Paint
Now comes the fun part – applying the paint! Use a small brush or a sponge applicator to carefully coat the toy’s surface. Start with thin layers, allowing each coat to dry fully before adding another. This technique prevents clumps, uneven coverage, and potential damage to delicate details. If necessary, you can apply multiple coats to achieve the desired color intensity.
Adding Fine Details and Touches
Restoring old toys often involves recreating intricate details or adding new touches to enhance their appearance. For small details, use a fine-tip brush or even a toothpick to achieve precision. Experiment with techniques such as dry brushing or washes to give the toy a weathered or aged look. Don’t forget to protect any existing decals or labels by carefully masking them before painting.
Sealing and Protecting the Final Result
After you’ve finished painting, it’s crucial to seal the toy to protect the new paintwork. Using a clear sealant or varnish will prevent the paint from chipping or flaking over time. Make sure to choose a sealant that suits the type of paint you’ve used and the conditions the toy will be exposed to. Applying multiple thin layers of sealant will provide better protection.
Now that you have a good understanding of the steps involved in restoring old toys with effective painting techniques, here are five tips to ensure successful and enjoyable toy restoration:
1. Patience is Key
Restoring old toys requires time and attention to detail. Take your time and be patient throughout the process to achieve the best results.
2. Research and Reference
Before starting, research the original colors and details of the toy to ensure an accurate restoration. Look for reference images or consult toy collectors’ communities if needed.
3. Test on Inconspicuous Areas
Prior to painting the entire toy, test your chosen paint and techniques on a small, inconspicuous area. This way, you can ensure that the paint adheres well and achieves the desired effect.
4. Take Breaks between Coats
Allow each coat of paint to fully dry before applying the next. Taking breaks between coats will give you a fresh perspective and prevent smudging or accidental damage.
5. Enjoy the Process
Restoring old toys can be a rewarding and nostalgic experience. Embrace the journey and enjoy reviving these beloved playthings from the past.
Restoring Old Toys with Effective Painting Techniques
FAQ
1. Can I use any type of paint for restoring old toys?
No, it is essential to use paints specifically designed for toy restoration. These paints are non-toxic and safe for children to play with. Using other types of paint may not only compromise the safety of the toy but also affect its appearance and durability.
2. Do I need to prepare the surface before painting?
Yes, it is crucial to prepare the surface of the toy before applying any paint. This involves cleaning the toy thoroughly to remove dirt and debris. Sanding the surface can also help create a smooth and even base for the paint.
3. How can I ensure the paint adheres properly to the toy?
To ensure good adhesion, it is recommended to apply a primer before painting. The primer helps the paint stick to the surface and provides a more professional and long-lasting finish.
4. What painting techniques should I use for toy restoration?
There are various techniques you can use, such as brush painting, airbrushing, or spray painting. The technique you choose depends on the complexity of the toy and your level of expertise. Experimenting with different techniques can help you achieve the desired results.
5. How many coats of paint should I apply?
The number of coats needed depends on the desired color and finish. Generally, two to three thin coats are recommended. Applying thin coats allows for better control over the paint and prevents drips or unevenness.
6. How long should I wait between paint coats?
It is crucial to follow the drying time mentioned on the paint can. On average, you should wait at least 24 hours between each coat. This allows the paint to fully dry and prevents smudging or mixing of different colors.
7. Can I restore toys with chipped or missing parts?
Yes, you can restore toys with chipped or missing parts. You can fix minor damages using putty or epoxy and repaint them to match the original design. However, extensive repairs may require professional help or replacement of the damaged parts.
8. How can I add details and intricate designs to the toys?
To add intricate details, you can use small paintbrushes or fine-tip markers. Taking your time and using steady hands can help you achieve precise and detailed designs. Practice on a separate surface before adding the final touches to ensure accuracy.
9. Is it necessary to seal the paint after restoration?
Sealing the paint is not mandatory, but it can provide added protection and longevity to the restored toy. You can use a clear sealant or varnish specifically designed for toys. Make sure to follow the manufacturer’s instructions for the best results.
10. How can I preserve the restored toys?
To preserve the restored toys, keep them away from direct sunlight and high humidity. Store them in a clean and dry environment to prevent any potential damage. Regularly cleaning them with a soft cloth can also help maintain their appearance.
Final Thought
Restoring old toys with effective painting techniques not only brings new life to these cherished items but also allows them to be enjoyed by future generations. By following proper preparation, using the right paints, and being patient with the process, you can transform worn-out toys into beautiful keepsakes.
Remember, toy restoration is a creative and rewarding endeavor that requires attention to detail and a passion for preserving nostalgia. By honing your skills and exploring different painting techniques, you can revive old toys and relive the joy they once brought. So, pick up your paintbrushes and embark on a journey to restore and preserve the memories attached to these beloved toys.