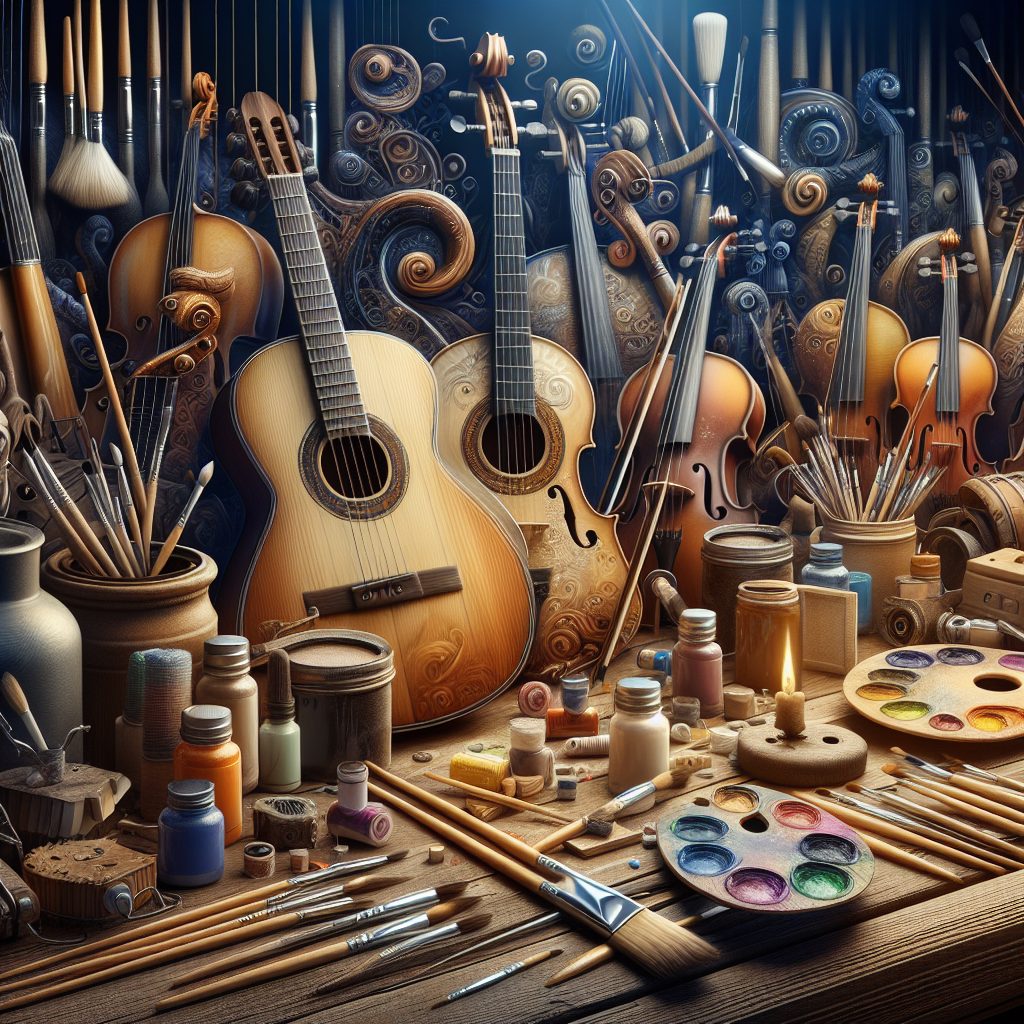
Creative Painting Techniques for Wooden Instruments can transform ordinary musical instruments into stunning works of art. With their ability to add color, texture, and unique designs to wooden surfaces, these techniques offer musicians a chance to express their individuality and enhance their performance. Not only do these techniques create visually striking instruments, but they also have a significant impact on the sound and playability of the instrument. By exploring different painting techniques, musicians can personalize their instruments and create a distinct identity for themselves.
Now that we’ve explored the potential of creative painting techniques for wooden instruments, let’s delve into some key takeaways that will help musicians make the most out of this artistic endeavor. First, we’ll discuss the importance of preparing the wooden surface before applying any paint. This step involves sanding, priming, and sealing the instrument to ensure that the paint adheres properly and remains durable over time. Next, we’ll explore various painting techniques, such as hand-painting, stenciling, and airbrushing, and the unique effects they can create. We’ll also touch upon the significance of choosing the right type of paint and finish to achieve desired results. Lastly, we’ll provide some practical tips on caring for painted instruments to ensure their longevity and continued beauty. Whether you’re a professional musician or an enthusiast, these key takeaways will serve as a helpful guide to unleash your creativity and transform your wooden instrument into a true work of art.
Key Takeaways
1. Explore different painting techniques to enhance the aesthetic appeal and uniqueness of wooden instruments, such as wood graining, marbling, and faux finishes.
2. Consider using specialized paints and materials that are specifically designed for wooden surfaces, as they provide better adhesion, durability, and protection against wear and tear.
3. Prioritize proper preparation and priming of the wooden surface to ensure a smooth and even application of paint, minimizing the risk of chipping or peeling over time.
4. Experiment with different color combinations and design patterns to create personalized and visually stunning effects on wooden instruments, while keeping in mind the overall harmony and balance of the artwork.
5. Don’t be afraid to engage in trial and error, as well as seeking inspiration from other artists and professionals in the field, to continually improve and refine your painting techniques on wooden instruments.
What are the Best SEO-Optimized Creative Painting Techniques for Wooden Instruments?
Choosing the Right Materials and Instruments
When it comes to creative painting techniques for wooden instruments, the first step is to ensure you have the right materials and instruments. Opt for high-quality paints that are specifically designed for wood, ensuring durability and longevity. Additionally, gather the necessary tools such as paintbrushes, sandpaper, and masking tape for precision and smooth application.
Preparing the Surface
Before diving into the painting process, it’s crucial to prepare the surface of the wooden instrument. Start by gently sanding the wood to create a smooth canvas for the paint. This step helps to remove any rough patches, imperfections, or previous coatings. Once sanded, wipe away the dust with a clean cloth to maintain a clean working area.
Creating a Solid Base
To achieve the desired results, it’s crucial to create a solid base for the painting. Begin by applying a primer specifically formulated for wooden surfaces. The primer helps the paint adhere better and improves the overall finish. Choose a primer that is compatible with the type of paint you will be using and allow it to dry completely before proceeding.
Exploring Different Painting Techniques
There are various creative painting techniques you can utilize to enhance the appearance of wooden instruments. Here are a few popular options:
1. Stenciling
Using stencils can add intricate designs and patterns to your wooden instrument. Secure the stencil in place with masking tape and apply paint using a sponge or brush. The result is a professional-looking pattern that adds a unique touch to your instrument.
2. Color Blending
Color blending allows you to create stunning gradients or fade effects. Start by applying a base color and gradually blend additional colors while the paint is wet. Use a dry brush to softly blend the colors until you achieve the desired effect. This technique adds depth and dimension to your instrument.
3. Faux Finishes
Faux finishes replicate the appearance of various materials, such as marble, leather, or wood grains. Achieve these finishes using specific tools or techniques like sponging, ragging, or dragging. Experimenting with faux finishes can impart an elegant and sophisticated look to your wooden instrument.
4. Decoupage
Decoupage involves decorating the surface of the wooden instrument with cut-out images or decorative paper. Use decoupage glue to adhere the materials to the wood and seal it with a layer of varnish or clear coat. This technique opens up endless possibilities for personalization and allows you to create a truly one-of-a-kind instrument.
Protecting and Finishing Touches
To preserve the longevity of your creatively painted wooden instrument, it’s essential to protect it with a clear coat or varnish. Apply a few layers of varnish, allowing each layer to dry completely before applying the next. This final touch not only protects the paint but also adds a beautiful glossy finish to your instrument.
Numbered Guides or Tips for Creative Painting Techniques for Wooden Instruments
1. Ensure adequate ventilation while painting wooden instruments to prevent inhalation of fumes.
2. Experiment with different color combinations and techniques on a sample wood piece before painting the actual instrument.
3. Practice patience and allow each layer of paint or varnish to dry thoroughly before proceeding to the next step.
4. Take your time during the preparation stage to achieve a smooth and even surface.
5. Don’t be afraid to get creative and think outside the box to customize your wooden instrument to your unique style.
And with this, our comprehensive guide to creative painting techniques for wooden instruments comes to an end. Happy painting!
Frequently Asked Questions
1. Can I paint any wooden instrument using these techniques?
Yes, the creative painting techniques discussed in this article can be applied to almost any wooden instrument, such as guitars, violins, flutes, and drums. Just make sure to prepare the surface properly before painting.
2. Do I need any special tools or materials?
Some basic tools and materials are required for creative painting techniques on wooden instruments. You will need sandpaper, primer, paintbrushes, acrylic or enamel paint, and a clear protective finish. Additionally, stencils, masking tape, and sponge brushes can be helpful for achieving certain effects.
3. How do I prepare the wooden surface for painting?
To prepare the wooden surface for painting, start by sanding it thoroughly to remove any existing finish or roughness. Then, clean the surface to remove dust and debris. Applying a primer is recommended to create a smooth base for the paint.
4. Can I use different colors and patterns on my instrument?
Absolutely! Creative painting techniques allow you to experiment with various colors and patterns on your wooden instrument. Whether you prefer a bold and vibrant design or something more subtle and intricate, the choice is yours!
5. How long does it take for the paint to dry?
Drying times can vary depending on factors such as the type of paint used and the environmental conditions. Generally, acrylic paint dries fairly quickly, within a few hours. However, it’s important to let the paint fully cure according to the manufacturer’s instructions before applying a protective finish.
6. Can I apply a clear protective finish over the painted surface?
Yes, applying a clear protective finish is highly recommended to protect the painted surface from damage and ensure its longevity. A clear topcoat, such as polyurethane or lacquer, can help preserve the paint and add a glossy or matte finish.
7. Are there any special care instructions for painted wooden instruments?
While painted wooden instruments are generally durable, it’s important to handle them with care. Avoid exposing them to extreme temperatures or humidity, and always store them in a protective case when not in use. Regularly clean the surface with a soft, lint-free cloth to remove any dirt or fingerprints.
8. Can I remove the paint if I change my mind later?
To remove the paint from a wooden instrument, you will typically need to sand the surface down to its original state. This can be a time-consuming process, so it’s advisable to carefully consider your design before applying the paint.
9. Can I paint only a specific part of the instrument?
Yes, you can choose to paint only certain parts of the instrument, such as the body, headstock, or fingerboard. This can create a unique and customized look while preserving the natural wood finish in other areas.
10. Are there any alternative painting techniques for wooden instruments?
Apart from traditional brush painting, there are alternative techniques you can explore. These include spray painting, airbrushing, marbling, or using different textured materials to create interesting effects. Experiment and let your creativity shine!
Final Thoughts
Exploring creative painting techniques for wooden instruments can bring a whole new level of personalization and aesthetic appeal to your musical experience. Whether you are a professional musician or a hobbyist, adding your own touch to the instrument can make it truly unique and reflective of your personality.
Remember, patience and attention to detail are keys to achieving great results. Take your time to properly prepare the surface, choose the right colors, and practice the painting techniques before applying them to your beloved instrument. With the right approach, you can transform a plain wooden instrument into a stunning work of art, enhancing both its visual appeal and your playing experience.