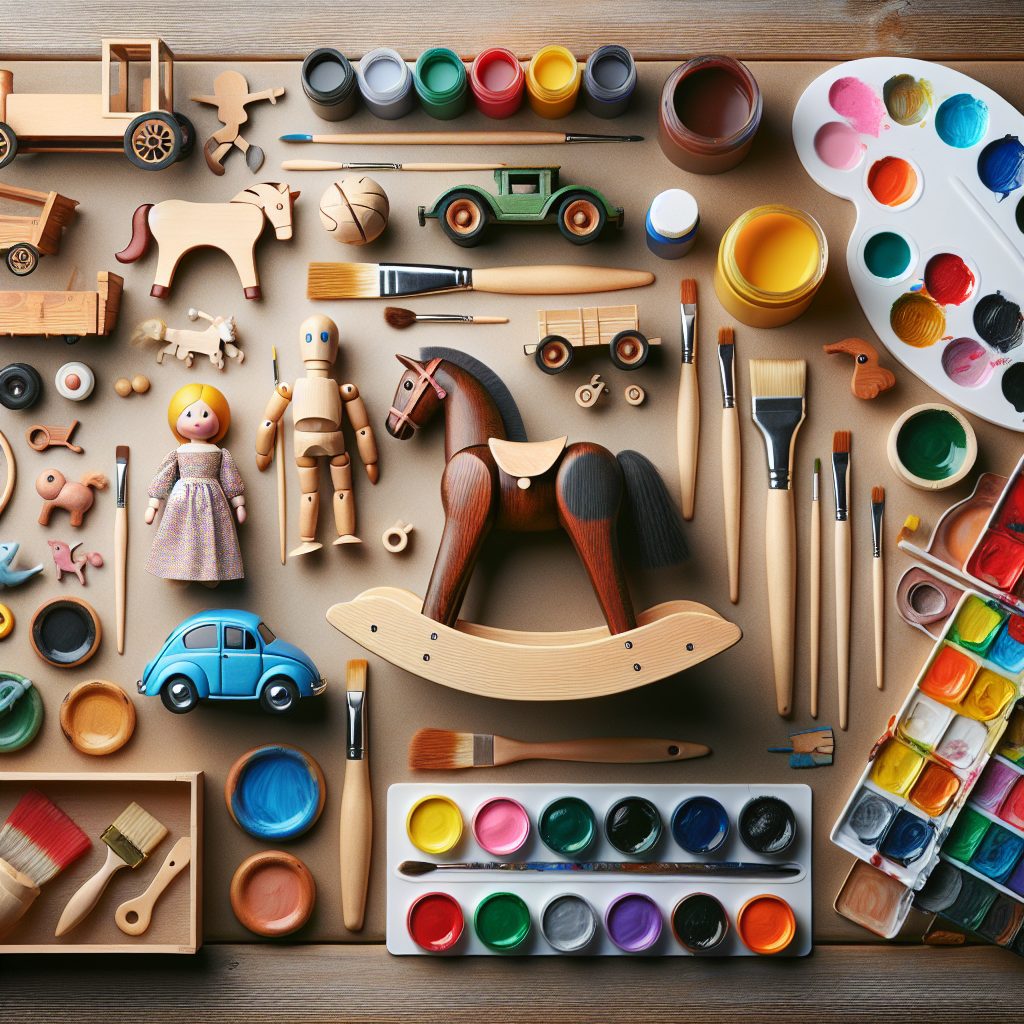
Customizing toys is a fun and imaginative activity that allows you to personalize your playthings according to your unique style and preferences. DIY toy painting is a popular method of customization, where you can transform ordinary toys into personalized masterpieces. This creative process not only offers a chance to unleash your artistic talents but also adds a touch of individuality to your toy collection. By exploring various painting techniques and ideas, you can create one-of-a-kind toys that stand out from the rest.
When it comes to customizing toys through painting, the possibilities are endless. From giving a fresh coat of paint to old toys to creating intricate designs on blank canvases, DIY toy painting allows you to unleash your creativity to the fullest. One of the key advantages of customizing toys through painting is that it gives you the freedom to choose colors, patterns, and themes that reflect your personality and interests. Whether you want to turn an action figure into a superhero of your own creation or give a vintage doll a modern touch, toy painting provides an opportunity to bring your imagination to life.
Now that we’ve explored the concept of DIY toy painting, let’s delve into some key takeaways that will help you get started on your own toy customization journey. We will discuss different toy painting techniques, must-have supplies for beginners, and some inspiring ideas to ignite your creativity. So, grab your paintbrushes, gather your toys, and get ready to embark on an exciting adventure in the world of toy customization.
Key Takeaways
1. DIY toy painting allows for creative customization of toys, giving them a unique and personal touch. It is a fun and creative way to breathe new life into old or plain toys.
2. Various painting techniques, such as using acrylic paints, spray paints, or even fabric markers, can be used to transform toys into vibrant and eye-catching masterpieces. Experimenting with different materials and tools can result in stunning effects.
3. Before starting the painting process, it is important to prep the toy properly by cleaning and sanding it. This ensures that the paint adheres well and provides a smooth surface for the desired design. Additionally, using a primer can help improve paint adhesion and durability.
4. Stencils, stamps, and masking techniques can be employed to achieve intricate and precise designs. These helpful tools make it easier to create patterns, characters, or specific details on the toy’s surface, even for those who may not have advanced painting skills.
5. Toy painting can be a fantastic activity for kids and adults alike. It not only enhances creativity and artistic expression but also allows for a bonding experience when painting together. Moreover, customized toys can serve as unique gifts, decorative items, or even potential collectibles for individuals who appreciate custom-painted toys.
What are some SEO-Optimized Title Alternatives for Creative DIY Toy Painting Ideas for Customizing Toys?
Section 1: Materials Needed for Toy Painting
To begin customizing your toys with paint, you will need certain materials at hand. These include brushes of various sizes, acrylic or water-based paints, a palette or mixing surface, water jars for cleaning brushes, paper towels for drying brushes, and masking tape for creating clean lines or protecting specific areas.
Section 2: Preparing the Toy for Painting
Before diving into the paint, it is important to prepare the toy properly. Start by cleaning the toy thoroughly with soap and water to remove any dirt or grease. If the toy has any imperfections or rough edges, consider sanding them down to create a smoother surface. Additionally, apply a layer of primer to ensure better adherence of the paint.
Section 3: Toy Painting Techniques
There are various techniques to explore when painting toys. Let’s delve into a few:
3.1 Brush Painting
Brush painting is a common technique that allows for precise detailing. Use fine brushes for intricate designs or larger brushes for broader strokes. Experiment with blending colors, layering shades, and adding texture to bring your toy to life.
3.2 Spray Painting
Spray painting can provide a smooth, even finish over larger areas. It is important to use spray paints specifically formulated for toys and ensure proper ventilation while spraying. Consider masking off areas that you don’t want to be painted to achieve clean lines.
3.3 Stencil Art
Using stencils can add unique patterns and designs to your toys. Acquire or create stencils of various shapes and sizes, then secure them onto the toy with masking tape. Apply paint over the stencil, remove it carefully, and reveal the intricate design left behind.
Section 4: Toy Painting Safety Tips
While enjoying the process of customizing toys, safety should always be a priority. Here are some essential safety tips to keep in mind:
4.1 Choose Non-Toxic Paints
Ensure the paints you use are labeled non-toxic, especially if the toys are meant for children. This guarantees the safety of users, including young ones who may come in contact with the toys.
4.2 Work in a Well-Ventilated Area
Toxic fumes from paints can be harmful when inhaled. Always work in a well-ventilated space, preferably outdoors. If you must work indoors, open windows or use a fan to circulate the air.
4.3 Wear Protective Gear
Protect your skin and eyes by wearing gloves, goggles, and a protective apron or clothing. This prevents accidental exposure to paint chemicals or splatters.
Section 5: Ideas for Toy Painting Customization
Now, let’s get those creative juices flowing! Here are some fantastic ideas for customizing toys through painting:
5.1 Unique Color Combinations
Experiment with unexpected color combinations to give your toys a fresh and eye-catching look. Consider contrasting shades, complementary colors, or even a monochromatic theme for a sleek appearance.
5.2 Theme-Based Designs
Create a themed design by painting your toys to represent a particular concept or pattern. This could include animal prints, galaxy-inspired patterns, or even favorite cartoon characters.
5.3 Personalized Details
Add personalized details to your toys by including names, initials, or significant symbols. This adds a special touch and makes the toy truly one-of-a-kind.
5.4 Weathering and Aging Effects
Give your toys a weathered or aged appearance by using painting techniques such as dry brushing, washes, or adding faux rust or wear. This can make them look more realistic or add a unique vintage charm.
5.5 Glow-in-the-Dark Accents
For an extra touch of fun, incorporate glow-in-the-dark paint into your toy customization. Apply it to specific highlights, patterns, or details for a magical effect when the lights go out.
How to Safely Clean Painted Toys?
1. Gently wipe painted toys with a soft, damp cloth to remove surface dust and dirt.
2. Avoid using abrasive cleaners or scrubbing vigorously, as this may damage the painted surface.
3. If necessary, use mild soap and water to clean more stubborn stains, gently rubbing with a soft cloth or sponge.
4. Ensure the toys are completely dry before storing or displaying them to avoid moisture damage.
5. Regularly inspect the toy’s paint for signs of wear or chipping, and make touch-ups as needed to maintain its appearance.
Frequently Asked Questions
1. Can I use any type of paint to customize my toys?
Yes, you can use various types of paints for customizing your toys. However, it is important to consider the material of your toy and choose a paint that is suitable for it. Acrylic paints are generally a safe choice for most types of toys.
2. Do I need to prepare the surface of the toy before painting?
Yes, it is crucial to prepare the surface of your toy before painting to ensure proper adherence of the paint. Clean the toy thoroughly and use sandpaper or a primer to create a smooth and even surface for the paint.
3. How can I ensure that the paint on my toy doesn’t chip or fade?
To prevent chipping or fading, it is recommended to apply a clear sealant or varnish over the painted surface of your toy once the paint has dried completely. This will provide a protective layer and help maintain the longevity of your customizations.
4. Are there any safety precautions I should keep in mind while painting toys?
Absolutely! When painting toys, make sure to work in a well-ventilated area to avoid inhaling any harmful fumes. Additionally, always opt for non-toxic paints that are safe for children, especially if the toy will be handled by kids.
5. Can I repaint a toy that already has paint on it?
Yes, you can repaint a toy that already has paint on it. However, it is important to remove the existing paint by sanding or stripping it off before applying a new coat of paint. This will ensure better adhesion and a smoother finish.
6. Can I use stencils or templates for more intricate designs?
Definitely! Stencils or templates can be a fantastic tool for creating intricate designs on your toy. They help achieve precise shapes and patterns, even if you might not have advanced artistic skills.
7. How can I create a glossy or matte finish on my toy?
To achieve a glossy finish, you can use a glossy varnish or clear coat after painting your toy. If you prefer a matte finish, opt for a matte varnish or mix a matte medium with your paint to achieve the desired effect.
8. Can I use spray paint for customizing my toys?
Yes, spray paint can be used for customizing toys. However, it is important to follow the instructions carefully and spray in a well-ventilated area to avoid inhalation of the fumes. Additionally, cover any parts of the toy that you don’t want to be painted.
9. How can I incorporate different textures into my toy painting?
You can incorporate different textures into your toy painting by using tools like sponges, brushes with different bristle types, or even by experimenting with different application techniques, such as dabbing or stippling.
10. Can I paint toys made of various materials, such as plastic, wood, or metal?
Yes, you can paint toys made of various materials. However, it is important to choose a paint that is compatible with the specific material of your toy. Acrylic paints are generally versatile and work well on plastic, wood, and some metal surfaces.
Final Thoughts on Creative DIY Toy Painting Ideas for Customizing Toys
Customizing toys through painting is an enjoyable and creative way to bring a personal touch to your toy collection. Not only does it allow you to express your artistic side, but it also provides a unique way to breathe new life into old or dull toys.
Remember, when exploring DIY toy painting ideas, it’s crucial to prioritize safety by using non-toxic paints and working in well-ventilated areas. Additionally, don’t be afraid to experiment with different techniques, colors, and textures to create eye-catching and one-of-a-kind customizations that will delight both children and adults alike.

