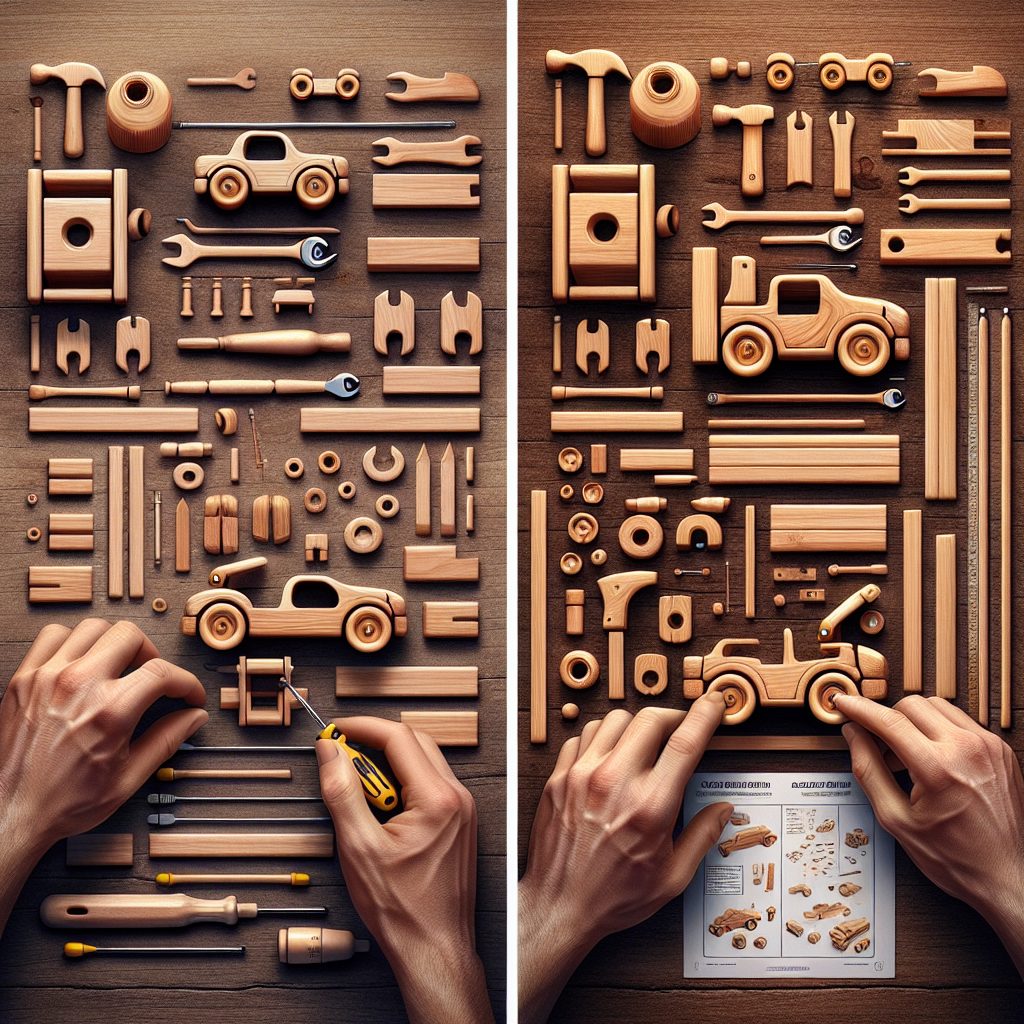
Assembling a DIY Wooden Toy Repair Kit is a valuable skill for any parent or caregiver. Not only does it save money by avoiding costly repairs or replacements, but it also provides a sense of empowerment and self-sufficiency. The ability to fix and maintain wooden toys not only prolongs their lifespan but also teaches children the value of resourcefulness and creativity.
Wooden toys have a timeless charm and durability that make them a beloved choice for children’s playtime. However, they are not indestructible, and wear and tear are inevitable. This is where a DIY wooden toy repair kit becomes indispensable. By understanding the basic techniques and having the necessary tools at hand, parents can easily address common issues such as loose joints, chipped paint, or broken pieces. Moreover, the process of repairing these toys can offer an opportunity for bonding and learning with your child.
In the upcoming sections, we will explore the essential components of a DIY wooden toy repair kit. We will discuss the must-have tools, materials, and techniques that will enable you to tackle various repairs with confidence. Additionally, we will provide helpful tips and tricks to ensure your repairs are effective and long-lasting. Let’s dive in and discover the key takeaways to help you assemble a comprehensive and efficient wooden toy repair kit.
Key Takeaways
1. Essential Tools: A well-equipped DIY wooden toy repair kit should include staple tools such as a hammer, screwdrivers, pliers, sandpaper, and wood glue. These tools cover the basic repairs and adjustments you may need to make to wooden toys.
2. Careful Inspection: Before attempting any repairs, thoroughly examine the wooden toy for any damage or loose parts. Look for splintered or cracked wood, loose joints, missing screws, or any other issues that need to be addressed. Take note of the areas that require attention to prioritize your repairs.
3. Repairing Loose Joints: Loose joints are a common problem in wooden toys. To fix them, apply wood glue to the joint and gently clamp the pieces together until the glue dries. If the joint has a screw, tighten it before applying the glue to provide extra stability.
4. Sanding and Refinishing: Over time, wooden toys can become worn or damaged. Sanding the surface removes rough edges, smoothens the wood, and prepares it for refinishing. Applying a non-toxic, child-safe finish like beeswax or mineral oil can protect and revive the toy’s appearance.
5. Ensuring Safety: Safety should be the foremost concern when repairing wooden toys. Inspect for potential hazards such as sharp edges, splinters, or loose parts that could be a choking hazard. Always use non-toxic materials suitable for children and make sure the repaired toy is safe for play once the repairs are completed.
Why is a DIY Wooden Toy Repair Kit Essential?
A DIY wooden toy repair kit is an essential tool for any parent or caregiver to have on hand. Kids love to play with their toys, and over time, these toys can get damaged or broken. Instead of throwing them away and buying new ones, a DIY wooden toy repair kit allows you to easily fix the toys and extend their lifespan. Not only does this save money, but it also teaches children the value of taking care of their belongings and the importance of repairing rather than replacing.
Tools and Materials Needed
To assemble a DIY wooden toy repair kit, you will need several tools and materials. Here is a comprehensive list:
- Wood glue
- Sandpaper (various grits)
- Wood filler
- Clamps
- Wooden dowels
- Modeling clay
- Wooden paint stirrers
- Paintbrushes
- Small screws and screwdriver
- Hobby knife
- Measuring tape
Step-by-Step Guide to Assembling a DIY Wooden Toy Repair Kit
Follow these steps to assemble your own DIY wooden toy repair kit:
Step 1: Gather the Tools and Materials
Collect all the necessary tools and materials listed above. Ensure they are in good condition and easily accessible.
Step 2: Organize and Label
Set up a designated area or container for your kit. Arrange the tools and materials in an organized manner and label them accordingly to easily locate what you need in the future.
Step 3: Inspect and Clean
Before repairing any toys, inspect them closely for damages or missing parts. Clean the toys using a mild detergent and water if necessary, ensuring they are free from dirt and debris.
Step 4: Glue and Clamp
If there are any loose or broken wooden parts, apply wood glue to the surfaces and carefully press them together. Secure the pieces with clamps until the glue dries completely.
Step 5: Fill and Sand
For any holes or gaps in the wooden toys, use wood filler to fill them in. Once the filler is dry, sand the repaired areas using sandpaper of various grits to achieve a smooth finish.
Step 6: Reinforce with Dowels
In case of severely damaged areas or joints, reinforce them using wooden dowels. Drill holes into the affected pieces, apply glue, and insert the dowels. Trim any excess dowel and sand the area for a seamless appearance.
Step 7: Sculpt and Shape with Clay
If the toy has decorative or intricate details, use modeling clay to sculpt and shape missing parts. Once the clay hardens, paint it to match the toy’s original appearance.
Step 8: Paint and Finish
Apply paint to the repaired areas or the entire toy, depending on the level of damage and desired outcome. Use wooden paint stirrers and paintbrushes for precise application. Allow proper drying time before letting the child play with the toy.
Tips for Effective DIY Wooden Toy Repairs
- Ensure you have a well-ventilated workspace when working with wood glue and paint.
- Always follow the manufacturer’s instructions for the tools and materials you are using.
- Practice patience and take your time, as rushing repairs may result in subpar quality.
- Label each repaired toy with the repair date for future reference and tracking.
- Regularly maintain and inspect the toys to prevent further damage and potential hazards.
Frequently Asked Questions
1. What is a DIY Wooden Toy Repair Kit?
A DIY Wooden Toy Repair Kit is a collection of tools and materials that you can use to repair and restore wooden toys. It typically includes items such as sandpaper, wood glue, clamps, paint, brushes, and various small hand tools.
2. Why should I consider assembling a DIY Wooden Toy Repair Kit?
Assembling a DIY Wooden Toy Repair Kit allows you to easily fix any damages or wear and tear on your wooden toys without having to replace them entirely. It enables you to save money and retain the sentimental value of cherished toys.
3. What are the essential tools and materials I need for a DIY Wooden Toy Repair Kit?
The essential tools and materials for a DIY Wooden Toy Repair Kit include sandpaper of different grits, a variety of paintbrushes, wood glue, clamps, a small hammer, a coping saw, acrylic paint in various colors, fine-grit sanding blocks, and a clear coat sealer.
4. How do I use a DIY Wooden Toy Repair Kit?
To use a DIY Wooden Toy Repair Kit, start by assessing the damage on your wooden toy and identifying the necessary repairs. Use sandpaper to smooth any rough edges or surfaces, apply wood glue to fix broken parts, and use clamps to hold them together while drying. Then, repaint any areas that need a touch-up and apply a clear coat sealer for protection.
5. Can a DIY Wooden Toy Repair Kit be used for any type of wooden toy?
Yes, a DIY Wooden Toy Repair Kit can be used for most types of wooden toys. Whether it’s a small figurine, a puzzle, a dollhouse, or a larger playset, the tools and materials in the kit are versatile enough to handle various repair needs.
6. Where can I purchase the tools and materials for a DIY Wooden Toy Repair Kit?
You can purchase the tools and materials for a DIY Wooden Toy Repair Kit from your local hardware store, craft store, or online retailers specializing in woodworking supplies. Make sure to compare prices, read reviews, and choose high-quality materials for best results.
7. Are there any safety precautions I should take when using a DIY Wooden Toy Repair Kit?
When using a DIY Wooden Toy Repair Kit, it is important to wear safety goggles and protective gloves, especially when using tools such as saws and sandpaper. Make sure to follow any instructions or warnings provided by the tools and materials you are using to ensure your safety.
8. Can a DIY Wooden Toy Repair Kit be used for repairing other wooden items?
While a DIY Wooden Toy Repair Kit is specifically designed for repairing wooden toys, many of the tools and materials can also be used to repair other small wooden items, such as furniture, decorations, or wooden utensils. However, for larger or more complex repairs, it may be necessary to seek professional help.
9. How long does it take to assemble a DIY Wooden Toy Repair Kit?
The time it takes to assemble a DIY Wooden Toy Repair Kit can vary depending on your access to the necessary tools and materials. If you already have them on hand, it should only take a short amount of time to gather and organize them. However, if you need to purchase everything, it may take a bit longer.
10. Can I customize my DIY Wooden Toy Repair Kit according to my specific needs?
Absolutely! You can customize your DIY Wooden Toy Repair Kit based on your specific needs and preferences. You may add additional tools or materials that you believe will be useful, or exclude items that you do not anticipate using.
Final Thoughts
Assembling a DIY Wooden Toy Repair Kit can be a rewarding and practical endeavor for any toy enthusiast or parent. It empowers you to extend the lifespan of your favorite wooden toys while nurturing your creativity and problem-solving skills. The process of repairing and restoring these toys not only saves you money but also encourages sustainable consumption by reducing waste.
Furthermore, having a DIY Wooden Toy Repair Kit on hand allows you to teach children valuable lessons about resourcefulness, patience, and the importance of taking care of their belongings. It promotes a sense of pride and ownership as they actively participate in the revival of their beloved toys, fostering a positive mindset towards repairs and maintenance.

