Recoloring Techniques for Refreshing Wooden Toys
Wooden toys have been a beloved childhood staple for generations, offering both entertainment and educational benefits. However, over time, these toys might lose their vibrant colors and begin to show signs of wear and tear. That’s where recoloring techniques come into play, allowing you to breathe new life into these cherished toys. By exploring various methods and materials for refreshing wooden toys, you can restore their charm and ensure they continue to bring joy to future generations.
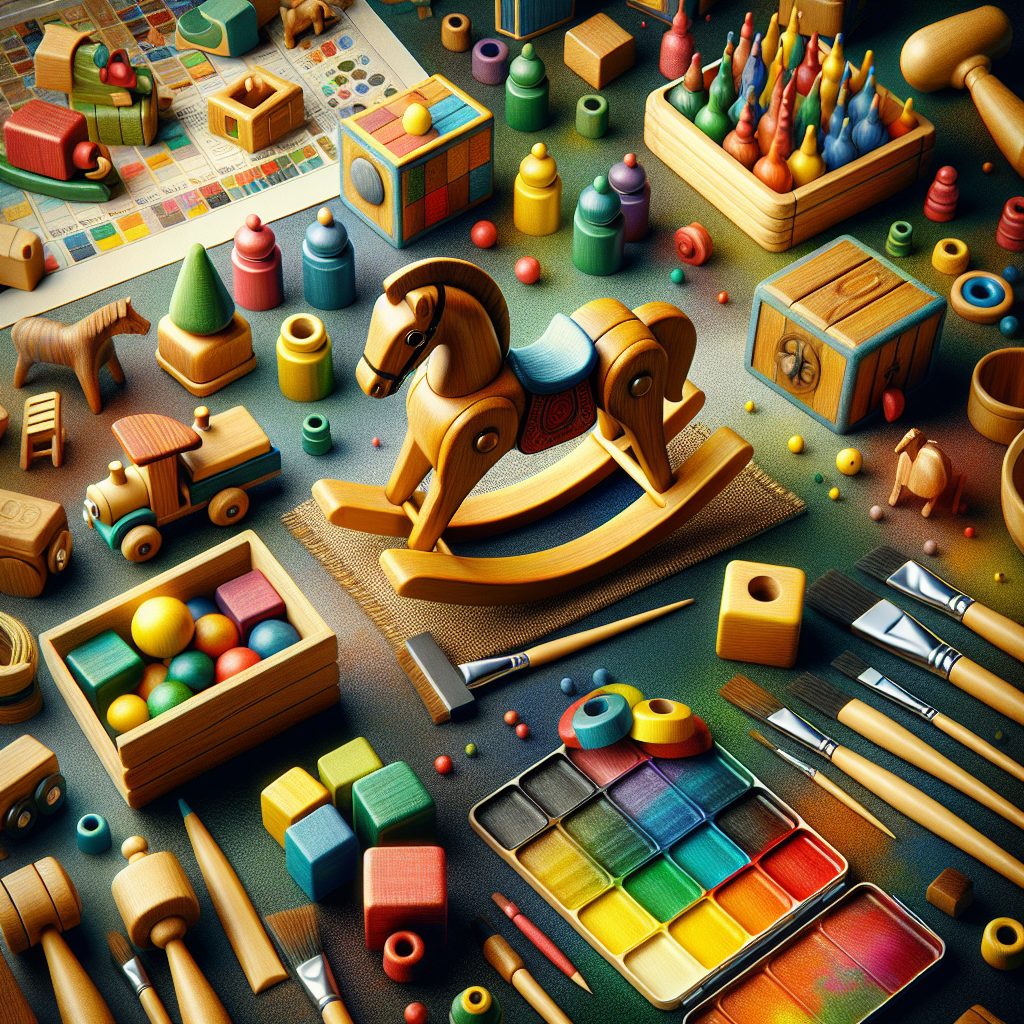
One unique aspect of recoloring wooden toys is the vast array of techniques available. From painting to staining to using natural dyes, there are numerous options to choose from based on your preferences and the desired outcome. Each method offers its own set of benefits and impacts, allowing you to customize the look of the toys according to your taste. Additionally, recoloring offers the opportunity to enhance the aesthetic appeal of wooden toys, turning them into eye-catching masterpieces that can also serve as decorative items.
In the upcoming sections of this article, we will delve into the key takeaways related to recoloring techniques for refreshing wooden toys. We will explore different methods such as painting, staining, and using natural dyes, discussing their unique features and effects on the toys. By the end, you will have a comprehensive understanding of how to revive and preserve the vibrancy of these beloved playthings. So, let’s dive in and discover the secrets to transforming your wooden toys into stunning works of art.
Key Takeaways
1. Proper sanding and cleaning is essential before attempting to recolor wooden toys. This helps to remove any old paint or varnish and prepares the surface for the new color.
2. Stain and dye can be used to enhance the natural grain of the wood and give the toy a more polished look. They allow for a translucent finish that preserves the wood’s texture.
3. Applying multiple coats of paint can create a vibrant and uniform color on wooden toys. It is important to let each coat dry completely before applying the next, and to use a brush or sponge to ensure even coverage.
4. Adding a protective sealant or varnish to recolored wooden toys is crucial for long-lasting durability. This not only enhances the toy’s appearance but also prevents the color from fading or chipping over time.
5. Experimenting with different recoloring techniques, such as distressing or antiquing, can add unique character and charm to wooden toys. These techniques involve the use of sandpaper, wax, or even baking soda to create interesting textures and aged effects.
1. How to Optimize Wooden Toy’s Appearance With Recoloring Techniques?
Choosing the Right Recoloring Method
When it comes to refreshing wooden toys, selecting the appropriate recoloring technique is crucial. Different methods yield different results, so it’s essential to assess your toy’s condition and desired outcome. Here are a few popular recoloring techniques to consider:
1. Sanding and Staining
Sanding the wooden toy‘s surface will remove any existing paint or varnish, allowing you to apply a new stain. Stains come in various shades, enabling you to achieve the desired color and enhance the wood’s natural grain. Remember to follow the instructions on the staining product for the best results.
2. Painting with Acrylics
If you wish to completely change the toy’s color or add decorative elements, acrylic paint is an excellent choice. It offers a wide range of vibrant colors and provides good coverage. Make sure to apply multiple thin coats, allowing each layer to dry thoroughly before applying the next one.
3. Using Wood Dyes
Wood dyes are an excellent option if you want to retain the natural look of the wood while enhancing its color. They penetrate the wood fibers, resulting in a rich, transparent hue. Experiment with different dyes and dilution ratios to achieve the desired effect.
4. Decoupage
Decoupage involves decorating the wooden toy with paper cutouts or images. Mix decoupage glue with water, apply it to the toy’s surface, and carefully arrange the chosen paper designs. Once dry, apply a top coat of sealant to protect the decoupage and ensure its longevity.
Preparing the Toy for Recoloring
Before diving into the recoloring process, it’s crucial to prepare the wooden toy adequately. Follow these steps to ensure a smooth and successful recoloring process:
1. Cleaning the Toy
Begin by thoroughly cleaning the toy. Remove any dirt, dust, or grime using a gentle detergent solution and a soft cloth. Ensure that all surfaces are clean and dry before proceeding with the recoloring process.
2. Repairing Damages
Inspect the toy for any damages such as cracks, chips, or loose joints. Repair them using appropriate wood putty, glue, or other recommended repair materials. Allow enough time for the repairs to dry and set before moving on to the recoloring step.
3. Sanding the Surface
Gently sand the toy’s surface using fine-grit sandpaper. This step helps to remove any roughness, previous coatings, or imperfections. Sanding also creates a better surface for the new color to adhere to. Remember to wipe away any sanding residue before proceeding further.
Applying the Recoloring Technique
Now that your wooden toy is properly prepared, it’s time to apply the chosen recoloring technique:
1. Step-by-Step Instructions
Follow the step-by-step instructions specific to your recoloring method. Whether you’re sanding and staining, painting with acrylics, using wood dyes, or decoupaging, carefully follow the recommended techniques and application guidelines.
2. Take Your Time
Recoloring wooden toys requires patience and attention to detail. Take your time and work in a well-ventilated area. Apply each layer evenly, allowing sufficient drying time between coats. Properly curing the recoloring technique ensures it lasts and withstands playtime.
Tips for Maintaining Recolored Wooden Toys
- Regularly inspect your recolored wooden toys to identify any signs of wear or damage.
- Wipe the toys clean with a soft, dry cloth to remove any dust or dirt.
- Avoid exposing recolored toys to excessive moisture or direct sunlight to prevent fading or warping.
- Consider applying a protective sealant or varnish to extend the lifespan of the recoloring.
- Encourage gentle play and storage to minimize the risk of scratches or chipping.
Frequently Asked Questions
1. Can I recolor painted wooden toys?
Yes, you can recolor painted wooden toys. However, it is important to properly prepare the surface by removing the existing paint using sandpaper or a paint stripper. Once the surface is clean and smooth, you can apply a new coat of paint using non-toxic, child-safe paint.
2. What type of paint is best for recoloring wooden toys?
When recoloring wooden toys, it is crucial to use non-toxic and child-safe paint. Look for paints that are specifically designed for use on toys and comply with safety regulations such as ASTM F963. Water-based acrylic paints or milk paints are excellent options as they are safe, easy to work with, and provide a durable finish.
3. How do I ensure a smooth finish when recoloring wooden toys?
To achieve a smooth finish, start by sanding the surface of the wooden toy using fine-grit sandpaper. This helps remove any imperfections and creates a smooth base for the new paint. After applying the paint, use a high-quality paintbrush or foam brush to evenly spread the paint, following the wood grain. Apply multiple thin coats rather than one thick coat for a flawless finish.
4. Can I use spray paint for recoloring wooden toys?
Spray paint can be used to recolor wooden toys, but it requires careful application. Ensure that you are using a child-safe spray paint specifically formulated for toys. Before spray painting, protect the surrounding area with newspaper or a drop cloth. Apply thin, even coats of paint, allowing each coat to dry before applying the next one. Always work in a well-ventilated area and follow the instructions provided by the manufacturer.
5. How can I remove old stains or discoloration from wooden toys?
To remove old stains or discoloration from wooden toys, you can use a wood cleaner or a mixture of water and vinegar. Apply the cleaner or vinegar solution to a clean cloth and gently rub the surface of the toy in circular motions. Rinse the toy with water and let it dry completely before applying a new coat of paint or finish.
6. Should I apply a sealer or varnish after recoloring wooden toys?
Applying a sealer or varnish after recoloring wooden toys helps protect the paint and enhances its longevity. Look for water-based sealers or varnishes that are safe for children. Before applying the sealer, make sure the paint is fully dry. Use a clean brush to apply thin, even coats of the sealer, allowing sufficient drying time between each coat.
7. Can I use natural dyes for recoloring wooden toys?
Yes, natural dyes can be used to recolor wooden toys, providing a safe and eco-friendly alternative. Beetroot, turmeric, blueberries, and spinach are some natural ingredients that can be used to create dyes. However, it is important to note that natural dyes may not be as long-lasting as commercial paints, and the color intensity may vary.
8. How can I ensure the safety of recolored wooden toys?
To ensure the safety of recolored wooden toys, always choose paints, dyes, and sealers that are specifically labeled as non-toxic and suitable for toys. Follow the manufacturer’s instructions carefully and ensure proper ventilation during the coloring process. Allow the toys to dry and cure completely before giving them to children to play with.
9. Can I repaint toys that have small parts or joints?
Yes, you can repaint toys that have small parts or joints. However, be cautious while disassembling and reassembling the toy to avoid any damage. Take extra care to prevent paint from clogging the joints, as it can affect the functionality or movement of the toy. Use appropriate brushes or small tools to reach difficult areas.
10. Can I color wooden toys without removing the existing finish?
While it is generally recommended to remove the existing finish before recoloring wooden toys for optimal results, there are products available that allow you to color over the existing finish. These products are specifically designed to adhere to the surface without the need for sanding or stripping. However, it is important to understand that the final appearance and durability may vary depending on the condition of the existing finish.
Final Thoughts on Recoloring Techniques for Refreshing Wooden Toys
Recoloring wooden toys can be a rewarding and creative project, breathing new life into old and worn-out favorites. Whether you choose to repaint, use natural dyes, or apply creative techniques, it is essential to prioritize safety. Always opt for child-safe and non-toxic materials, carefully following instructions and allowing sufficient drying and curing time. Proper surface preparation, such as sanding and cleaning, ensures a smooth and flawless finish. Remember, the joy on a child’s face when they receive a refurbished toy is priceless, making your efforts truly worthwhile.