The Art of Hand-Painting Wooden Instruments for Kids is a captivating and innovative craft that combines the timeless beauty of music with the creativity of painting. Hand-painted wooden instruments not only serve as beautiful decor pieces but also provide a unique sensory experience for children. This ancient practice traces its roots back to indigenous cultures, where artisans would intricately adorn instruments with vibrant colors and intricate designs. Today, this art form has evolved into a beloved pastime for both kids and adults alike.
One of the key impacts of hand-painting wooden instruments for kids is its ability to foster creativity and self-expression. By encouraging children to customize their own instruments, they are given the opportunity to unleash their imagination and create something entirely unique. This process not only stimulates their artistic abilities but also instills a sense of pride and ownership over their creations. Moreover, hand-painting wooden instruments can also be a valuable tool for cognitive development, as it requires attention to detail, fine motor skills, and color coordination.
Moving forward, this article will delve deeper into the world of hand-painting wooden instruments for kids, exploring different techniques, tips, and ideas for creating stunning designs. Whether you are a parent, teacher, or simply someone interested in arts and crafts, the following key takeaways will provide you with valuable insights to embark on this enchanting journey. So, let’s dive in and discover how the art of hand-painting wooden instruments can inspire creativity and bring joy to the hearts of children.
Key Takeaways
1. Hand-painting wooden instruments for kids is a creative and artistic way to personalize and enhance their musical experience.
2. When hand-painting wooden instruments for kids, it is important to use non-toxic, child-safe materials and paints to ensure their safety.
3. The process of hand-painting wooden instruments involves sanding, priming, painting, and sealing the surface to create a durable and long-lasting finish.
4. Hand-painting wooden instruments allows for endless possibilities of designs, patterns, and colors, allowing children to express their creativity and individuality.
5. Personalized hand-painted wooden instruments not only make great gifts, but also provide a unique and engaging way to introduce children to the world of music and artistic expression.
1. How can you create stunning hand-painted wooden instruments for kids?
Section 1: Choosing the Right Wooden Instrument
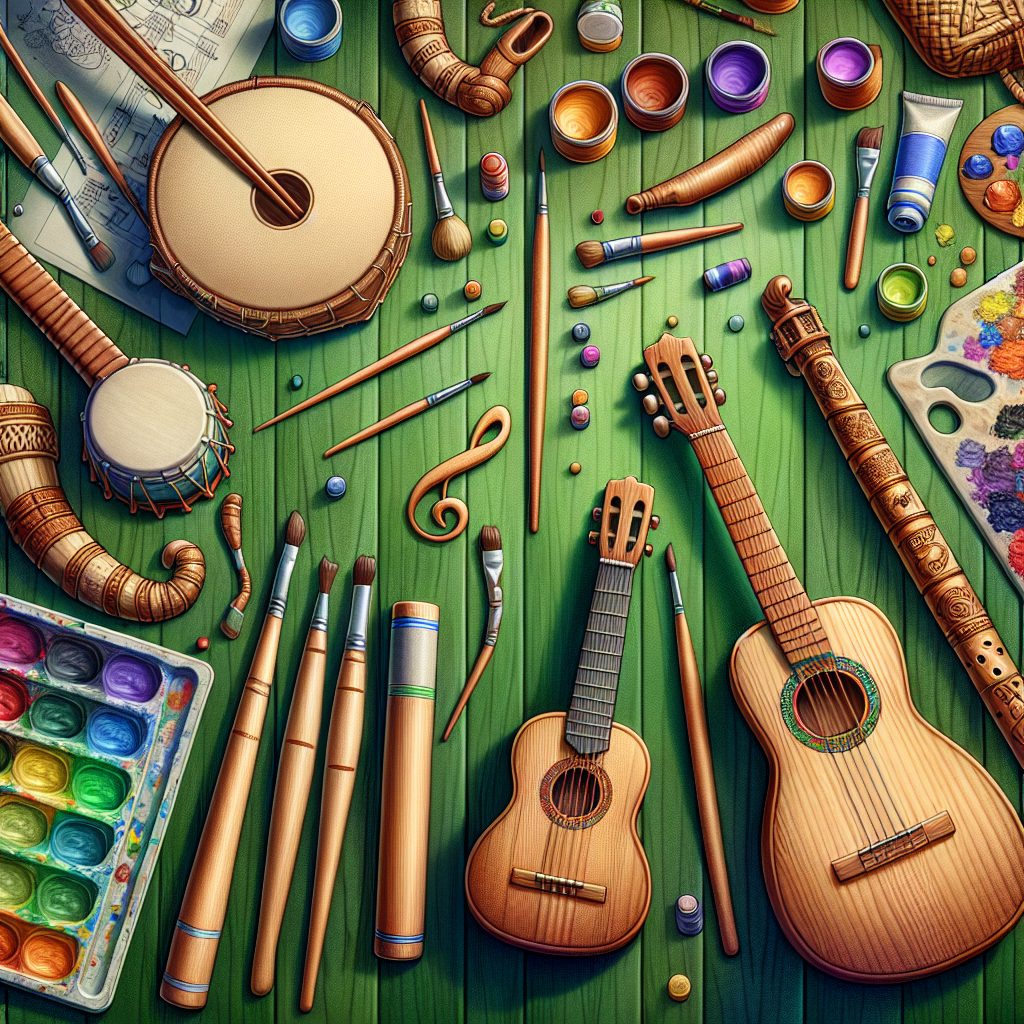
When embarking on the art of hand-painting wooden instruments for kids, it is crucial to start with selecting the perfect instrument. Consider the child’s age, preferences, and musical interests. Popular choices include guitars, xylophones, flutes, and drums. Ensure the instrument is made from high-quality wood to provide a sturdy canvas for your artwork.
Section 2: Preparing the Instrument
Before you begin painting, thorough preparation is essential to guarantee a successful outcome. Start by cleaning the surface of the wooden instrument to remove any dust or debris. Lightly sand it using fine-grit sandpaper to create a smooth texture for the paint to adhere to. Wipe off any sanding residue, ensuring a clean and even surface.
Section 3: Choosing the Right Paint
Selecting the appropriate paint is crucial for creating vibrant and long-lasting designs on wooden instruments. Opt for acrylic or water-based paints, as they offer excellent adhesion and durability. These paints are also safe for children and environmentally friendly. Explore a wide range of colors to bring your artistic vision to life.
Section 4: Sketching and Designing
Unique and captivating designs can enhance the visual appeal of hand-painted wooden instruments. Begin by sketching your ideas on paper or directly on the instrument using a pencil. Simplify complex designs into manageable shapes, ensuring they are age-appropriate for children. This stage allows you to plan and visualize your artwork before applying paint.
Section 5: Painting Techniques
To achieve stunning results, familiarize yourself with various painting techniques. Use thin brushes for intricate details and broader brushes for larger areas. Experiment with techniques such as layering, blending, and shading to add depth and dimension to your artwork. Consider incorporating patterns, lines, and textures to create a visually engaging masterpiece.
Section 6: The Finishing Touches
Once you have completed the painting process, it’s essential to protect your artwork and the wooden instrument. Apply a clear topcoat or varnish to seal the paint and enhance its longevity. This protective layer will safeguard the design from scratches, moisture, and fading over time. Allow sufficient drying time as per the manufacturer’s instructions.
Section 7: Caring for Hand-Painted Wooden Instruments
Proper maintenance of hand-painted wooden instruments is crucial to preserve their beauty and functionality. Store them in a safe and dry place when not in use. Regularly clean the instrument with a soft cloth to remove dust and fingerprints, avoiding abrasive cleaners that may damage the paint. Inspect the instrument periodically for any signs of wear or damage and address them promptly.
Section 8: Tips for Engaging Kids in the Hand-Painting Process
1. Involve children in the design process by allowing them to contribute their ideas and preferences.
2. Ensure the environment is safe and well-ventilated, providing aprons and protective gear as necessary.
3. Encourage creativity by providing a variety of paint colors and brushes.
4. Supervise children closely during the hand-painting process to ensure safety and guide their artistic endeavors.
5. Offer praise and appreciation for their efforts to boost their confidence and foster a love for art.
Section 9: How Can Hand-Painting Wooden Instruments Benefit Kids?
The art of hand-painting wooden instruments offers numerous benefits for kids. It enhances their creativity, fine motor skills, and hand-eye coordination. This hands-on activity promotes self-expression, fosters a sense of accomplishment, and encourages an appreciation for music and art. By creating a personalized instrument, children develop a deeper connection to their musical journey.
Section 10: A Showcase of Hand-Painted Wooden Instruments
Immerse yourself in the world of hand-painted wooden instruments for kids by browsing through galleries and online platforms. Discover the limitless creativity and artistic expressions of seasoned artists and enthusiastic young painters. Get inspired by their imaginative designs and adapt them to create unique and captivating masterpieces.
Section 11: Taking the Leap into Hand-Painting Wooden Instruments
Embarking on the art of hand-painting wooden instruments for kids can be a fulfilling and enjoyable experience. With practice and experimentation, you can develop your skills and create stunning musical works of art. Embrace the journey, unleash your creativity, and bring joy to children through the harmonious fusion of artistry and music.
1. How can you ensure the longevity of hand-painted wooden instruments?
To ensure the longevity of hand-painted wooden instruments, follow these tips:
1. Apply a protective clear coat or varnish to safeguard the paint from scratches and moisture.
2. Store the instrument in a dry and safe place when not in use.
3. Clean the instrument regularly with a soft cloth to remove dust and fingerprints.
4. Avoid using abrasive cleaners that may damage the paint.
5. Inspect the instrument periodically for signs of wear or damage, and address any issues promptly.
Frequently Asked Questions
1. Can I hand-paint any type of wooden instrument for kids?
Yes, you can hand-paint almost any type of wooden instrument for kids. However, it is important to consider the size and shape of the instrument when selecting your painting technique and design.
2. What type of paint should I use for hand-painting wooden instruments?
It is recommended to use non-toxic acrylic paint specifically designed for wood. This type of paint ensures that the instrument remains safe for children to use, while also providing vibrant colors and a durable finish.
3. How do I prepare the surface of a wooden instrument for painting?
Prior to painting, make sure to sand the surface of the wooden instrument to create a smooth and even base. This allows the paint to adhere better and prevents any rough or uneven textures from affecting the overall appearance.
4. Can I apply a protective coating after painting?
Yes, applying a transparent protective coating such as a varnish or sealant is highly recommended. This helps to protect the painted design from wear and tear, ensuring its longevity despite frequent use.
5. How long does it take for the paint to dry?
The drying time of the paint depends on factors such as the type of paint used, humidity levels, and thickness of the applied layers. Generally, acrylic paint dries within a few hours, but it is advisable to follow the manufacturer’s instructions for the specific product.
6. Can children participate in the hand-painting process?
Yes, involving children in the hand-painting process can be an enjoyable and creative activity. However, adult supervision is necessary to ensure the safe handling of painting materials and to guide children in applying paint evenly.
7. Are there any specific paint techniques suitable for hand-painting wooden instruments?
Various paint techniques can be used, such as freehand painting, stenciling, or even sponging. The choice of technique depends on personal preference and the desired artistic outcome.
8. How can I ensure the painted design lasts longer?
To ensure the longevity of the painted design, it is important to handle the instrument with care and avoid excessive scratching or exposure to moisture. Additionally, storing the instrument in a dry and safe place when not in use can help preserve the painted design.
9. Can I repaint a wooden instrument if I don’t like the original design?
Yes, wooden instruments can be repainted if you wish to change or enhance the original design. Simply sand down the existing paint, clean the surface thoroughly, and then apply a new coat of paint following the same steps as before.
10. Where can I find inspiration for hand-painted wooden instrument designs?
You can find inspiration by exploring various artistic sources, such as children’s books, nature, patterns, or even personal interests. Additionally, online platforms and social media can provide a plethora of ideas and examples to spark your creativity.
Final Thoughts on The Art of Hand-Painting Wooden Instruments for Kids
Hand-painting wooden instruments for kids is not only a delightful artistic activity but also a wonderful way to personalize and enhance these musical toys. By creating unique and visually appealing designs, children are encouraged to explore their creativity and develop a deeper connection with music. Moreover, these hand-painted instruments can serve as beautiful keepsakes, cherished by both children and their families as a symbol of their artistic expression.
So, grab your paintbrushes, choose your favorite wooden instrument, and embark on a creative journey that combines artistry with the joy of music. The possibilities are endless, and the result is bound to bring smiles to the faces of young musicians as they discover the magic of playing an instrument adorned with their own hand-painted masterpiece.