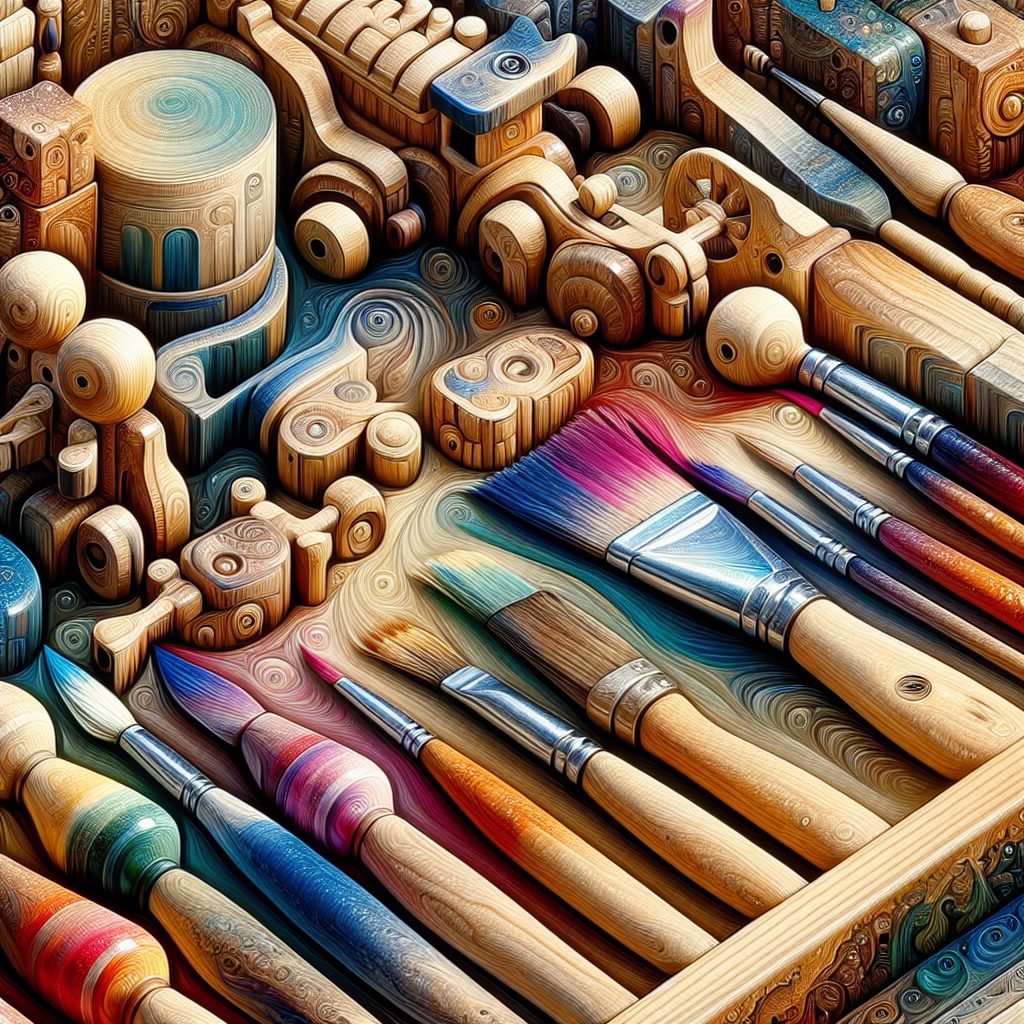
Painting techniques play a crucial role in enhancing the beauty and personalization of wooden toys. These techniques not only add vibrant colors to the toys but also help in creating unique designs and patterns that children adore. One must understand that painting wooden toys involves different considerations compared to other surfaces. The texture, grain, and type of wood can greatly impact the outcome, making it essential to choose the right techniques for optimal results.
One key aspect to consider when painting wooden toys is the use of non-toxic and child-safe materials. As these toys are meant for children’s play, it is important to prioritize their safety. Using high-quality, water-based paints that are free from harmful chemicals ensures that children can enjoy their toys without any health risks. Additionally, different techniques like layering, dry brushing, and stenciling can be utilized to create unique effects and designs on wooden toys. These techniques allow for customization and personalization, making each toy special and one-of-a-kind.
Moving forward, let’s delve into the key takeaways of painting techniques for personalized wooden toys. We will explore various methods and considerations to achieve stunning results while ensuring child safety and artistic creativity. By understanding these techniques and incorporating them into the painting process, you can transform simple wooden toys into captivating playthings that children will cherish. So, let’s dive into the world of painting techniques for personalized wooden toys and unlock the potential to create joy and wonder for little ones.
Key Takeaways
1. Use non-toxic paint and sealants to ensure safety for children: When painting wooden toys, it is crucial to choose paints and sealants that are non-toxic and safe for children’s use. This ensures that the toys remain safe for playing and prevents any harmful chemicals from being ingested.
2. Properly prepare the wooden surface: Before painting, it is essential to prepare the wooden surface by sanding it to ensure a smooth and even finish. Sanding also helps the paint adhere better and prevents any rough edges that could potentially harm children.
3. Apply primer before painting: Applying a primer to the wooden surface before painting helps to create a barrier, ensuring that the paint adheres well and lasts longer. Primer also helps to hide any imperfections in the wood and creates a smooth base for painting.
4. Use multiple thin coats for a better finish: Instead of applying one thick coat of paint, it is recommended to use multiple thin coats. This technique provides a better finish, prevents brush strokes from being visible, and allows the natural texture of the wood to show through.
5. Seal the paint for added protection: To protect the painted wooden toys and make them more durable, it is important to apply a sealant or varnish. This helps to protect the paint from chipping, fading, or being damaged by water or moisture. Additionally, it provides a smooth and glossy finish to the toys while ensuring their longevity.
What Are the Best Painting Techniques for Personalized Wooden Toys?
Choosing the Right Paint
When it comes to painting personalized wooden toys, one of the first steps is selecting the right type of paint. Opt for non-toxic, water-based paints that are safe for children. Acrylic paints are a popular choice due to their vibrant colors and fast drying time. Make sure to use paints that adhere well to wood surfaces to ensure longevity.
Preparing the Surface
Before diving into the painting process, it’s crucial to prepare the wooden toy surface properly. Start by sanding the toy to create a smooth and even base. This will remove any rough spots or imperfections, ensuring the paint applies evenly. Wipe off any dust or debris with a clean cloth to ensure a clean surface for painting.
Priming for Longevity
To enhance the durability of the painted design, consider applying a primer before painting. Primer helps the paint adhere better to the wood surface, preventing it from chipping or peeling off easily. It also creates a smooth base for the paint, allowing the colors to appear more vibrant and true to their shade.
Choosing Appropriate Brushes and Tools
The choice of brushes and tools for painting personalized wooden toys can greatly influence the final result. Opt for high-quality, fine-tip brushes to achieve intricate details. Foam brushes are also ideal for covering larger areas quickly. Additionally, consider using stencils or painter’s tape if you want to create precise patterns or designs on the toys.
Applying Multiple Layers
For a professional-looking finish, it’s important to apply multiple layers of paint. Start with a thin, even coat as a base layer and allow it to dry completely. Then, proceed with additional coats to achieve the desired opacity and richness of color. Be patient and let each layer dry before applying the next to avoid smudging or smearing.
Sealing the Paint
To protect the paint and ensure its longevity, it’s crucial to seal the painted wooden toys. Apply a clear, non-toxic varnish or sealant over the painted surface using a brush or spray. The sealant not only adds a glossy finish but also provides a protective layer against scratches and everyday wear and tear.
Cleaning and Maintenance Tips
To keep personalized wooden toys looking their best, follow these cleaning and maintenance tips:
- Gently clean the toys with a soft, damp cloth to remove any dirt or stains.
- Avoid using harsh chemicals or abrasive scrubbers that can damage the paint.
- Store the toys in a cool, dry place to prevent moisture damage.
- Regularly inspect the toys for any signs of chipping or flaking paint, and touch up as needed.
Looking to Create Beautifully Painted Wooden Toys?
Follow these tips and techniques, and you’ll be well on your way to creating personalized wooden toys that are both visually stunning and safe for children. Get creative, experiment with different colors and designs, and watch as your hand-painted creations bring joy to children’s lives!
Frequently Asked Questions
How do I prepare the wooden toy before painting?
Before painting, it is essential to prepare the wooden toy surface properly. Start by sanding the toy to create a smooth and even texture. Remove any dust or debris using a soft cloth or sponge, and make sure the surface is clean and dry before applying any paint.
Which type of paint should I use for personalized wooden toys?
For personalized wooden toys, it is best to use non-toxic and child-safe paints. Acrylic paints or water-based paints are highly recommended as they are easy to work with, provide a vibrant color range, and are safe for children to handle. Remember to read the label to ensure the paint is suitable for wooden surfaces.
Can I use spray paint on wooden toys?
Spray paint can be used on wooden toys, but it requires special care. Always apply spray paint in a well-ventilated area and use proper safety precautions. It is advisable to use spray paint specifically designed for wooden surfaces to achieve the best results.
How many coats of paint should I apply?
The number of paint coats depends on the desired finish and the type of paint used. Generally, two coats of paint are sufficient for wooden toys. Apply the first coat evenly, let it dry completely, and then apply the second coat for a smooth and long-lasting finish.
How long does the paint need to dry before handling?
Drying time can vary depending on the type of paint and environmental conditions. On average, acrylic and water-based paints take around 1-2 hours to dry completely. However, it is best to refer to the paint manufacturer’s instructions for specific drying times. Allow the paint to dry thoroughly before handling the toys to avoid smudging or damaging the finish.
Can I use different painting techniques on personalized wooden toys?
Yes, you can experiment with various painting techniques to add creativity and uniqueness to personalized wooden toys. Some popular techniques include brushstrokes, stenciling, sponge painting, and even decoupage. Feel free to explore different techniques to achieve the desired look and feel.
How do I ensure durability of the painted wooden toys?
To ensure durability, it is beneficial to apply a clear varnish or sealant after the paint has dried. This protective layer helps protect the paint from chipping, fading, or wearing off over time. Make sure to choose a varnish or sealant suitable for wooden surfaces and follow the manufacturer’s instructions for application.
Can I repaint a previously painted wooden toy?
Absolutely! If you want to give a fresh look to a previously painted wooden toy, you can repaint it. Start by sanding off the old paint to create a smooth surface, and then follow the same painting process as mentioned earlier. This allows you to update the toy’s appearance and give it a new lease of life.
How do I clean the painted wooden toys?
Cleaning painted wooden toys is simple. Use a damp cloth or sponge with mild soap or a gentle cleaning solution to remove any dirt or stains. Avoid using harsh chemicals or abrasive materials that may damage the paint. After cleaning, wipe the toy with a dry cloth to prevent moisture from seeping into the wood.
Is it safe for children to play with painted wooden toys?
When proper painting techniques and child-safe materials are used, painted wooden toys are safe for children to play with. It is crucial to choose non-toxic paints, avoid small loose parts that pose a choking hazard, and ensure there are no sharp edges. Regularly inspect the toys for any signs of damage or wear and discard them if necessary.
Final Thoughts
Painting techniques for personalized wooden toys offer a wonderful opportunity to create unique and cherished playthings for children. Whether you are a parent, a grandparent, or a dedicated crafts enthusiast, mastering these techniques allows you to add a personalized touch to wooden toys and make them even more special.
Remember, painting wooden toys requires patience, attention to detail, and creativity. By following the proper preparation, choosing the right paint, and employing various techniques, you can transform ordinary wooden toys into vibrant works of art. Enjoy the process, and see the joy on children’s faces when they receive these one-of-a-kind treasures!

