Wooden toys evoke nostalgia and a sense of timeless craft, providing a stark contrast to today’s digital-saturated playtime. Particularly, wooden toys with wheels hold a special charm, harking back to the days when every toy was handmade and encouraged imaginative play. These moving miniatures not only delight children but also offer them an educational experience, subtly honing their motor skills and understanding of physical forces like friction and inertia. Their construction from natural materials also assures a level of safety and durability that plastic toys often lack. Furthermore, for the eco-conscious, wooden toys can be sustainably sourced, making them an environmentally friendly alternative in the toy market.
As the interest in handmade toys surges, one can’t help but be drawn to the art of creating wooden toys with wheels – a process that combines the joys of woodworking with the satisfaction of bringing smiles to little faces. The upcoming section will delve into the intricacies of this craft, guiding aspiring woodworkers and enthusiastic hobbyists through the steps necessary to create these wheeled wonders. Readers will discover the key materials and tools required, the precise techniques for cutting and shaping wood, and the crucial tips for ensuring smooth motion and sturdy construction. Engage further as we explore the essential principles to consider to make your wooden toys not just playful pieces but lasting keepsakes.
Key Takeaways
1. Begin by selecting the appropriate type of wood for the toy, ensuring it is durable and safe for handling. Common choices include pine, maple, and birch, which are known for their strength and ease of working. Considering the types of tools available is crucial in this process, as intricate designs may require more advanced woodworking tools.
2. Design the toy with wheels in mind, creating a blueprint that includes dimensions and allows for moving parts. This involves considering the size and shape of the wheels, axles, and the body of the toy. Depending on the complexity of the design, it might be beneficial to utilize templates or patterns to ensure consistency and precision in cutting the various parts.
3. When cutting and shaping the wood, use appropriate safety equipment and techniques. Power tools can expedite the process but must be used with caution. Sanding the pieces is a critical step to ensure all surfaces are smooth and free from splinters, which is especially important for items that will be handled by children.
4. Assemble the toy carefully, attaching the wheels and ensuring they rotate freely. This typically involves drilling holes for the axles and using non-toxic glue or dowels to secure the components. Depending on the design, it may also include additional features such as decorations or movable parts that require extra attention during assembly.
5. The final step includes finishing the toy responsibly, using non-toxic paints or sealants to protect the wood and enhance the toy’s appearance. It’s key to allow for ample drying time before handling or playing with the toy. Maintenance tips, such as checking the wheels regularly and retouching the finish as needed, can ensure longevity and safety of the wooden toy with wheels.
Steps to Crafting Wooden Toys with Rolling Wheels
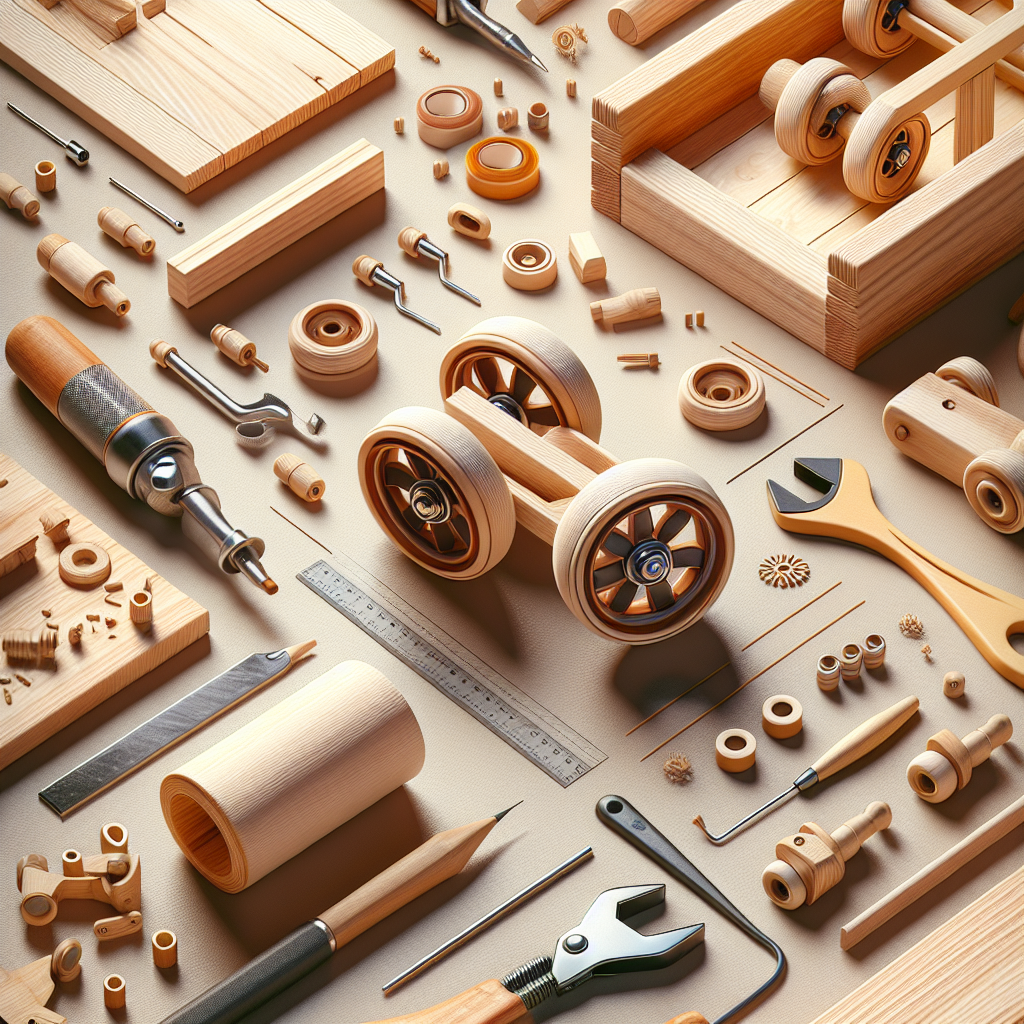
Creating wooden toys with wheels that roll smoothly combines the joy of woodworking with the delight of toy making. To embark on this project, you’ll need basic woodworking tools, including a saw, drill, sandpaper, wood glue, and possibly a lathe for shaping wheels. Selecting the right wood is crucial—hardwoods like maple or beech are durable and ideal for toys.
Designing Your Wooden Toy
The first step in making a wooden toy with wheels is to sketch a design. You may choose to create a classic car, a train, or any other wheeled figurine. Transfer the sketch onto a piece of wood using graphite paper or by-hand drawing. Ensure that the design includes spots where the wheels will be attached, typically on the underside of the toy.
Cutting the Wood
With your design in place, it’s time to cut the wood following the outline of your toy. Use a jigsaw for intricate curves and a bandsaw for straight lines or larger cuts. Sand the edges of the cut-out piece until smooth to the touch, preparing it for the wheel attachment.
Creating Wheels for Your Toy
Wheels can either be purchased pre-made or crafted from scratch. If making your own, use a hole saw attachment on your drill to create circular wheels from a wooden plank. A lathe can refine the wheels, but they can also be sanded by hand. Each wheel should have a center hole for an axle.
Assembling Axles and Wheels
For the axle, use dowels cut to the appropriate length ensuring they span the width of the toy with extra space for the wheels. Insert the axles through the pre-drilled holes in the toy’s body, then attach the wheels on both ends, securing them with wood glue or locking collars if necessary. The wheels should spin freely on the axles without falling off.
Finishing Touches
After the wheels and axles are securely in place, you can consider adding details to your wooden toy. Painting or staining brings color and vibrancy, while varnish or a sealant provides a protective coating. Always use child-safe, non-toxic finishes for toys that may be handled frequently by children.
Safety Considerations
Safety is paramount when making wooden toys. All parts should be sanded to avoid splinters, and wheels should be securely attached. Regularly inspect the wheels to ensure they remain tight and secure with use. Following these practices will help create a safe, delightful toy for children to enjoy.
What Tips Can Enhance the Durability of Handmade Wooden Toys with Wheels?
- Choose dense, high-quality hardwood for both the toy body and the wheels to ensure longevity.
- Ensure all parts are sanded down to a smooth finish to prevent any potential splinters.
- Use non-toxic finishes and paints specifically designed for use on children’s toys.
- Periodically check the toy for wear and tear, especially the wheels and axles, to prevent any accidents.
- Keep the design simple to minimize weak points and enhance the toy’s durability.
“`html
What Type of Wood Is Best for Making Wooden Toys with Wheels?
For making wooden toys with wheels, hardwoods like maple, beech, or birch are typically preferred due to their durability and fine grain. These woods are less likely to splinter and can withstand the wear and tear from play. However, if affordability is a concern, softwoods like pine can also be used, especially for toys intended for older children who handle their toys more gently.
Do I Need Advanced Woodworking Skills to Make Wooden Toys with Wheels?
No, advanced woodworking skills are not necessary to make wooden toys with wheels. With basic tools and skills, such as measuring, cutting, drilling, and sanding, you can create simple wooden toys. Starting with easy projects and working your way up to more complex ones is a good way to build your skills.
What Tools Do I Need to Start Making Wooden Toys with Wheels?
To start making wooden toys with wheels, you’ll need a saw to cut the wood, a drill for making axle holes, sandpaper to smooth the surface, and perhaps a hammer and chisels for finer details. Paints or stains for decoration and a varnish or sealant to protect the toy might also be required. Additionally, you will need materials for the wheels and axles, such as dowels and wooden disks or pre-made wheels.
How Do I Attach Wheels to a Wooden Toy So They Turn Properly?
To attach wheels to a wooden toy properly, drill an axle hole that is slightly larger than the dowel you’re using for an axle to ensure the wheels turn freely. Make sure the wheels are not too tight against the toy’s body and use washers or spacers if necessary. Glue can be applied to the axle ends to secure them, but care should be taken to avoid getting glue where the wheels meet the axles.
Can I Personalize Wooden Toys with Wheels?
Yes, wooden toys with wheels can be personalized in many ways, including painting, staining, or burning designs into the wood. Adding details like a child’s name, favorite colors, or thematic decorations can make the toy extra special. However, make sure to use child-safe paints and finishes and let them cure fully before play.
What Safety Precautions Should I Take When Making Wooden Toys with Wheels?
When making wooden toys with wheels, always prioritize safety. Use non-toxic materials and finishes, ensure there are no sharp edges or splinters, and that small parts are securely attached to prevent choking hazards. Also, consider the age of the child and make wheel attachments strong enough to withstand play from the intended age group.
How Do I Ensure the Wheels Roll Smoothly?
To ensure the wheels roll smoothly, sand the wheel edges and the body where the wheels will attach. The axle holes should be straight and properly aligned, and you can add a lubricant like beeswax if needed. The wheels and axles should be assembled in such a way that there’s minimal friction yet still enough grip to prevent the wheels from falling off.
What Are Some Design Ideas for Wooden Toys with Wheels?
Design ideas for wooden toys with wheels include classic cars, trains, animals on wheels, and trucks. Each can be stylized according to the maker’s creativity or the child’s interests. You can also look for patterns online or in woodworking books to inspire your designs.
How Do I Make My Wooden Toy Wheels Durable?
To make wooden toy wheels durable, choose a hard, dense wood, and ensure they are properly sanded and sealed. Avoid using thin wheels that can easily snap, and check that the axle connections are strong. Proper maintenance, such as occasionally checking for loose wheels or axles, can also extend the life of the toy.
Can Wooden Toys with Wheels Be Made from Recycled Materials?
Yes, wooden toys with wheels can be made from recycled materials. You can repurpose old wooden furniture, such as shelves or chairs, that can be cut down into smaller pieces for toys. However, ensure that the recycled wood is safe, free of splinters, nails, or harmful chemicals before using it to make children’s toys.
Final Thoughts
Making wooden toys with wheels can be a rewarding hobby that combines creativity, woodworking skills, and the joy of crafting something by hand that can be cherished for years. Whether as a personal project, a thoughtful gift, or even a small business venture, the process of creating these timeless playthings is as enjoyable as it is meaningful. With the right tools, materials, and a bit of patience, anyone can start bringing their wooden toy ideas to life, creating not just toys, but memories and keepsakes that both children and adults will treasure.
Embracing the craft of making wooden toys with wheels also opens up opportunities for customizing gifts that are tailored to a child’s interests, promoting a return to traditional play, and even teaching young ones about basic mechanics and the value of handcrafted goods. By ensuring safety, quality, and attention to detail, these wooden creations can roll their way into the hearts of their recipients, demonstrating that the simplest forms of play are often the most enduring and beloved.
“`