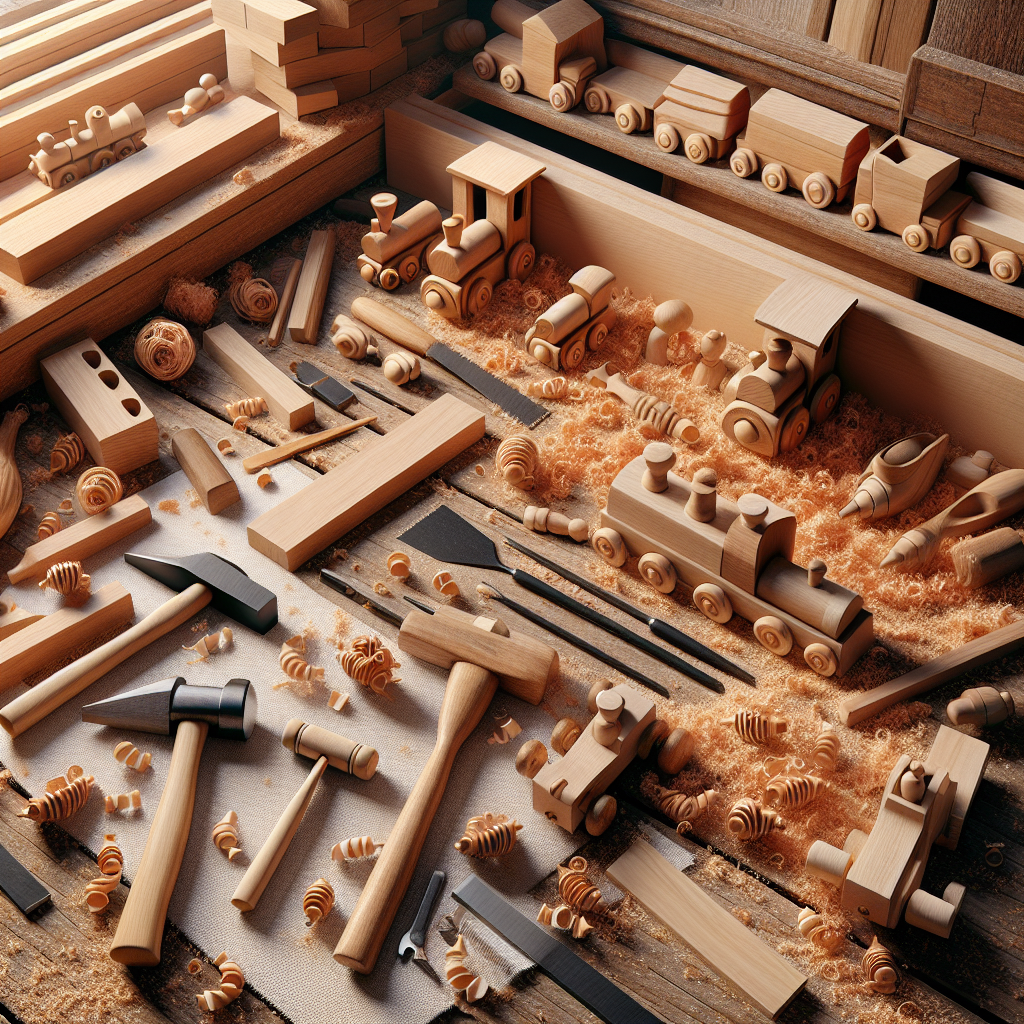
Wooden toys are a timeless treasure that evoke a sense of nostalgia and invoke the craftsmanship of a bygone era. Infused with a charm that transcends generations, these playthings are not solely the frictionless concoctions of mechanized assembly lines but the fruit of meticulous artistry and enduring materials. Unlike their plastic contemporaries, wooden toys are biodegradable and often become heirlooms, lasting long enough to be handed down through families. The process of creating these wooden wonders—from selecting the perfect grain of wood to the final stroke of the paintbrush—encapsulates a harmony between artisan skill and environmental consciousness, making each toy not just a plaything, but a piece of legacy.
Embarking on the journey of handcrafting wooden toys, one enters a world where caution melds with creativity. Whether it is a simple block set or a complex puzzle box, each piece must be sanded down to a silky-smooth finish, ensuring that it is safe for tiny hands to explore. As we look ahead, the ensuing sections will delve into the integral steps that transform a plain wooden plank into an enchanting plaything: choosing the right type of wood, the art of cutting and shaping, crucial safety considerations, and finally, giving life to each toy with colors and finishes that stir the imagination. Stay tuned as we unlock the secrets to making wooden toys that can spark joy in both the heart of the maker and the hands of a child.
Key Takeaways
1. Select the appropriate type of wood: When making wooden toys, it’s crucial to choose a suitable type of wood. Hardwoods like maple, beech, or birch are preferred for their durability and resistance to splintering. These types of wood are safer for children and can withstand the wear and tear that toys often endure.
2. Use non-toxic finishes: Safety is paramount when creating toys for children, which means finishes and paints must be non-toxic. Water-based paints, natural oil finishes, and beeswax are good options. It’s essential to ensure that the toy’s surface is smooth and free of any sharp edges or points that could harm a child.
3. Consider age-appropriate designs: Toys should be designed with the child’s age in mind. Younger children require simpler toys with larger parts to avoid choking hazards, while older children may enjoy more complex toys with moving parts. It’s important to tailor the complexity and safety features of the toy to the intended age group.
4. Add a personal touch: Handmade wooden toys allow for customization and creativity. Personal touches like carving initials, adding hand-painted designs, or incorporating unique features can make the toy special and potentially become a cherished keepsake. Think about how to personalize each toy to make it stand out and be more meaningful.
5. Invest in the right tools and learn essential skills: Quality craftsmanship requires the right set of tools and skills. Essential tools for toy making include saws, chisels, sanders, and drills. Spend time learning the necessary techniques for cutting, shaping, and assembling wooden toys safely and effectively. Mastery of these skills will result in better-built toys and a more enjoyable toy-making process.
Step-by-Step Guide: Crafting Wooden Toys at Home
Selecting the Right Type of Wood
Choosing the best wood for toy-making is essential. Hardwoods like maple, birch, and beech are durable and safe for children. They can withstand wear and tear and are less likely to splinter. Softwoods such as pine can be used for larger toys or decorative pieces that won’t see as much handling. When selecting your wood, ensure it’s untreated and free from chemicals to ensure safety for kids.
Gathering Your Tools and Materials
Before beginning your project, assemble the necessary tools. These include saws for cutting your wood into pieces, sandpaper or a sander for smoothing edges, and possibly a router for creating shapes or grooves. You’ll also need wood glue, screws, or dowels for joining parts. Don’t forget finishing materials like natural stains, paints, and sealants that are child-safe.
Designing the Toy
The design phase is critical. Start with simple shapes and pieces that can be easily cut and assembled. Sketch out your designs on paper, keeping in mind the size of the toy and the age group of the child it’s intended for. Consider how the toy will be used and ensure there are no small parts that could be a choking hazard for young children.
Wood Cutting and Shaping
Transfer your designs onto the wood using a pencil or chalk. Begin cutting using a handsaw, jigsaw, or band saw, depending on the complexity of the design. For inside cuts, drill a pilot hole to insert your saw. After the pieces are cut, use a router or sandpaper to round all edges, ensuring there are no sharp points or edges.
Assembling the Parts
When assembling wooden toys, it’s crucial to have a tight fit. Test all the pieces together before applying any glue. Glue should be used sparingly to avoid excess that children could potentially chew or peel. If using screws or dowels, make sure they are securely fastened and flush with the wood surface or countersunk to avoid injuries.
Applying Finishes
Safety is paramount when applying finishes to wooden toys. Use only non-toxic paints, stains, and sealants. It is recommended to apply multiple thin coats rather than a single thick one to avoid chipping. Allow each layer to dry completely before applying the next, and make sure to sand lightly between coats for the smoothest finish.
Safety Testing and Quality Control
After your toy is assembled and finished, conduct thorough safety checks. Make sure there are no loose parts or sharp edges. Test the toy’s durability by putting it through situations it might encounter during play. This is crucial for ensuring the toy’s longevity and the child’s safety.
Troubleshooting Common Issues
If your toy isn’t functioning as intended, look for common issues like misalignment or inadequate glue drying time. If the parts aren’t moving smoothly, additional sanding might be required. Check for any areas where the finish has not been properly applied and rectify this to prevent splinters.
Advanced Techniques for Experienced Crafters
Once you’re comfortable with making basic wooden toys, you can explore more advanced techniques like wood turning, intricate carving, or adding mechanical elements. These techniques can elevate the complexity and appeal of your wooden toys but require significant skill and practice to execute safely and effectively.
Maintenance and Care for Wooden Toys
Wooden toys require regular maintenance to ensure their safety and durability. Educate customers or recipients on how to care for their toys. This includes cleaning with a damp cloth and avoiding prolonged exposure to water, which could cause warping or the growth of mildew. Periodically check the toys for signs of wear and tear and reapply finishes when necessary.
What Are the Essential Tips for Crafting Durable and Safe Wooden Toys?
- Always prioritize safety by choosing non-toxic materials and ensuring there are no choking hazards or sharp edges.
- Invest in quality woodworking tools that allow for precision cutting and shaping.
- Thoroughly sand all surfaces to prevent splinters and create a smooth finish for the toy.
- Apply multiple thin coats of finish rather than a single thick coat to maximize durability and safety.
- Perform routine safety inspections of the completed toys to ensure they remain safe for play over time.
- Stay informed about the latest safety standards for children’s toys and continuously apply them to your crafting process.
What Types of Wood Are Best for Making Toys?
When making wooden toys, it’s important to choose wood that is durable and non-toxic. Hardwoods like maple, beech, and birch are popular choices due to their strength and smooth grain. Softwoods can also be used, but are generally less durable. Always avoid woods that have been treated with chemicals.
Do I Need Specialized Tools to Make Wooden Toys?
While having a variety of tools can make the process easier, you can start with just a few basic tools such as a saw, drill, sandpaper, and perhaps a carving knife. As you become more experienced, you may want to invest in more specialized tools like a scroll saw or lathe.
What Safety Precautions Should Be Taken When Making Wooden Toys?
Safety is paramount when making wooden toys. Always wear protective gear such as safety goggles and gloves. Ensure that any paints, finishes, or glues used are non-toxic and child-safe. Sand all pieces thoroughly to prevent splinters, and regularly check your tools for proper operation.
How Can I Ensure My Wooden Toys are Child-Safe?
To ensure wooden toys are safe for children, avoid small parts that could be a choking hazard. Regularly check for wear and tear, and use non-toxic finishes. Smooth all edges and surfaces to prevent splinters, and make sure the toy is sturdy enough to withstand play.
Can Wooden Toys Be Made From Recycled Wood?
Yes, recycled wood can be a great resource for making wooden toys, providing it’s free from contaminants and has not been treated with harmful chemicals. Ensure the wood is in good condition and properly prepare it by cleaning and sanding before use.
What Finishes Are Safe to Use on Wooden Toys?
Finishes used on wooden toys should be non-toxic and safe for children. Options include food-grade mineral oil, beeswax, and certain water-based finishes. Always check the product labeling to make sure it’s certified safe for use on children’s toys.
What Are Some Simple Wooden Toys I Can Start With?
If you’re new to making wooden toys, start with simple projects like building blocks, small cars, or simple puzzles. These projects require basic shapes and minimal assembly, making them perfect for beginners.
How Do I Add Color to Wooden Toys?
To add color to your wooden toys, use non-toxic water-based paints or dyes. You could also use natural colorants like food coloring mixed with a child-safe sealer. Always give the toy ample time to dry and cure before giving it to a child.
Can Wooden Toys Be Personalized?
Absolutely! Wooden toys can be personalized with a child’s name, date of birth, or a special message by using wood-burning techniques, carvings, or by applying vinyl letters. This makes the toy even more special and unique as a gift.
What Is the Best Way to Maintain Wooden Toys Over Time?
To maintain wooden toys, keep them clean by wiping them with a damp cloth and mild soap. Avoid soaking them in water. Periodically check for any damage and sand down rough parts. Reapply finishes as necessary to keep the wood protected and looking new.
Final Thoughts
Making wooden toys is not only a delightful hobby but also an opportunity to create cherished keepsakes that can be passed down through generations. With the right tools, materials, and techniques, anyone can start crafting safe, durable, and beautiful playthings that ignite the imagination and stand the test of time. As we look for more sustainable and personalized alternatives to mass-produced products, wooden toys offer both of these qualities in abundance, making them a favored choice for parents and children alike. Whether you’re a skilled woodworker or a curious beginner, the journey of creating wooden toys is one of endless possibilities and profound satisfaction.
The value of handcrafted wooden toys goes beyond their playtime function; they’re a testament to the artistry and dedication of the craftsman. They inspire an appreciation for craftsmanship and can introduce children to the joys of simple, imaginative play. As you embark on the process of making wooden toys, you will not only develop new skills but also have the chance to give a timeless gift that may well become a treasured heirloom. So, gather your tools and let your creativity flow; the art of making wooden toys is as rewarding as it is fun.

