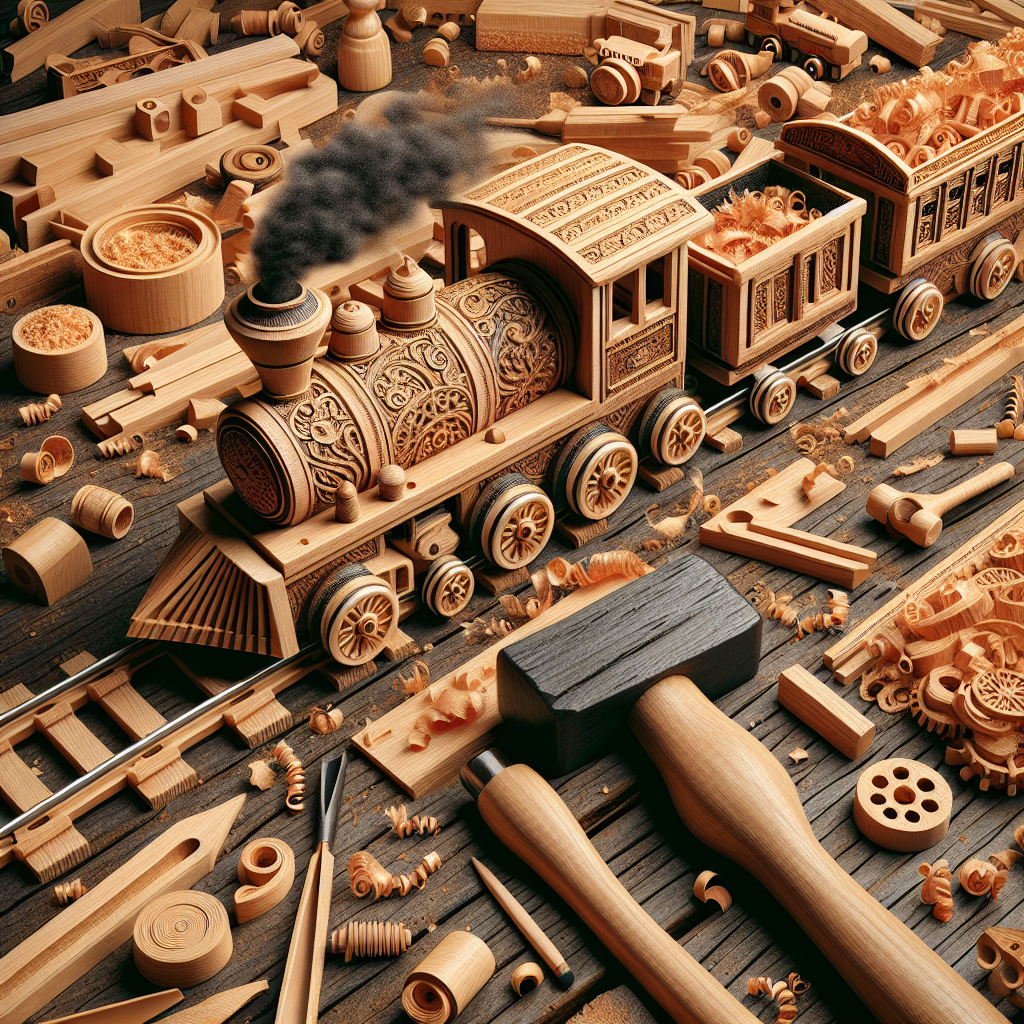
The venerable wooden toy train conjures images of a bygone era, a time when craftsmanship and simplicity were valued over the fleeting glitz of electronic gadgets. At the heart of its enduring appeal is the tactile nature of wood, a material that warms to the touch and carries with it the charm of the natural world. For generations, these timeless playthings have not only kindled the imaginations of children but also served as heirloom pieces, treasured by families through the ages. Constructing a wooden toy train is not just an exercise in creativity; it’s an act of weaving history and heritage into an object that grows more precious with every playful chug and whistle.
In the intricate world of wooden train fabrication, the specific choices in wood type, design, and mechanics culminate in a tapestry of decision-making that imparts each creation with uniqueness. From the meticulous carving of each carriage to the thoughtful integration of the wheels and axles, this journey of making is both an artisan’s delight and a parent’s foray into the magic of toy-making. The upcoming section of our article will delve into the fine details of selection and assembly, critical knowledge for anyone intent on breathing life into their very own wooden locomotive. Keep your toolbox at the ready; we’re about to explore the key takeaways that will transform mere slabs of timber into a work of art that could just as eagerly be played with as it could be displayed.
Key Takeaways
1. Select high-quality, durable wood such as pine, beech, or oak to create a toy train that can withstand play and last for years. The type of timber you choose will affect the toy’s durability, safety, and overall appearance. Softwoods like pine can be easier to work with for beginners, while hardwoods like beech and oak offer more longevity.
2. Use a template or design plan to guide the cutting and assembly process for the toy train. This ensures all pieces fit together correctly and helps to maintain proportion and symmetry in the finished product. Templates can come from woodworking books, online sources, or be self-drafted for a personalized touch.
3. Employ the appropriate woodworking tools, such as saws, drills, and sanders, to cut and shape the wooden pieces according to the template. For higher precision and smoother edges, invest in quality tools and practice safety precautions during their use. Sanding the wood thoroughly will also remove any splinters or rough edges, which is particularly important for a child’s toy.
4. Assemble the train with non-toxic, child-safe glues, or consider using a joinery technique for a stronger bond without chemicals. Detailed parts such as wheels can be made or purchased pre-made and attached securely to the body of the train to ensure they are functional and won’t easily come off during play.
5. Painting and decorating the wooden toy train adds an inviting appeal and a chance for customization. Use child-safe paints and finishes for coloring and apply multiple coats for better durability. Engaging children in the painting process can make the toy more personal and provide a sense of accomplishment, though adult supervision is key to ensure a safe and satisfying outcome.
What Are the Steps to Crafting a Wooden Toy Train?
Gathering Your Materials and Tools
Before you begin the construction of your wooden toy train, it’s important to gather all the necessary materials. Essential items include various wood types, such as pine for the body and hardwoods like oak or maple for wheels and details. You will also require woodworking tools, including a saw, drill, chisels, sandpaper, wood glue, clamps, and screws. Additionally, paint or stain and brushes or rags are needed for the finishing touches. Ensure that all materials are non-toxic and safe for children.
Designing Your Toy Train
Start by sketching out the design for your train. This will include the main body, the cabin, wheels, and any additional details you wish to add, such as smokestacks or decorative elements. Determine the scale and size of your train and use these dimensions to create templates for cutting out your wood pieces. Transfer these patterns onto the wood using pencil or tracing paper.
Creating the Train Body
Using a saw, carefully cut out the train body as per your template. Smoothen edges and surfaces with sandpaper until they are ready for assembly. The train body is the foundational element of your toy, so take your time to ensure precision and quality of workmanship.
Building the Wheels and Axles
Wheels can be made from hardwood using a hole saw or bought pre-made. Drilling central holes for the axles is crucial for proper wheel alignment. The axles can be wooden dowels cut to the appropriate length. Once the wheels and axles are prepared, attach them to the body ensuring they spin freely for a functional toy train.
Constructing the Cabin and Additional Details
The cabin is an integral part of the toy train. Similar to the main body, outline the cabin’s shape onto wood and cut it out. Sand down the edges for safety. Attach cabin detail, such as windows and doors, which can be either etched in or made using separate pieces. Use glue and clamps to attach the cabin securely to the body of the train.
Attaching the Smokestack
To add a traditional look, fashion a smokestack from a small wooden dowel or a piece of round wood. This can be affixed to the top of the train’s engine. Ensure it’s proportionate to the rest of your train for a balanced aesthetic.
Final Assembly
After constructing the individual parts of the train, it’s time to assemble them. Start with the larger sections, such as the train body, and work down to the smaller details, like wheels and decorative pieces. Use a combination of wood glue and small wood screws where necessary to secure the parts together. Allow adequate drying time before moving on to finishing touches.
Finishing the Wooden Toy Train
Sanding plays a vital role in the finishing process. Sand the entire train with fine-grit sandpaper to prepare it for painting or staining. Consider using safe, child-friendly finishes and vibrant colors to attract a child’s attention. Apply paint or stain and allow it to dry completely before adding a sealant, which will protect the toy and give it a smooth, polished look.
Ensuring Safety and Durability
Your wooden toy train should not only be visually appealing but also safe and sturdy. Check for any sharp edges or small parts that could be a choking hazard for young children and round these off. Test the toy train to ensure it’s robust and the wheels turn smoothly. Use non-toxic, lead-free paints and stains to ensure the safety of the children who will be handling the toy.
What Tips Can Enhance the Making of Wooden Toy Trains?
- Use high-quality, durable wood to extend the life of the toy train.
- Be patient with the drying of glues and finishes to prevent any weakening of joints or blemishes in the final product.
- Always test the wheels before final assembly to ensure smooth motion without derailments.
- Regularly inspect the train for any signs of wear and tear that could harm children.
- Consider creating a series of cars for the train that can be attached with simple hook and loop systems to enhance playtime.
What Tools Do I Need to Build a Wooden Toy Train?
To build a wooden toy train, you’ll need basic woodworking tools such as a saw for cutting the wood, sandpaper for smoothing out rough edges, a hammer or mallet for assembly, wood glue, a drill for making holes if necessary, and perhaps a wood carving set if you want to add details to your creation.
What Type of Wood is Best for Making Toy Trains?
The best wood for toy trains would be softwood like pine because it is easy to work with and generally more affordable. However, hardwoods like maple or beech can also be used for a more durable result.
Can I Make a Toy Train Without Advanced Woodworking Skills?
Yes, it is possible to make a simple wooden toy train without advanced woodworking skills. There are kits available that include pre-cut pieces, or you can follow a basic pattern that doesn’t require complex woodworking techniques.
What Are the Safety Considerations When Making Wooden Toys?
Safety considerations include making sure there are no sharp edges or small parts that could be a choking hazard. Also, be conscious of the finishes and paints you use to ensure that they are non-toxic and safe for children.
How Do I Add Color to My Wooden Toy Train?
You can add color to your wooden toy train by using child-safe paints or stains. Always make sure the products you’re using are appropriate for toys and allow ample drying time before giving the toy to a child.
How Long Does It Take to Make a Wooden Toy Train?
The time it takes to make a wooden toy train can vary. A simple design might only take a few hours, while a more complex one with intricate details can take several days to complete, not including drying time for any finishes applied.
Can I Customize My Wooden Toy Train?
Definitely! You can customize your wooden toy train by adding personal touches such as a child’s name, varying the design, or making each car of the train unique. This makes the toy train not only a fun toy but a memorable keepsake as well.
Do I Need Special Plans or Patterns for Making a Toy Train?
While not strictly necessary, plans or patterns can be very helpful, especially for beginners. They provide guidance on dimensions and steps to ensure the pieces fit together properly. Patterns can range from simple to complex, depending on the level of detail you want.
How Can I Ensure the Wheels on My Toy Train Turn Smoothly?
To ensure the wheels turn smoothly on your toy train, make sure they are perfectly round and that the axle holes are clean and of the right size. You might also consider adding metal washers between the wheels and the body of the train to reduce friction.
What Can I Use to Finish My Wooden Toy Train?
For finishing your wooden toy train, use non-toxic sealants made specifically for children’s toys. Beeswax, food-grade mineral oil, or soy-based products are good options that are safe for kids and will protect the wood.
Final Thoughts
Creating a wooden toy train can be a rewarding project for both novice and experienced woodworkers alike. Not only is it an opportunity to work with your hands and express creativity, but it also results in a toy that can be cherished for generations. It’s a reminder of a simpler time and an excellent way to pass down a love of craftsmanship and imagination. As you embark on this woodworking journey, remember to take your time, enjoy the process, and always prioritize safety, both in the workshop and in the playroom.
Making a wooden toy train offers an excellent opportunity to engage in meaningful craftmanship and produce a delightful gift for a young one. It encourages us to think sustainably by creating durable toys that outlast their mass-produced plastic counterparts and minimizes our environmental footprint. Whether you’re making a toy train as a hobby, for a family member, or for a community project, the joy it brings is as tangible as the toy itself. Let’s keep the wheels of creativity and tradition rolling with each wooden toy train we create.

