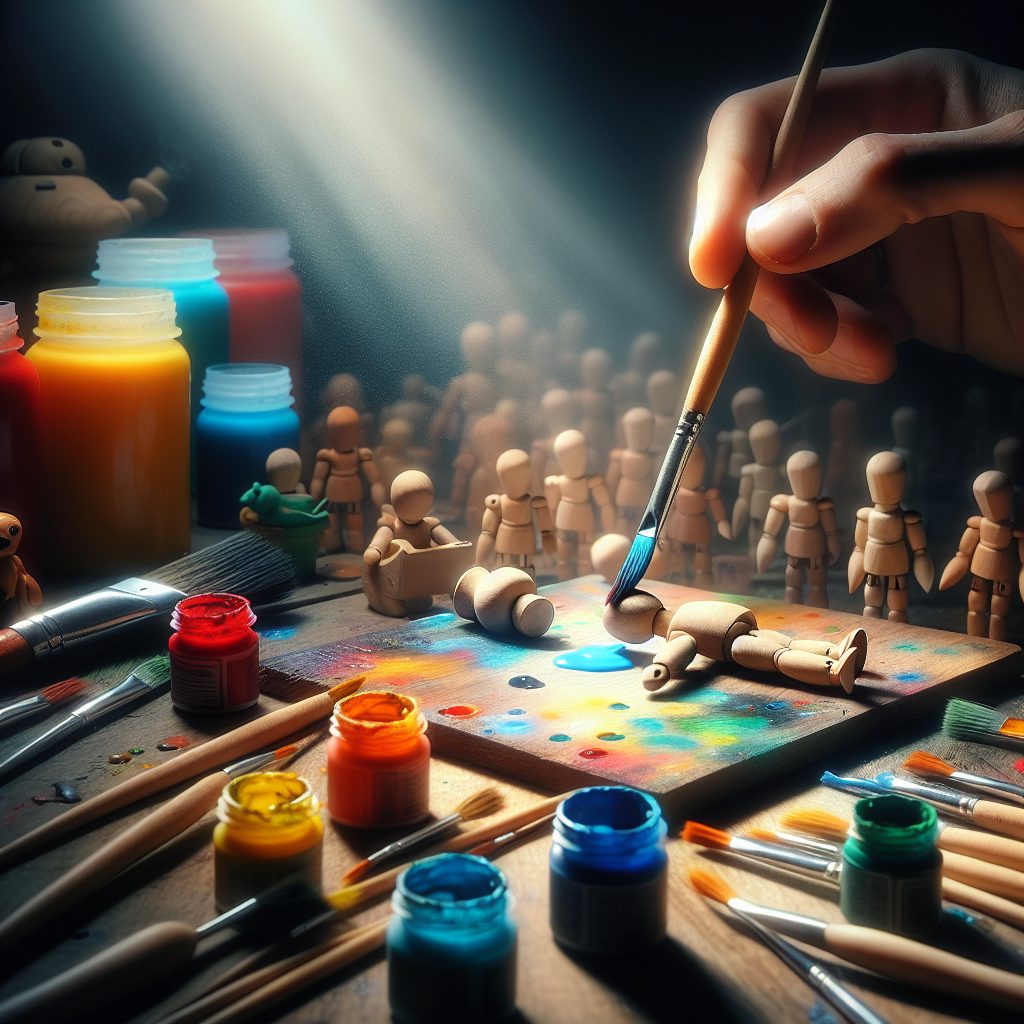
Handmade toy painting is a delightful way to not only nurture your creativity but also create vibrant and unique toys for your children or loved ones. It involves using your artistic skills to transform plain toys into eye-catching masterpieces. Whether you are a seasoned artist or a beginner looking to explore your artistic side, these striking creations can be achieved with a few key techniques and tips. By incorporating various colors, patterns, and textures, you can bring life to even the simplest of toys, making them a cherished playtime companion.
One unique fact about handmade toy painting is its ability to personalize toys and make them truly one-of-a-kind. This art form allows you to tap into your imagination and add personal touches to toys, making them exclusive to the recipient. From painting a child’s favorite cartoon characters to incorporating their names or birth dates, the options are limitless. Additionally, handmade toy painting is not just limited to children’s toys. It can also be a creative way to revamp old or worn-out toys, breathing new life into them.
In the upcoming section of this article, we will discuss some key takeaways to achieve vibrant and captivating handmade toy paintings. These tips cover a range of aspects, from selecting the right materials to mastering different painting techniques. Whether you are a beginner or an experienced artist, these insights will help you enhance your toy painting skills and create stunning pieces. So, let’s dive into the exciting world of handmade toy painting and explore the techniques that will take your creations to the next level.
Key Takeaways
1. Start with a clean and smooth surface: Before painting your handcrafted toys, make sure to thoroughly clean and sand the surface to ensure an even and smooth finish. This will help the paint adhere better and create a vibrant and professional-looking result.
2. Use high-quality paints: Invest in good quality, non-toxic paints specifically designed for use on toys. These paints are safe for children and will provide a long-lasting, vibrant color. Avoid using regular acrylic or oil paints that may contain harmful chemicals.
3. Apply multiple thin coats: Rather than applying one thick layer of paint, it is recommended to apply multiple thin coats. This not only provides better coverage but also prevents drips and clumps. Allow each coat to dry completely before applying the next to achieve a rich and smooth finish.
4. Experiment with colors and techniques: Have fun and get creative with your toy painting! Try different color combinations, blending techniques, or even adding decorative accents such as patterns or stencils. Experimentation can lead to stunning and unique creations that stand out.
5. Seal and protect your finished toys: Once you’re satisfied with the painted designs, protect them by applying a clear sealant or varnish. This will not only preserve the colors but also provide a protective layer against wear and tear. Choose a non-toxic and child-safe sealant to ensure the safety of the toys.
How can you create vibrant and eye-catching handmade toy paintings?
Gathering the Right Materials:
To start your journey of creating vibrant handmade toy paintings, you need to gather the right materials. First and foremost, select a variety of high-quality paint colors that will bring life and vibrancy to your creations. Additionally, ensure that you have a set of brushes with different sizes and shapes to help you achieve different effects. Lastly, don’t forget to have some clean water for rinsing your brushes and a palette for mixing colors.
Preparing Your Toys:
Before diving into painting, it is important to prepare your toys properly. Start by cleaning the surface of the toys using a mild soap and water solution to remove any dirt or dust. If the toys have any old paint or varnish, consider sanding or scraping it off to provide a smooth and fresh canvas for your artwork.
Priming for Better Paint Adhesion:
To ensure that your paint adheres properly to the toy’s surface, it is crucial to apply a primer. Choose a primer that is suitable for the material of your toy, such as wood, plastic, or metal. Apply the primer evenly using a brush or spray, and let it dry completely before moving on to the painting step.
Applying Base Colors:
Now it’s time to apply the base colors to your toys. Begin by sketching the design or pattern lightly with a pencil, if needed. Then, using a brush or sponge, carefully apply the base colors to the desired areas. Layer the paint as needed to achieve a solid and vibrant base, allowing each layer to dry before adding the next.
Adding Details and Depth:
To make your handmade toy paintings truly stand out, it’s essential to add details and depth. Use smaller brushes and different shades of paint to create intricate patterns, textures, and shadows. This step requires precision and patience, so take your time to ensure your toys come to life with vibrant and realistic details.
Sealing and Protecting:
To ensure the longevity of your handmade toy paintings, it is important to seal and protect them. Apply a coat of varnish suitable for the material of your toys to provide a protective layer. This will help prevent damage from sunlight, moisture, and regular handling, preserving the vibrancy of your creations for years to come.
Handmade Toy Painting Tips for Vibrant Creations:
1. Choose high-quality paint colors to achieve vibrant results.
2. Use a variety of brush sizes and shapes for different effects.
3. Clean the surface of the toys thoroughly before painting.
4. Apply a suitable primer to ensure better paint adhesion.
5. Layer the base colors to achieve solid and vibrant results.
6. Add intricate details and depth for realistic and eye-catching designs.
7. Seal your paintings with a protective varnish to preserve their vibrancy.
Frequently Asked Questions
1. Can I use regular acrylic paint for painting handmade toys?
Yes, regular acrylic paint is a suitable choice for painting handmade toys. However, it is important to ensure that the paint is non-toxic and safe for children, especially if the toys are intended for young ones.
2. How can I achieve vibrant colors when painting handmade toys?
To achieve vibrant colors, it is recommended to apply a base coat of white or light-colored paint before adding the desired colors. This will help the colors pop and appear more vibrant. Additionally, using high-quality, bright acrylic paints can contribute to achieving vibrant toy creations.
3. How should I prepare the surface of the toy before painting?
Prior to painting, it is crucial to clean the toy’s surface thoroughly, removing any dirt, dust, or grease. Sanding the surface lightly with fine-grit sandpaper can also help create a smooth and even surface for better paint adhesion.
4. Can I use spray paint for painting handmade toys?
While spray paint can be used for painting handmade toys, it is important to use it in a well-ventilated area or outdoors to avoid inhaling harmful fumes. Additionally, ensure that the spray paint is suitable for use on the material of the toy and consider using a primer for better adhesion.
5. How long should I let the paint dry before handling the painted toy?
The drying time may vary depending on the type of paint used, but it is generally recommended to allow the paint to dry for at least 24 hours before handling the painted toy. This will help prevent smudging or damage to the paint job.
6. Can I seal the paint on the handmade toy?
Yes, sealing the paint on handmade toys is advisable to protect the paint from scratches and wear over time. Consider using a clear, non-toxic varnish or sealant suitable for the type of paint used to ensure long-lasting results.
7. How can I add fine details to my painted toys?
To add fine details to your painted toys, use small, high-quality brushes with fine bristles. Thin down the paint with a little water for better control and precision. Additionally, consider using small stencils or masking tape to create clean and intricate patterns.
8. Can I use a paintbrush or should I consider alternative painting techniques?
Using a paintbrush is a common and effective technique for painting handmade toys. However, depending on the desired effect, you can also consider using alternative techniques such as sponge painting, stippling, or even airbrushing for more professional and unique results.
9. How can I fix mistakes or errors in my toy painting?
If you make a mistake while painting your toy, you can try gently removing the undesired paint using a cotton swab or a small brush dipped in water. In case the mistake is not easily fixable, consider giving the toy a light sanding and starting over with a fresh base coat.
10. Are there any safety precautions I should keep in mind while painting handmade toys?
When painting handmade toys, it is important to ensure proper ventilation to avoid inhaling paint fumes. Moreover, choose non-toxic and child-safe paints, as toys may come into contact with children. Utilize appropriate safety gear, such as gloves or goggles, if necessary.
Final Thoughts on Handmade Toy Painting Tips for Vibrant Creations
Handmade toy painting is not only a fun and creative activity but also allows you to bring vibrant and personalized creations to life. By following the tips mentioned in this article, you can achieve vibrant colors and fine details that enhance the overall appearance of your handmade toys. Remember to prioritize safety by using non-toxic paints, proper ventilation, and appropriate protective measures.
Experimenting with different painting techniques and materials can yield unique and impressive results, making each handmade toy a one-of-a-kind masterpiece. Enjoy the process of painting and let your creativity shine through your vibrant toy creations, bringing joy and delight to both children and adults alike.