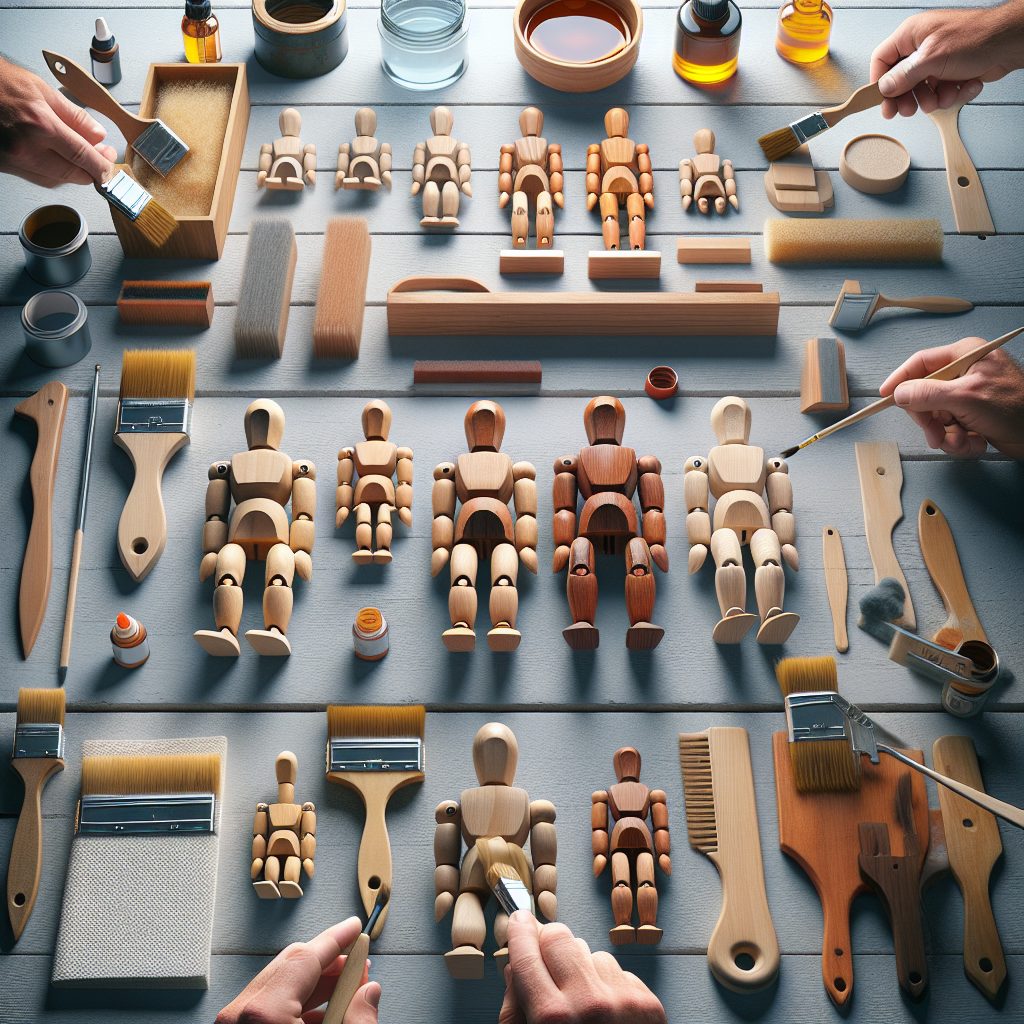
Choosing and applying finishes for DIY wooden toys is an important aspect of the crafting process. Whether you are a seasoned woodworker or just starting out, understanding the various finishes available and how to apply them will help ensure that your toys not only look great but also stand the test of time. Did you know that the finish on a wooden toy can enhance its durability, protect it from moisture, and even make it more enjoyable to play with? By carefully selecting the right finish and mastering the application techniques, you can create toys that are not only beautiful but also safe and long-lasting.
Now that we’ve touched on the significance of choosing and applying finishes for DIY wooden toys, let’s explore some key takeaways that you can implement in your own projects. In the following sections, we will discuss the different types of finishes, their specific impacts on wooden toys, and the step-by-step process of applying them effectively. Whether you prefer natural oil finishes for a more organic look or opt for water-based finishes for their quick drying time, this article will provide you with the knowledge and tips you need to make informed decisions and create stunning wooden toys. So, let’s dive into the world of finishes and discover how they can elevate your DIY wooden toy creations!
Key Takeaways
1. Safety should be the top priority when choosing and applying finishes for DIY wooden toys. Opt for non-toxic and child-safe finishes that have been tested and certified for use on toys.
2. Understanding the different types of finishes is crucial before making a decision. Consider options such as natural oils, water-based finishes, and shellac, each with their own benefits and drawbacks.
3. Preparing the wooden surface is essential for a successful finish application. Sand the wood meticulously, removing any rough spots or imperfections, and ensure it is clean and dry before beginning the finishing process.
4. Applying the finish requires attention to detail and technique. Whether using brush or spray applications, make sure to coat the entire surface evenly, following the manufacturer’s instructions for drying times and possible additional coats.
5. Regular maintenance and monitoring are key to keeping the finish intact and safe for children. Inspect the toys for wear and tear regularly, and reapply finishes as needed to maintain their integrity and safety.
What are the Best Finishes to Choose and Apply for DIY Wooden Toys?
1. Types of Finishes
When it comes to choosing the perfect finish for your DIY wooden toys, there are several options available. These can include:
- Shellac
- Varnish
- Lacquer
- Oil-based finishes
- Water-based finishes
- Paints and stains
Each type of finish has its own characteristics and benefits that suit different needs and preferences.
2. Considerations for Choosing Finishes
Before deciding on a finish for your wooden toys, it is important to consider several factors:
- Toy safety: Ensure that the finish you choose is non-toxic and safe for children.
- Durability: Select a finish that will withstand the wear and tear of playtime.
- Appearance: Consider the desired aesthetic appeal of the finish, whether it’s a natural look or a vibrant color.
- Application method: Decide whether you prefer a brush-on, spray-on, or wipe-on finish.
3. Applying Finishes
Applying finishes to your DIY wooden toys is a crucial step to protect and enhance their longevity. Here are some steps to follow:
3.1. Surface Preparation
Begin by ensuring that the wooden surface is smooth and free from any imperfections. Sand the toy with fine-grit sandpaper and wipe away any dust.
3.2. Selecting the Appropriate Finish
Choose a finish that complements your wooden toy and aligns with your desired outcome. Consider the type of wood used and its characteristics.
3.3. Applying the Finish
Follow the specific instructions provided by the finish manufacturer. Apply the finish evenly using a brush, rag, or spray. Allow each coat to dry before applying the next one.
3.4. Sanding between Coats
For a smoother and more professional finish, lightly sand the toy between each coat of finish. This helps to remove any imperfections and create a smooth surface.
3.5. Finishing Touches
After applying the desired number of coats, inspect the toy for any rough spots or uneven areas. Lightly sand them and apply a final coat if needed.
4. Tips for Choosing and Applying Finishes for DIY Wooden Toys
- Always prioritize the safety of the toy by choosing non-toxic finishes.
- Consider using water-based finishes for easier cleanup and better environmental impact.
- Experiment with different finishes on scrap wood before applying them to your final toy.
- Allow sufficient drying and curing time for each coat of finish.
- Read and follow the manufacturer’s instructions carefully for the best results.
Frequently Asked Questions
1. What are the different types of finishes for DIY wooden toys?
There are various types of finishes you can use for DIY wooden toys, including paint, stain, varnish, shellac, and beeswax. Each finish offers different benefits and aesthetic options.
2. How do I choose the right finish for my wooden toys?
Choosing the right finish depends on several factors, such as the type of wood, intended use of the toy, and personal preference. For instance, if you want to showcase the natural beauty of the wood, a clear varnish or beeswax may be a good option. If you prefer colored toys, paint or stain can be used.
3. Are all finishes safe for children?
No, not all finishes are safe for children, especially if the toys may come into contact with their mouths. It is important to choose finishes that are non-toxic and specifically labeled as safe for children’s toys.
4. How should I prepare the wooden surface before applying the finish?
Before applying any finish, it is crucial to properly prepare the wooden surface. This involves sanding the wood with progressively finer grits of sandpaper to achieve a smooth surface. Additionally, make sure to remove any dust or debris before applying the finish.
5. Can I use regular household paint for my wooden toys?
Regular household paint may not be the best choice for wooden toys, as it may contain harmful chemicals. It is advisable to use paint specifically designed for children’s toys, which are non-toxic and safe for use.
6. How many coats of finish should I apply?
The number of coats depends on the desired look and level of protection you want for your wooden toys. In general, applying multiple thin coats is better than one thick coat, as it allows the finish to penetrate the wood and provides better durability.
7. How long should I let the finish dry before giving the toy to a child?
The drying time for finishes varies depending on the type and manufacturer’s instructions. It is best to wait until the finish is completely dry and has cured according to the recommended time frame before giving the toy to a child.
8. Can I apply a new finish over an old one?
In most cases, it is possible to apply a new finish over an old one, as long as the old finish is still in good condition and properly prepped. However, it is recommended to test the compatibility of the new and old finishes on a small, inconspicuous area before proceeding.
9. How can I maintain the finish on my wooden toys?
To maintain the finish on your wooden toys, regularly clean them with a soft cloth or mild detergent. Avoid using harsh chemicals or abrasive materials that can damage the finish. If the finish starts to wear off, you may need to reapply a fresh coat to protect the wood.
10. Can I use food-safe finishes for wooden toys?
Yes, you can use food-safe finishes for wooden toys if you want to ensure they are safe for children who may put the toys in their mouths. Food-safe finishes, such as natural mineral oil or beeswax, create a protective barrier without introducing harmful chemicals.
Final Thoughts on Choosing and Applying Finishes for DIY Wooden Toys
Choosing and applying finishes for DIY wooden toys is a crucial step in ensuring the toys are safe, durable, and aesthetically pleasing. By carefully considering the type of finish, proper surface preparation, and following safety guidelines, you can create beautiful toys that will bring joy to children while giving you peace of mind. Remember, always prioritize the safety of children by using non-toxic and child-friendly finishes. With the right finish, your DIY wooden toys will be cherished for generations to come.

