When it comes to toy painting projects, selecting the right materials is of utmost importance. It not only ensures the safety of children but also plays a significant role in the longevity and quality of the finished products. Understanding the impact of materials on toy painting projects can help parents and crafters make informed choices and create beautiful, safe toys that will be cherished for years to come.
Unique Fact: Did you know that the materials used for toy painting can have various impacts on the environment? Opting for eco-friendly options not only reduces the carbon footprint but also instills a sense of responsibility towards the planet in our children. Additionally, choosing non-toxic materials for toy painting projects is essential as young children tend to put toys in their mouths, and using harmful substances can have detrimental effects on their health.
Key Takeaways: In this article, we will explore the different materials commonly used for toy painting projects and discuss their specific impacts. We will delve into the world of eco-friendly paint options and non-toxic ingredients, providing valuable insights for parents and crafters. Furthermore, we will highlight the importance of considering the durability and long-lasting finish of the materials chosen for toy painting projects. So, let’s dive in and discover how to select the right materials for your next toy painting adventure!
Key Takeaways
1. Consider safety as the top priority when selecting materials for toy painting projects. Ensure that the materials are non-toxic, lead-free, and labeled as safe for use on toys to prevent any harm to children during play.
2. Choose the appropriate type of paint for the specific toy material. Water-based acrylic paints are versatile and suitable for most toys made of wood, plastic, or metal. Oil-based paints, on the other hand, may be better for surfaces that require more durability, such as outdoor toys.
3. Prepare the toy surface properly before painting to ensure good paint adhesion. Sanding, cleaning, and priming, if necessary, can help create a smooth and even surface for the paint to adhere to, resulting in a better finish.
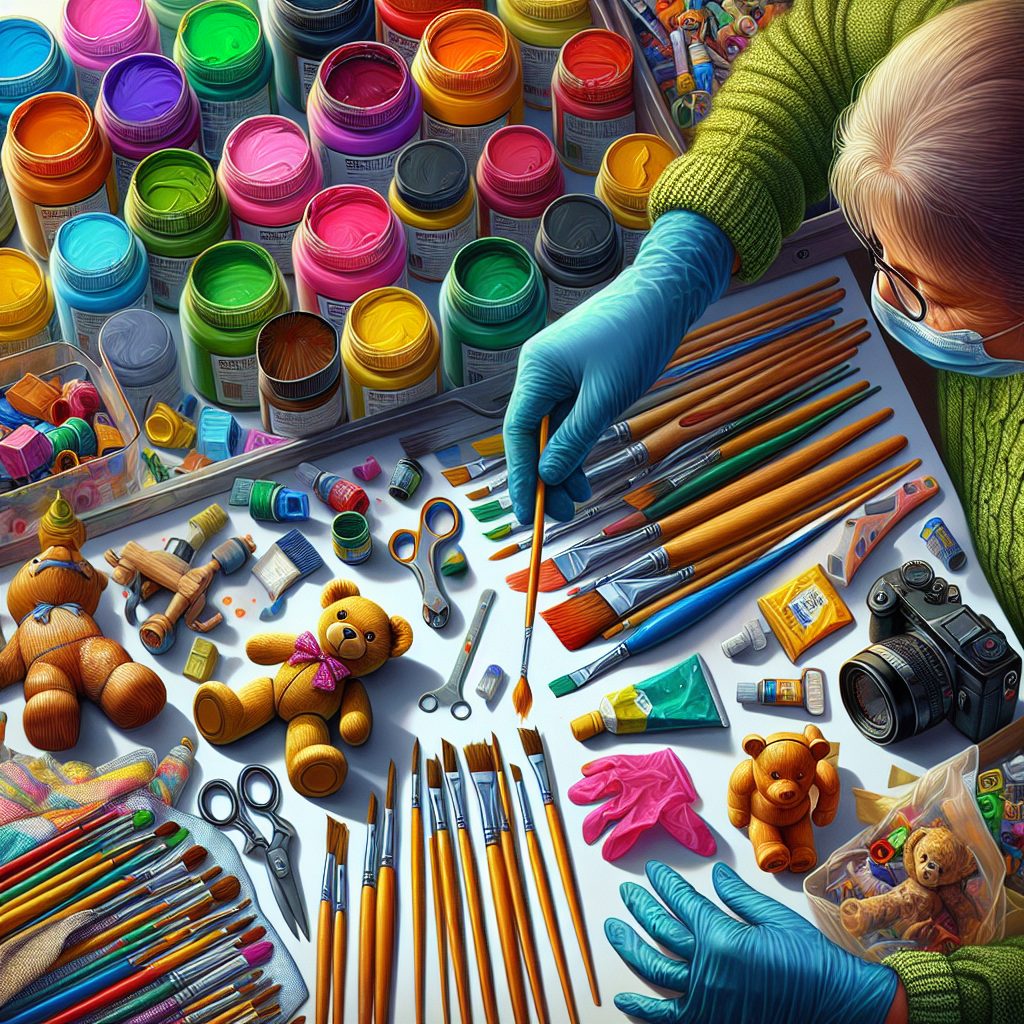
4. Use the right brushes and tools for toy painting. Soft-bristle brushes are ideal for smooth surfaces, while foam brushes or small rollers may work better for textured surfaces or larger areas. Additionally, having a set of different brush sizes can increase precision and versatility in painting details.
5. Don’t forget to finish and protect the painted toy. Applying a clear varnish or sealant can help protect the paint from chipping or fading over time, extending the life of the toy and ensuring it remains safe for children to play with.
What are the essential materials for toy painting projects?
1. Paint
The first crucial material you need for toy painting projects is quality paint. Look for paints that are safe for children and made specifically for use on toys. Acrylic paint is commonly recommended due to its vibrant colors, fast drying time, and ability to stick well to various surfaces.
2. Brushes
Having the right brushes is essential for achieving excellent results in toy painting. Opt for a variety of brush sizes to accommodate different details and areas. Synthetic brushes with soft bristles are often preferred as they can hold and distribute paint smoothly.
3. Primer
Priming your toys before painting is highly recommended. A primer creates a smooth surface, enhances paint adhesion, and helps the paint to last longer. Choose a primer that is compatible with the type of paint you are using and suitable for the toy material (such as plastic, wood, or metal).
4. Sandpaper
Sanding the toys before painting is necessary to remove any existing coatings, rough patches, or imperfections. Use fine-grit sandpaper to gently smooth the surface, ensuring a better paint finish. Remember to clean the toy thoroughly after sanding to remove any dust or debris.
5. Sealant
To protect the paint and add durability to your painted toys, consider applying a sealant or varnish. A sealant acts as a protective layer against wear and tear, moisture, and fading. Look for non-toxic sealants that are suitable for children’s toys.
6. Palette
To mix and blend colors effectively, you will need a palette. Choose a palette with compartments or wells to prevent colors from mixing together. Consider using a disposable palette for easy cleanup, especially if you are working with multiple colors or projects.
7. Masking Tape
Masking tape can be incredibly useful when it comes to creating clean lines or protecting certain areas from paint. Use it to mask off parts of the toy that you want to keep free from paint or to create crisp edges and patterns.
8. Drop Cloth or Newspaper
Protect your working area by laying down a drop cloth or newspapers. This will prevent paint spills or stains on your furniture or flooring. It also makes cleanup much easier at the end of your painting session.
9. Safety Equipment
When working with paint and other materials, ensure your safety by using appropriate protective gear. This may include gloves to protect your hands, a mask to avoid inhaling fumes, and goggles to shield your eyes from potential splatters.
10. Proper Ventilation
It’s essential to have adequate ventilation in your workspace when painting toys. This helps to minimize exposure to paint fumes and ensures a healthier environment. Open windows or use fans to improve air circulation while you work.
11. Tips for selecting colors
When choosing colors for your toy painting projects, consider the preferences and interests of the child who will be playing with the toy. Bright and cheerful colors are often popular choices. You can also opt for colors that match a specific theme or incorporate favorite characters or designs.
12. Tips for achieving a smooth finish
To achieve a smooth and professional-looking finish on your painted toys, follow these tips:
- Apply thin and even coats of paint, allowing each layer to dry before adding another.
- Use long, smooth brush strokes to minimize brush marks.
- Sand lightly between coats if necessary to remove any imperfections.
- Ensure the toys are clean and dry before starting the painting process.
13. Tips for cleaning up
After completing your toy painting projects, follow these tips for cleaning up:
- Wash your brushes with warm soapy water immediately after use to prevent paint from drying and hardening on the bristles.
- Dispose of any unused paints and sealants properly according to local regulations.
- Wipe down your workspace and remove any paint splatters or spills.
- Store your materials in a safe and organized manner for future use.
Frequently Asked Questions
1. What are the key factors to consider when selecting materials for toy painting projects?
When selecting materials for toy painting projects, it is important to consider factors such as safety, durability, and the desired finish. Ensure that the materials you choose are non-toxic and meet safety standards to ensure the toys are safe for children. Additionally, opt for paints that are washable and resistant to chipping or peeling to ensure the longevity of the finished product.
2. Can any type of paint be used for toy painting projects?
No, not all paints are suitable for toy painting projects. It is recommended to use paints specifically designed for use on toys and craft projects. These paints are usually non-toxic, water-based, and safe for children. Using the wrong type of paint may result in health hazards or poor adhesion to the toy surface.
3. How can I ensure the paint adheres well to the toy surface?
To ensure proper adhesion of paint to the toy surface, it is crucial to prepare the surface beforehand. Clean the toy thoroughly to remove any dirt or grease and sand it lightly to create a rough surface for better paint adhesion. Applying a primer before painting can also help improve adhesion and enhance the longevity of the paint job.
4. Are there any special considerations when painting wooden toys?
When painting wooden toys, it is advisable to choose paints that are specifically formulated for wood surfaces. These paints provide better coverage and durability on wood. Additionally, consider sealing the painted wooden toy with a non-toxic varnish or clear coat to protect the paint and prevent potential damage.
5. Can I use acrylic paint for toy painting projects?
Yes, acrylic paint is a popular choice for toy painting projects. It is water-based, non-toxic, and offers a wide range of vibrant colors. However, keep in mind that acrylic paints tend to dry quickly, so it is important to work efficiently to avoid clumping or uneven application. Applying multiple thin coats can help achieve a smooth and even finish.
6. How long does it take for toy paint to dry?
The drying time for toy paint varies depending on the type of paint used and environmental conditions. In general, water-based paints and acrylics dry relatively quickly, within 1-2 hours. However, it is recommended to let the painted toy dry fully for at least 24 hours before playing with it or allowing children to handle it.
7. Can I use spray paint for toy painting projects?
Spray paint can be used for toy painting projects, but it is crucial to use it in a well-ventilated area and follow the instructions on the can carefully. Make sure to cover and protect other objects or surfaces nearby to avoid overspray. It is also important to choose spray paints that are non-toxic and safe for use on toys.
8. How can I remove paint from a toy if I make a mistake?
If you make a mistake while painting a toy and need to remove the paint, you can try using a mild paint remover or rubbing alcohol. Apply the remover to a cotton swab or cloth and gently rub the painted area until the paint starts to lift. It is important to test the remover on a small, inconspicuous area of the toy first to ensure it does not damage the surface.
9. Are there any safety precautions to take while painting toys?
Yes, there are a few safety precautions to consider while painting toys. Always work in a well-ventilated area to avoid inhalation of fumes. Use gloves and protective eyewear to prevent any potential skin or eye irritation from the paint. Ensure that the workspace is clean and organized to minimize the risk of accidents or spills.
10. Can I use natural dyes or food coloring for toy painting projects?
While natural dyes or food coloring may seem like a safe option for toy painting, they may not have the same durability and resistance as paints specifically designed for crafts. They may also stain or discolor over time. It is best to opt for paints that are specifically formulated for toy painting projects to ensure safety and long-lasting results.
Final Thoughts
When it comes to selecting the right materials for toy painting projects, prioritizing safety and durability is paramount. Choosing non-toxic paints and materials ensures that children can enjoy their painted toys without any health risks. Additionally, considering the type of toy, the desired finish, and proper surface preparation are necessary for achieving a professional-looking and long-lasting paint job. By following these guidelines, you can create colorful and safe toys that will bring joy to children for years to come.