Wooden toys are timeless playthings that can bring endless joy to children. However, just like any other toys, they are prone to damage over time. Whether it’s a splintered car, a cracked dollhouse, or a broken puzzle, seeing a beloved toy in disarray can be disheartening. But fear not! With a little bit of knowledge and patience, you can easily repair damaged wooden toys at home and give them a new lease on life.
Wooden toys hold a special place in our hearts, as they are not only durable but also possess a certain charm that plastic or electronic toys simply can’t replicate. Plus, they are environmentally friendly and free from harmful chemicals, making them a safe option for children. However, being made from a natural material like wood, they are susceptible to wear and tear. Scratches, dents, and loose parts are common issues that can arise over time. But fret not! Our guide to repairing damaged wooden toys at home will equip you with the necessary knowledge and techniques to restore your child’s favorite playthings. So, let’s dive in and discover the key takeaways that will help you become a toy-repairing master in no time!
Key Takeaways
1. Assess the damage: Before repairing a wooden toy, carefully examine the extent of the damage. Look for cracks, splinters, or loose parts that need to be fixed. This will help you determine the best approach for repair.
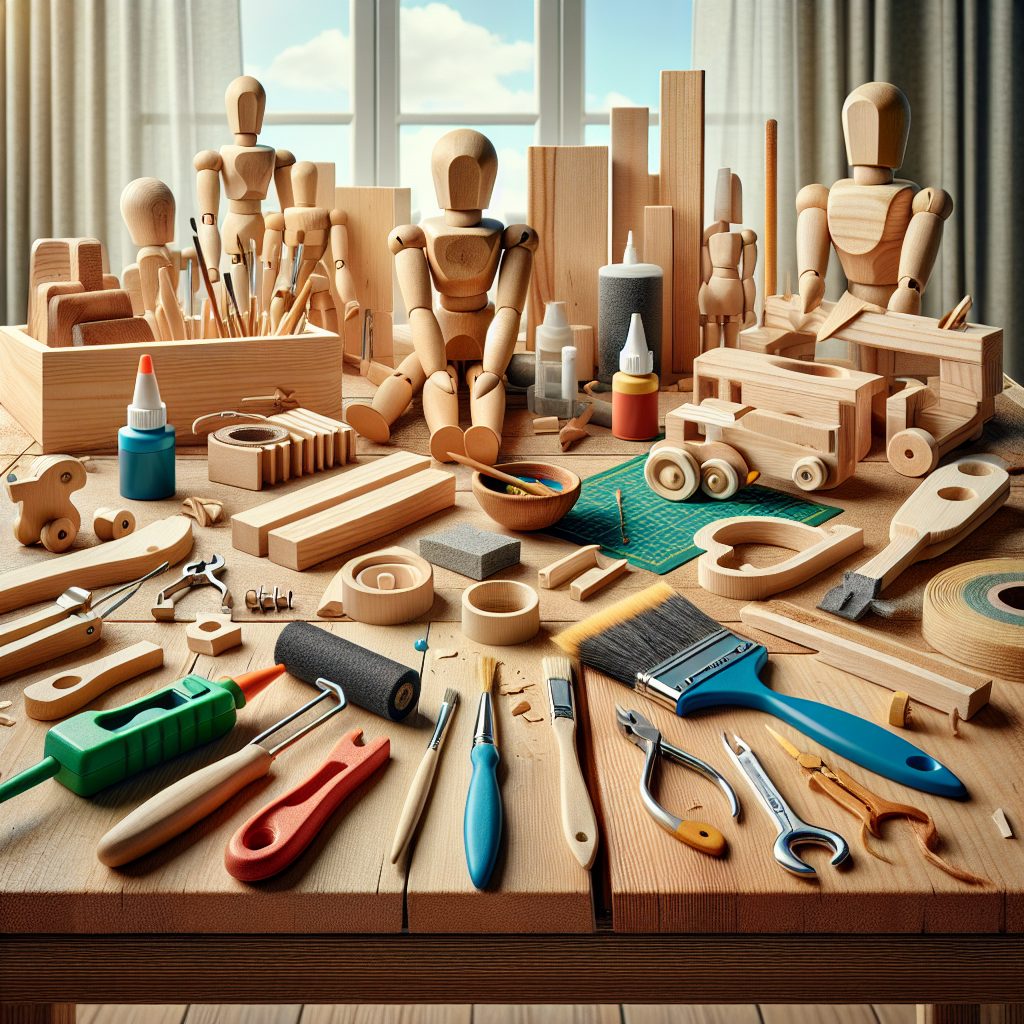
2. Gather the necessary tools: To effectively repair a damaged wooden toy, you will need a few essential tools such as sandpaper, wood glue, clamps, and a small saw or chisel. Make sure to have these tools ready before starting the repair process.
3. Sand and prep the surface: To ensure a smooth and successful repair, sand the damaged area to remove any splinters or rough edges. This will also help the glue adhere better when you move on to the next step. Clean the surface thoroughly and make sure it is dry before proceeding.
4. Apply wood glue and secure the pieces: Use a high-quality wood glue to reattach any loose or broken parts of the toy. Apply the glue evenly to both surfaces, press them together firmly, and use clamps to hold them in place. Let the glue dry completely according to the manufacturer’s instructions.
5. Finishing touches: Once the glue has dried, carefully sand the repaired area to ensure a seamless finish. If necessary, you can also apply a non-toxic paint or varnish that is safe for children’s toys to restore the toy’s appearance and protect the wood. Allow the paint or varnish to dry completely before giving the toy back to your child.
Note: The information provided is for general guidance and should not be seen as professional advice. Always prioritize safety and consult an expert if needed.
1. Can You Repair Damaged Wooden Toys at Home? A Comprehensive Guide
2.
Identifying the Damage
When repairing damaged wooden toys at home, the first step is to carefully examine them to identify the extent of the damage. Look for cracks, chips, missing parts, loose joints, and any other visible issues that need to be addressed. Taking note of the specific damage will help guide you through the repair process more effectively.
Gathering the Necessary Supplies
To successfully repair wooden toys, you’ll need to gather several essential supplies. These may include wood glue, sandpaper of varying grits, a small chisel, clamps, wood filler, paint or stain, brushes, and a soft cloth. Ensuring you have all the necessary tools and materials in advance will save you time and allow you to tackle the repair project seamlessly.
Cleaning and Preparing the Surface
Before starting the actual repairs, it’s crucial to clean the damaged wooden toys thoroughly. Use a mild soap and warm water solution and a cloth to remove any dirt, grime, or stains from the surface. Ensure that the toys are completely dry before proceeding with the repair process.
Fixing Cracks and Chips
Cracks and chips are common issues with wooden toys. To repair them, apply wood glue to the damaged area, using a small chisel or a similar tool to spread it evenly. Gently press the separated pieces together and hold them in place using clamps until the glue dries. Once the glue has dried, sand the repaired area to achieve a smooth finish.
Repairing Loose Joints
Loose joints can often be repaired by applying wood glue to the joint area and then securing it with a clamp until the glue sets. If necessary, remove any old or ineffective glue before applying a fresh layer. Sand the joint area for a seamless look and reinforce it further with screws or nails if needed.
Replacing Missing Parts
If a wooden toy has missing parts that cannot be repaired, consider replacing them. You can create new parts using similar types of wood and shaping them to match the original design. Ensure that the replacement parts are securely attached to the toy and blend in seamlessly with the rest of the structure.
3.
Protective Finishes and Enhancements
Once the repairs are complete, you can enhance the appearance and longevity of the wooden toys by applying protective finishes. These finishes can include varnish, paint, or stain. Choose finishes that are safe for children’s toys and follow the manufacturer’s instructions for application. This step will not only protect the repaired areas but also give the toy a fresh and appealing look.
Regular Maintenance and Care
To prolong the lifespan of the repaired wooden toys, it’s important to provide them with regular maintenance and care. Keep them clean, avoid exposing them to excessive moisture or heat, and periodically inspect for any signs of damage. Promptly addressing any new issues that arise will help prevent further deterioration.
4.
Expert Tips for Repairing Wooden Toys at Home
Repairing damaged wooden toys at home can be an enjoyable and rewarding project. Here are some expert tips to guide you through the process:
1. Always work in a clean and well-ventilated area to ensure a safe and comfortable environment.
2. Take your time and be patient throughout the repair process to achieve the best results.
3. If unsure about a certain repair technique, consult online tutorials, woodworking books, or seek advice from experienced woodworkers.
4. Test any new finishes or sealants on a small, inconspicuous area of the toy before applying them to the whole surface.
5. Store the repaired wooden toys in a place away from direct sunlight and extreme temperatures to prevent damage.
By following this comprehensive guide and implementing these expert tips, you’ll be able to successfully repair damaged wooden toys at home and bring them back to life for countless hours of play and joy.
Frequently Asked Questions
1. How can I determine if a wooden toy can be repaired at home?
To determine if a wooden toy can be repaired at home, assess the extent of the damage. Minor issues like loose parts, scratches, or small cracks can usually be fixed easily. However, if the toy is severely split, has deep structural damage, or is missing essential pieces, professional help may be necessary.
2. What tools and materials do I need to repair wooden toys?
Generally, you will need basic tools such as sandpaper, wood glue, clamps, a small saw, paintbrushes, and non-toxic paint or varnish. The specific tools required may differ based on the type of damage and the toy in question.
3. How do I fix a loose part on a wooden toy?
To fix a loose part on a wooden toy, apply wood glue to the area where it has come loose. Hold the part in place with clamps or tape until the glue dries completely. This should secure the part back in place.
4. How can I repair scratches and dents on wooden toys?
To repair scratches and dents on wooden toys, start by sanding the damaged area using fine-grit sandpaper. Apply a small amount of wood filler in the scratch or dent, and let it dry. Once dry, sand the filled area until smooth. Finally, paint or varnish the toy to match its original finish.
5. Can I repair a broken wooden toy that has split into two?
Yes, you can repair a broken wooden toy that has split into two using wood glue and clamps. Apply wood glue to both surfaces of the split, then press them together firmly. Secure the toy with clamps or use tape to hold it in place until the glue sets.
6. How do I remove stains from wooden toys?
To remove stains from wooden toys, mix a solution of equal parts water and white vinegar. Dampen a cloth with the solution and gently rub the stained area. If the stain persists, you can use a mixture of baking soda and water to make a paste, apply it to the stain, and then wipe it off with a damp cloth.
7. Is it necessary to sand wooden toys before painting or varnishing?
Yes, sanding wooden toys before painting or varnishing is crucial. Sanding helps create a smooth surface for paint or varnish to adhere to. It also removes any rough edges or imperfections, resulting in a better finish and longer-lasting repair.
8. How should I store repaired wooden toys to maintain their condition?
To maintain the condition of repaired wooden toys, store them in a dry and clean environment. Keep them away from excessive heat, direct sunlight, moisture, and pests. Regularly inspect the toys for any signs of damage or wear and make necessary repairs promptly to prolong their lifespan.
9. Can I repaint wooden toys with non-toxic paint?
Yes, you can repaint wooden toys with non-toxic paint to give them a fresh look. Ensure that the paint you choose is labeled as safe for children’s toys. It’s important to let the paint fully dry and cure before allowing children to play with the toys.
10. When should I consult a professional for wooden toy repairs?
You should consult a professional for wooden toy repairs if the damage is extensive, involves intricate components, or requires specialized knowledge. Additionally, if you are unsure about how to repair the toy safely or lack the necessary tools, seeking professional assistance is recommended.
Final Thoughts
Repairing damaged wooden toys at home can be a rewarding and cost-effective solution. By following proper techniques and using the right tools, you can breathe new life into cherished toys and extend their playability. Always prioritize safety, choose non-toxic materials, and don’t hesitate to seek professional help when needed. With a little care and creativity, you can ensure that these beloved wooden toys continue to bring joy and wonder to children for years to come.
Remember, repairing wooden toys not only saves money but also contributes to reducing waste and promoting sustainable practices. It’s a wonderful opportunity to teach children the value of taking care of their belongings and the importance of resourcefulness. So, let’s dive into the joy of restoring and preserving these timeless treasures, fostering a love for craftsmanship and imaginative play.