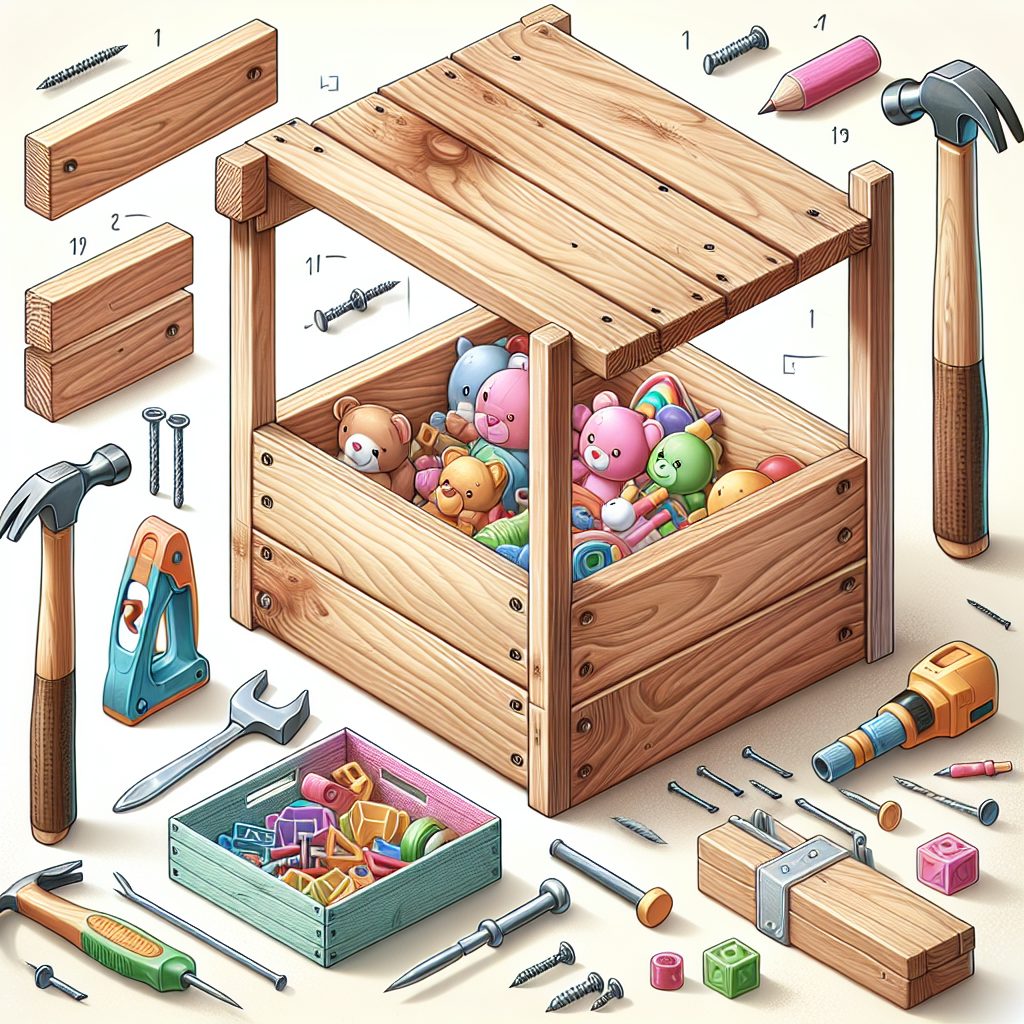
Creating DIY wooden toy storage solutions can be a practical and creative way to keep your child’s playroom organized. When it comes to toy storage, wooden solutions offer a durable and timeless option that can seamlessly blend with any decor style. Wooden toy storage solutions not only provide a suitable place for your child’s toys but also add a touch of warmth and charm to the room.
One of the unique features of DIY wooden toy storage solutions is the ability to customize them according to your specific needs and preferences. You can choose from a wide variety of designs and sizes, allowing you to create storage solutions that perfectly fit your available space. Moreover, wooden storage options can be painted or stained in any color to match the existing color scheme of the room. This versatility allows you to create a cohesive and aesthetically pleasing storage solution that complements the overall design of the playroom.
Now that you understand the benefits of DIY wooden toy storage solutions, let’s delve into the key takeaways you need to consider when creating your own storage solution. This article will explore different design ideas, practical tips for maximizing storage space, and important safety considerations. By the end of this article, you will have a clear understanding of how to create a personalized and functional toy storage solution that suits your child’s needs while adding a stylish touch to the playroom.
Key Takeaways
1. DIY wooden toy storage solutions are cost-effective and customizable options for organizing your child’s toys. By creating your own storage units, you can save money and design them to fit your specific needs and aesthetic preferences.
2. Utilizing a combination of shelves, crates, and bins can create a versatile and functional toy storage system. Incorporating different storage elements allows you to categorize toys based on size, type, or frequency of use, making it easier for your child to find and put away their toys.
3. Building a toy storage bench not only provides extra seating but also offers additional storage space underneath. This multi-purpose piece of furniture can be a practical solution for small playrooms or bedrooms, maximizing both storage and seating areas.
4. Incorporating labeling techniques, such as chalkboard or picture labels, can make toy organization more visually appealing and encourage your child’s participation in keeping their toys tidy. Using labels also helps your child develop important organizational skills as they learn to associate toys with their designated storage area.
5. Choosing environmentally-friendly materials and finishes, such as untreated or non-toxic paints and stains, ensures the safety of your child while also promoting sustainable practices. Opting for eco-friendly options can make a positive impact on both your child’s health and the environment.
What are the Best DIY Wooden Toy Storage Solutions?
Why Opt for DIY Wooden Toy Storage Solutions?
When it comes to tidying up kids’ rooms, finding suitable toy storage solutions can be a challenge. However, opting for DIY wooden toy storage solutions can offer numerous benefits. Not only are they practical and functional, but wooden storage units also add a touch of natural beauty to any room. In this article, we will explore various DIY wooden toy storage ideas to help you create an organized and appealing space for your little ones.
1. Utilize Wall-Mounted Shelves
Wall-mounted shelves provide an excellent solution for storing and displaying your child’s toys. You can easily create your own wooden shelves using reclaimed wood or repurpose old wooden crates. Install the shelves at various heights to accommodate different sizes of toys. By organizing the toys on these shelves, you not only save space but also make it easier for your child to access and put away their toys.
2. Build a Wooden Toy Chest
A classic and versatile storage solution, a wooden toy chest is both functional and aesthetically pleasing. You can construct a simple yet sturdy toy chest using plywood or solid wood boards. Add a hinged lid for easy access and use colorful paint or stains to match the room’s decor. A toy chest offers ample space to store a wide range of toys, and its open design allows for quick cleanup.
3. Create Customized Wall Cubbies
If you have limited floor space, consider building a set of wall cubbies for toy storage. These cubbies can be made from wooden crates, which you can arrange and fasten securely onto the wall. Leave some cubbies open for displaying favored toys and add baskets or bins in the remaining cubbies for concealed storage. This DIY solution not only maximizes wall space but also adds a decorative element to the room.
4. Design a Multipurpose Activity Table
A wooden activity table with built-in storage is an excellent choice for playrooms or bedrooms. You can construct a sturdy table using plywood or repurpose an old table by adding storage compartments underneath. Incorporate drawers or shelves to store toys and art supplies, ensuring everything has its designated place. Additionally, a table with a smooth surface offers a perfect space for playing, drawing, and crafting.
5. Install Hanging Toy Hammocks
Free up valuable floor space by utilizing wall space for toy storage. Hanging toy hammocks offer a unique and playful way to keep stuffed animals and soft toys organized. Simply attach the hammocks securely to the wall at various heights, creating a visually appealing display while keeping the toys easily accessible. This DIY storage solution adds a touch of whimsy to any room.
6. How to Maintain and Care for Wooden Toy Storage Solutions?
Now that you have created your DIY wooden toy storage solutions, it’s important to properly maintain and care for them to ensure longevity. Regularly clean the wooden surfaces with a gentle wood cleaner and a soft cloth. Avoid using harsh chemicals or abrasive materials that could damage the finish. Additionally, periodically check for any loose screws or hardware and tighten them as needed to keep the storage units sturdy and safe.
Conclusion:
Creating DIY wooden toy storage solutions can be a fun and rewarding project. By following the above ideas and utilizing your creativity, you can design practical and visually appealing storage options for your child’s toys. Remember to consider the available space, your child’s needs, and safety aspects while planning and constructing these wooden storage solutions. Enjoy the process of organizing and transforming your little one’s space into a tidy and inviting play area!
- Choose appropriate dimensions and materials for your DIY wooden storage solution.
- Plan the design and layout of the storage units to optimize space and functionality.
- Ensure all construction techniques and fasteners used are safe and secure for child use.
- Incorporate playful and colorful elements to make the storage solutions appealing to children.
- Regularly clean and maintain the wooden surfaces to extend the lifespan of your toy storage solutions.
FAQ
1. Where can I find wooden toy storage plans?
There are several online platforms and websites that offer free or paid wooden toy storage plans. Websites like Pinterest, Etsy, and Home Depot have a wide range of plans to choose from. Additionally, you can also find some valuable resources in woodworking forums and communities.
2. Do I need prior woodworking experience to create DIY wooden toy storage?
No, you don’t need prior woodworking experience to create DIY wooden toy storage. There are various beginner-friendly plans available that provide step-by-step instructions and guidance. With a little patience and the right tools, anyone can successfully complete these projects.
3. What basic tools do I need for DIY wooden toy storage projects?
For most DIY wooden toy storage projects, you will need basic tools such as a saw (circular or jigsaw), a drill, a sander, a measuring tape, and clamps. These tools will allow you to cut the wood precisely, drill holes for screws and nails, smoothen the surface, and hold the pieces together securely.
4. Can I customize the size and design of my wooden toy storage?
Yes, one of the major advantages of DIY projects is the flexibility to customize according to your needs and preferences. You can adjust the dimensions, add compartments, change the shape, or even paint it to match your interior. This allows you to create a storage solution that perfectly fits your space and style.
5. What type of wood is suitable for toy storage?
The type of wood you choose for your toy storage depends on factors like budget, durability, and aesthetics. Commonly used woods include plywood, pine, and hardwoods like oak or maple. Make sure the wood is sturdy enough to withstand the weight of toys and resistant to moisture and damage.
6. How long does it take to complete a DIY wooden toy storage project?
The time required to complete a DIY wooden toy storage project depends on the complexity of the design, your experience level, and the tools you have. Simple designs can be finished in a few hours, while more intricate projects may take a couple of days. It is always recommended to plan your time accordingly and allow for some extra hours for unexpected challenges.
7. Are there any safety precautions I should consider when working with wood?
Absolutely! Safety should be a top priority when working with wood. Always wear appropriate protective gear such as goggles, gloves, and a dust mask. Ensure that your workspace is well-ventilated and properly lit. Familiarize yourself with the proper handling of tools and read the instructions carefully. Keep sharp tools away from children, and always work in a controlled and focused manner.
8. How do I choose the right finish for my wooden toy storage?
The choice of finish depends on your personal preference and the intended use of the toy storage. You can opt for natural finishes like wax or oil to maintain the wood’s natural beauty, or use varnishes and paints for added protection and customization. Select a finish that is non-toxic, child-safe, and durable enough to withstand everyday wear and tear.
9. Can I sell or gift the wooden toy storage I create?
Yes, you can definitely sell or gift the wooden toy storage you create. However, if you plan to sell the items, make sure you comply with local regulations regarding product safety and labeling. It is essential to ensure your product meets the necessary safety standards to avoid any potential issues.
10. What are the cost considerations for DIY wooden toy storage projects?
The cost of DIY wooden toy storage projects can vary depending on the size, design, and type of wood you choose. While DIY projects are usually cost-effective compared to buying ready-made furniture, it’s important to factor in the cost of materials, tools, and any additional hardware or finishes you may need.
Final Thoughts
Creating DIY wooden toy storage solutions can be a rewarding and enjoyable experience. Not only does it provide the opportunity to customize according to your specific needs, but it also adds a personal touch to your home. By utilizing readily available plans and basic woodworking skills, you can save money while creating functional and aesthetically pleasing toy storage options.
Furthermore, engaging in DIY projects like wooden toy storage can be a great way to involve the entire family in a fun and productive activity. Not only does it foster creativity and imagination, but it also allows parents and children to work together, enhancing their bond. The sense of accomplishment and pride in creating something practical with your own hands is truly fulfilling. So why not embark on a DIY journey and create beautiful wooden toy storage solutions that will not just organize your space, but also create lasting memories?

